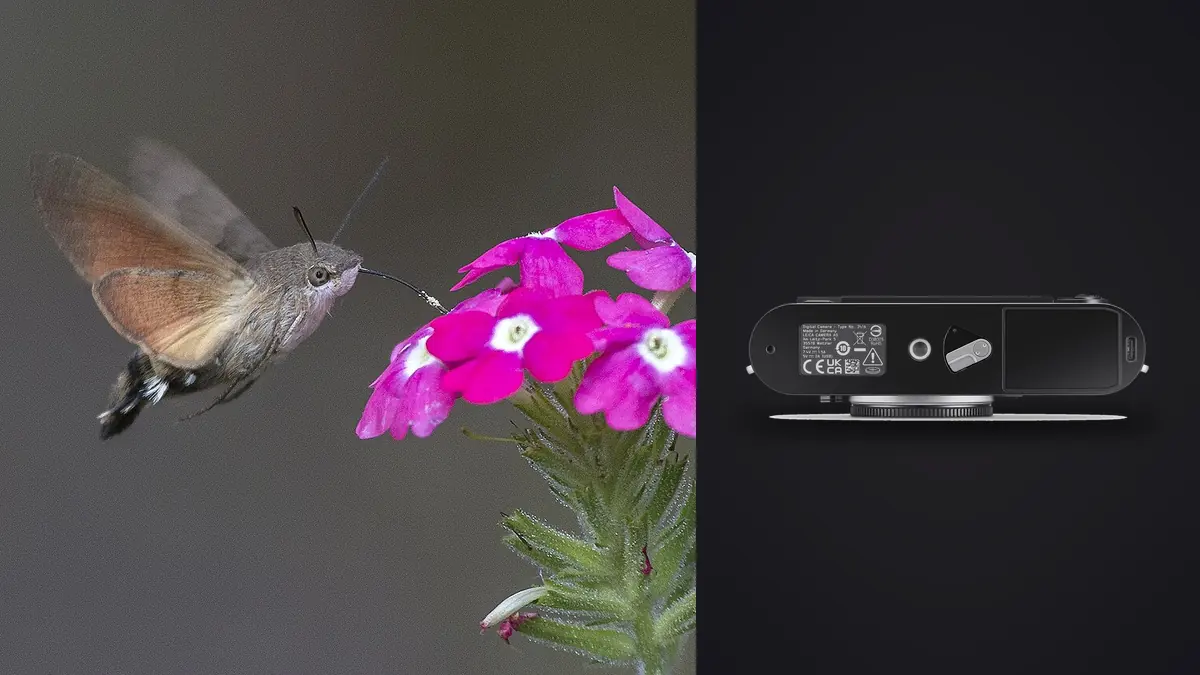
I get asked, semi-regularly, why anyone would take a rangefinder into a garden at six in the morning to photograph jumping spiders and hoverflies. It's a fair question. The Leica M11 was not built for this. It has no autofocus, no image stabilization, and the mechanism that makes a rangefinder a rangefinder, the coupled focus patch you align in the viewfinder, physically stops working at the distances macro photography lives in. And yet I've shot three seasons of insect macro on one, and I keep coming back to it, mostly out of stubbornness but partly because the results, when they land, have a rendering quality I haven't matched with anything else in the bag.
This isn't a "why the M11 is secretly the best macro camera" piece. It isn't. If your priority is hit rate on fast-moving subjects, buy something with autofocus and a flip screen and don't look back. This is a practical account of what breaks when you push an M-mount rangefinder into macro territory, which lenses actually get you there, and the workflow adjustments that make the whole exercise less miserable.
Where the Rangefinder Mechanism Quits on You
Every M-mount lens with a rangefinder cam is calibrated to couple with the M11's focusing mechanism down to roughly 0.7 meters, occasionally a touch closer depending on the lens. Below that distance, the cam simply runs out of travel. The little yellow patch in the viewfinder keeps moving, but it stops meaning anything. You can align it perfectly and still be a centimeter out of focus on a 1:2 magnification shot, which at that magnification is the difference between a tack-sharp compound eye and a soft blur of ommatidia.
So for anything closer than about 70cm, which is essentially all insect macro work, you're not using the rangefinder at all. You're using live view. The M11's rear screen (or the optional Visoflex 2 clipped into the hot shoe, which I'd consider close to mandatory for this genre) gives you a magnified, focus-peaked feed pulled straight off the sensor. That part works well. Peaking on the M11 is more accurate than I expected going in, and at high magnification it highlights the actual plane of focus rather than a fuzzy halo around the whole subject. The tradeoff is that you've now turned a rangefinder into a slow, tripod-friendly, live-view-only macro rig, which raises the obvious question of why not just buy a mirrorless body built for that from the start. My honest answer is the sensor and the lenses, not the finder.
What the Visoflex 2 Actually Buys You
Without the Visoflex, you're composing off the rear screen, which means holding the camera away from your face at odd angles to get low to a beetle on a leaf, squinting at a 2.95-inch panel in direct sun. It's workable but tiring over a two-hour session. The Visoflex puts that same live feed at eye level with a diopter you can dial in, and battery drain aside (it roughly doubles your draw versus optical-only shooting), it's the single accessory that made me stop resenting the M11 for macro work. I don't shoot without it anymore for anything under a meter.
Lenses That Actually Close-Focus
This is the part people underestimate before they try it. Most native M-mount glass, including some genuinely excellent lenses, simply doesn't focus close enough to be useful here. A 50mm Summilux at its 0.7m minimum gets you a nice portrait, not a macro shot. You need lenses explicitly built or adapted for closer work, and the M-mount macro options are a much shorter list than in F-mount or E-mount. Here's what I've actually used or tested against each other over the past two years, with real close-focus figures rather than marketing round numbers.
| Lens | Max magnification | Min focus distance | Rangefinder coupled? | Approx. used price | Field note |
|---|---|---|---|---|---|
| Voigtlander APO-Lanthar 65mm f/2 Macro | 1:2 | 30cm | To 0.7m only, live view beyond that | ~$999 new | My main lens. Sharpest wide open of anything on this list, contrast holds up even backlit against dew |
| 7Artisans 60mm f/2.8 Macro | 1:1 | 18cm | No, live view only | ~$280 new | Cheap way in, but 18cm working distance spooks anything with a nervous system. Fine for slow subjects like moths at rest |
| TTArtisan 100mm f/2.8 Macro | 1:1 | 24cm | No, live view only | ~$420 new | Extra reach helps with dragonflies and wasps that won't tolerate a lens six inches from them. Some vignetting wide open on the M11's sensor |
| Leica Macro-Elmar-M 90mm f/4 + goggles | 1:3 | 43cm with goggles / 77cm without | Yes, goggles bypass the cam and re-couple via a magnifier | $2,500-3,500 used | Discontinued, the closest thing to a factory answer. Goggles are clever engineering but add real bulk and weight up front |
| Leica APO-Macro-Elmarit-TL 60mm (adapted) | 1:1 | 17cm | No, autofocus lost entirely on adaptation | ~$1,750 used + adapter | Optically superb but pointless on an M11 unless you already own one from a TL/CL kit. Buying it new for this purpose makes no sense |
If you're starting from zero, the Voigtlander is the one I'd point people toward. It's the only lens on that list that stays rangefinder-coupled for a meaningful range and drops into live view gracefully once you go past that, so you're not fighting the interface the whole time. The 7Artisans is a reasonable way to find out if you even like this kind of shooting before spending real money, but be aware that 18cm of working distance means you will spend your first few outings scaring away every subject you approach.
Working Distance Is the Real Constraint, Not Resolution
People obsess over magnification ratios and forget that working distance decides whether you get the shot at all. A 1:1 lens with 18cm of clearance sounds appealing on paper next to a 1:2 lens with 30cm, but in practice the 30cm lens lets you approach a paper wasp without it taking off, and the extra crop room from the M11's 60-megapixel sensor gets you back most of the magnification you gave up. I routinely shoot the Voigtlander at 1:3 or 1:4 and crop in post rather than physically closing the last few centimeters, because the alternative is an empty frame where the wasp used to be.
This is also where the M11's resolution earns its keep despite being mostly a liability elsewhere in this workflow. Eighteen or thirty-six megapixels, the two lower options in the M11's triple-resolution DNG setting, would leave uncomfortably little to crop with. Shooting at the full 60MP setting and treating cropping as a legitimate part of achieving "macro" framing, rather than a failure to get close enough, changed how I approach skittish subjects entirely.
Timing Around the Insects, Not the Light
The obvious trick, and it works, is shooting in the first hour after sunrise when insects are still cold and sluggish from overnight temperature drop. A dragonfly that would be airborne and gone by nine a.m. will sit still for focus bracketing at six thirty because its flight muscles haven't warmed up yet. Dew adds a second benefit beyond the obvious visual one: wet wings and wet compound eyes make insects reluctant to move even once the temperature starts climbing, since flying with water-loaded wings is inefficient for them. I've had genuinely difficult subjects, like hoverflies, hold still for a full twelve-frame focus bracket at 6:40am that would be impossible to approach by mid-morning.
Exposure and the Diffraction Trap
At high magnification, the effective aperture you're actually shooting at is smaller than the number on the lens barrel, a consequence of bellows extension that gets worse the closer you focus. Stop a macro lens down to f/8 for depth of field at 1:1 and you're often shooting an effective aperture closer to f/13 or f/14 once the extension factor is accounted for. On a 60-megapixel sensor with no anti-aliasing filter, diffraction softening from that becomes visible earlier than it would on a lower-resolution body. I generally stay at f/5.6 to f/8 on the aperture ring for anything beyond 1:2 magnification and accept a thinner slice of focus, making it up with a focus bracket rather than chasing depth of field through the aperture alone.
ISO is the other lever. The M11's native ISO 64 base is lovely for landscape work but mostly irrelevant here, because macro at these apertures and the shutter speeds needed to freeze a twitching antenna (1/250s minimum, faster if there's any breeze moving the plant) pushes you up into ISO 800-3200 territory even in good morning light. The sensor holds up reasonably well there, cleaner than I expected from a camera whose marketing leans so hard on the low-ISO story, but it's worth knowing going in that "macro on the M11" is an ISO 1000+ activity most of the time, not the ISO 64 dream the spec sheet implies.
Manual Focus Bracketing on a Body That Won't Help You
The M11 has no focus stacking mode, no automated bracket sequence, nothing. Every stack is manual: mount the camera on a focus rail, nudge it forward a millimeter or two between frames, fire, repeat, sometimes twenty or thirty times for a single beetle at high magnification. It's slow and it produces an enormous number of nearly identical frames that all need sorting through afterward to find which ones are actually sharp where they need to be, since focus peaking during the shoot tells you roughly where focus fell but not definitively, especially in bright sun where the peaking overlay gets harder to read against a busy background.
This is genuinely the part of the workflow I'd have quit on without better culling tools. A single morning of stacking six or seven subjects generates a few hundred frames, most of them near-duplicates of each other by design. I run imagic over the card afterward specifically because its burst and duplicate clustering groups each focus-bracket sequence together automatically instead of leaving me to eyeball three hundred thumbnails and guess which stack a frame belongs to, and its local sharpness scoring flags which frame in each cluster actually lands the focus point, which matters because peaking lied to me more than once in the field. It all runs on-device, which is worth mentioning given how large 60MP DNGs get (75-90MB apiece isn't unusual, and a stacking session can produce several gigabytes before lunch); I have no interest in uploading that volume of raw files to a cloud culling service every time I go shoot bugs before work.
Once the keepers are picked, I lean on imagic's apply_my_style feature to carry a color treatment across the batch. I trained it against a set of macro edits I was happy with (slightly desaturated greens, warmer highlight rolloff to counter how blue the M11's files can render in shade) and it's saved real time getting new sessions to match without re-grading each stack from scratch by hand. If you're building out a repeatable macro workflow at all, it's worth reading up on color grading fundamentals before you train a preset like this on your own edits, since a style built on a handful of inconsistent source images will just propagate that inconsistency forward.
Is Any of This Worth It Over a Purpose-Built Macro Camera
Depends entirely on what you're after. If insect macro is your primary genre and you want a high hit rate on flying subjects, an OM System body with in-body focus stacking and genuinely fast autofocus will outperform the M11 in every practical sense and cost less. What the M11 gives you instead is file quality on the subjects that do sit still: a resting butterfly, a spider in its web, a beetle on a cold morning. The tonal rendering out of that sensor, the way it handles the transition from a sharp insect to a creamy out-of-focus background, has a character I haven't gotten from anything else I've used for this. It's a slower, more deliberate way to shoot macro, closer in pace to how you'd shoot a static product than how you'd shoot wildlife, and it rewards patience over reflexes.
If you're weighing this against building out a broader small-subject workflow and want a wider look at how other cullers and editors handle the volume problem, the piece on how AI photo culling actually works covers the mechanics in more depth than I have room for here. And if the bigger issue is simply that stacking sessions eat your whole morning by the time you've sorted the take, these workflow speedups are worth a look regardless of what camera produced the files.
Frequently Asked Questions
Can the Leica M11 autofocus on insects at all?
No. The M11 has no autofocus system in any mode, macro or otherwise. Every M-mount lens is a manual helicoid. For macro work you're focusing either through the rangefinder patch (only useful above roughly 0.7m) or via live view with focus peaking for anything closer, which covers essentially all genuine macro distances.
Does the rangefinder patch do anything useful for close-up work?
Past its coupling limit, no, the patch keeps moving but stops corresponding to actual focus. Some lenses with goggle attachments, like the old Leica Macro-Elmar-M 90mm f/4, re-couple the rangefinder mechanically through a magnifier, but most macro-capable M-mount lenses simply drop you into live view once you're inside a meter.
What's the minimum kit to get started with macro on an M11?
A lens that actually close-focuses (the Voigtlander APO-Lanthar 65mm f/2 Macro is the easiest recommendation), and ideally the Visoflex 2 for eye-level live view since composing off the rear screen at ground level gets old fast. A small tabletop focus rail is close to essential once you start stacking anything beyond a single frame.
Why do insect macro shots need focus stacking on this camera specifically?
At high magnification, depth of field drops to a few millimeters or less even stopped down, so a single frame rarely holds a whole insect in focus. Because the M11 has no automated stacking mode, you rack focus manually between shots on a rail and merge the results afterward, which is why a single subject can produce twenty or more near-identical frames that need sorting through before you find the keepers.