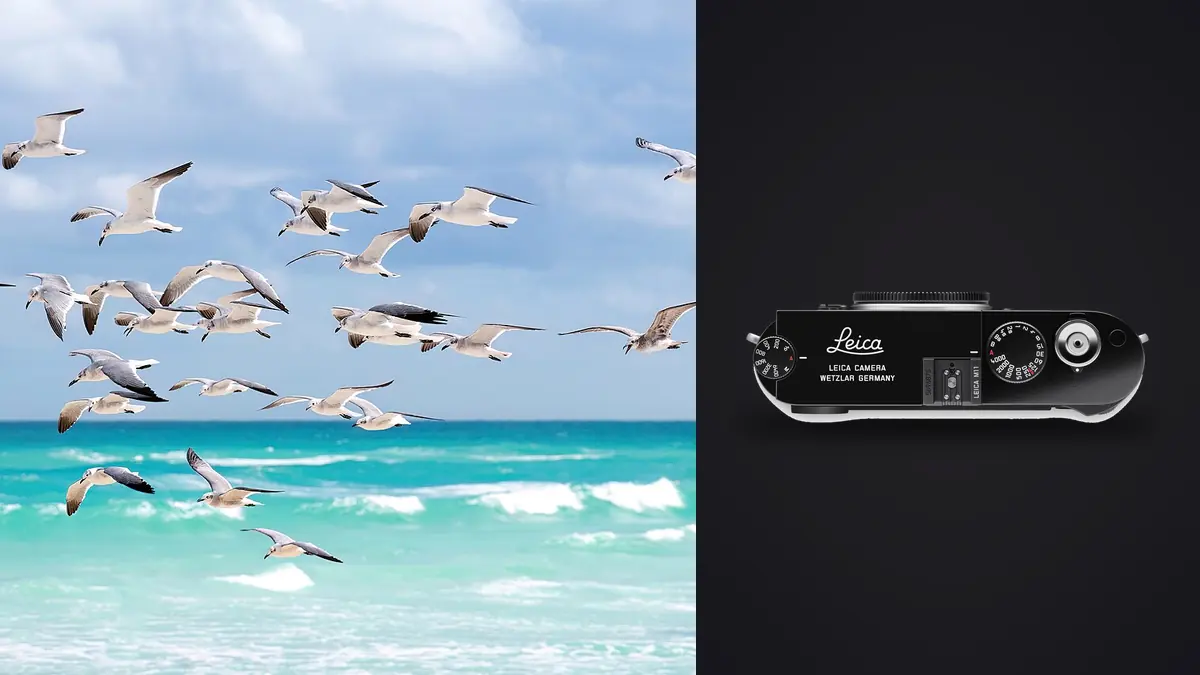
Nobody designs a rangefinder for birds in flight. There is no autofocus motor, no subject tracking, no burst mode that keeps pace with a peregrine stooping on a pigeon. And yet I've spent parts of the last two winters doing exactly this with a Leica M11, mostly because I already owned the body for street and travel work and got curious whether the discipline would translate. It does, but only if you throw out every assumption you've built around AF cameras first.
Why Anyone Would Try This With a Manual-Focus Camera
The honest answer is image quality and discretion, not convenience. The M11's sensor resolves detail that most autofocus wildlife rigs only approach with much longer, much heavier glass, and the shutter (especially in electronic mode) is close to silent, which matters more than people expect near skittish waders and raptors on a perch. There's also a slower, more deliberate rhythm to the whole exercise. You stop chasing focus points around a viewfinder and start reading behavior: which way the bird is facing, where the wind is pushing it, how long before it commits to a line. That's a genuinely different skill than panning an AF body, and for some subjects it produces frames that look different from the flood of AI-tracked, tack-sharp-everywhere images that fill most bird photography feeds now.
None of that makes the M11 a sensible first camera for birding. If your priority is a high hit rate on erratic small birds, buy something with phase-detect tracking and a 20+ fps burst. This article is for the smaller group of people who already have an M-mount kit, or who want the specific look and workflow a rangefinder forces on you, and want to know what actually works.
The Specs That Actually Matter for Flight Work
Leica markets the M11 on its 60-megapixel BSI sensor and Triple Resolution Technology, which lets you shoot the full 60MP file or switch to a 36MP or 18MP output from the same sensor. For flight photography this isn't a gimmick, it's a genuine trade-off between file size, buffer depth, and how much cropping headroom you'll have later when the lens couldn't get you close enough.
| Resolution mode | Output | Typical compressed DNG size | Rough buffer depth (UHS-II card) | Where it earns its keep |
|---|---|---|---|---|
| DNG-L | 60MP | ~75-85MB | Roughly 10-12 frames before writing catches up | Distant subjects you know you'll need to crop hard afterward |
| DNG-M | 36MP | ~45-50MB | Roughly 20-25 frames | The setting I leave the camera on for most sessions; enough resolution to crop a wingspan tight without babysitting the buffer |
| DNG-S | 18MP | ~20-25MB | 40+ frames | Fast panning along a known flight line where you want more attempts per pass |
The other specs that matter are less flattering. Continuous shooting tops out around 4.5 frames per second, mechanically limited, which is a fraction of what a modern mirrorless wildlife body offers. There's no in-body stabilization, so slower shutter speeds during overcast flybys punish handheld technique more than they would on an M11's competitors. And of course, no autofocus at all, not even contrast-detect assist unless you're using the optional Visoflex EVF with focus peaking, which most of my flight work doesn't rely on because the lag between what the sensor sees and what shows in the finder is enough to lose a fast bird entirely. The mechanical rangefinder patch, viewed through the optical finder, is what I actually use.
Zone Focusing Is the Whole Technique
You cannot autofocus-track a bird with an M11. What you can do, and what generations of rangefinder photographers did before autofocus existed at all, is preset a zone of acceptable sharpness using the depth of field scale on the lens barrel, then wait for the subject to fly into it. This only works because you commit to a location before the bird arrives, not during the pass.
Reading the flight line before you preset anything
Ten minutes of watching a stretch of shoreline or a nesting cliff tells you more than any camera setting. Gulls working a tideline tend to repeat the same low glide along the water's edge. Herons commute between two or three fixed perches on a predictable schedule. Raptors riding a thermal circle a known patch of sky. Pick one recurring line, not the whole sky, and set up for that line specifically. Trying to zone-focus a random patch of open air is how you burn a card on nothing.
Setting the zone
Once you've picked your line, meter and set focus manually to the midpoint distance of that line using the lens's engraved distance scale, not the rangefinder patch itself (the patch is for confirming a single static distance, not for real-time tracking). Stop down enough that your depth of field covers the near and far ends of the line. At f/8 with a 135mm lens focused around 15 meters, you get a working zone of roughly a meter and a half in each direction, enough to cover a bird's forward travel across a few frames if your shutter speed is fast enough to freeze the wingbeat.
Working the aperture-shutter trade
Because you're relying on depth of field rather than tracking accuracy, you generally want to shoot one to two stops narrower than you would with an AF lens, which pushes ISO higher than most wildlife shooters are used to on a rangefinder body. The M11's native ISO range and clean files up through the low thousands make this workable in decent light; in flat winter overcast it gets harder and I've had to accept shutter speeds slower than I'd like just to hold f/8 and a usable zone.
| Flight behavior | Aperture I use | Where I preset focus | Keeper rate, honestly |
|---|---|---|---|
| Straight glide along a repeated line (gulls, herons) | f/8 | Midpoint of the line, on the distance scale | Roughly 1 sharp frame in 4 to 6 |
| Liftoff from a fixed perch | f/5.6 to f/8 | The perch itself, before the bird moves | Roughly 1 in 3, since the bird starts inside your zone |
| Erratic small passerines (swallows, swifts) | f/11 | Widened zone, accept some softness at the edges | As low as 1 usable frame in 15 to 20 |
Those numbers are from my own logbook, not a lab test, and they'll shift with light, lens, and how familiar you are with a given site. But they set expectations correctly: this is not a technique for someone who wants a 90% hit rate walking away from a session.
Lenses Worth Actually Carrying
Native M-mount glass tops out in practical terms around 135mm, and the 135mm APO-Summicron-M is the lens I reach for most often, sharp wide open and forgiving enough of small focus errors that it partly compensates for the lack of AF. Beyond that focal length you're either accepting a smaller subject in frame or adapting R-mount or third-party telephotos, which brings its own headaches: heavier glass on a body that was never built to balance one, and rangefinder coupling that becomes less reliable the longer the lens gets. Past roughly 135mm I stop trusting the rangefinder patch for critical focus and lean on the depth of field scale and zone technique described above almost exclusively.
The 60-megapixel sensor's real contribution here isn't reach, the Triple Resolution modes don't optically crop the frame, they just change how the same full sensor readout gets processed. What the resolution actually buys you is cropping headroom after the fact. A bird that fills a quarter of the frame at 60MP still leaves you a file with enough resolution to print or publish after a hard crop, which matters a lot when your longest practical lens is 135mm and the bird is 30 meters out.
What the Session Looks Like Once You're Home
This is where a manual-focus flight session punishes you if you don't have a plan. A single afternoon along a decent stretch of shoreline, shooting DNG-M in bursts whenever a bird enters your zone, easily produces six or seven hundred frames. Most of them are out of the zone, motion-blurred, or duplicates of the same pass from slightly different points in the sequence. Going through that by eye, full-screen, one file at a time, is how an evening disappears.
I run everything through imagic before I open a single frame in an editor. The local sharpness and focus scoring is what actually matters here, since it's built to separate genuinely in-focus frames from close-but-soft ones, which is precisely the failure mode zone focusing produces: not blur from camera shake, but a bird that drifted a few centimeters outside the depth of field window. The duplicate and burst clustering helps too, since several consecutive frames of the same pass along a known line look nearly identical and don't need reviewing one by one. Because it processes everything locally rather than uploading a shoot to the cloud, I can run the cull on a laptop at the car between sessions rather than waiting until I'm back at a desk with a real connection.
Once the keepers are separated out, I lean on the apply_my_style preset, trained on my own past edits rather than a generic look, to get a consistent starting point across a session shot in changing light over a few hours. It's not a substitute for individual adjustment on the best frames, but it means the 80 percent of keepers that just need a competent baseline get there in seconds instead of being edited one at a time from scratch. If you're building out a workflow like this from nothing, the general principles in how AI photo culling actually works apply directly, and the culling habits in speeding up a photo workflow are worth adopting even if you never touch a rangefinder.
Where This Setup Genuinely Falls Short
I want to be direct about the limits rather than talk the M11 up as a secret wildlife weapon. Fast, erratic subjects in low light are close to a lost cause; you'll get frames, but the ratio of keepers to attempts is low enough that a session can feel discouraging if that's your only measure of success. Long lenses feel wrong on the body, both in balance and in rangefinder coupling accuracy, so if your subject regularly requires 400mm-equivalent reach, this isn't the tool. And the 4.5fps ceiling means a bird that changes trajectory mid-pass, banking hard to avoid a gust, will simply be gone before your next frame fires. None of that changes with better technique. It's a hardware ceiling, and the honest move is to plan sessions around subjects and light where that ceiling doesn't matter much: predictable glide paths, decent light, and patience with a low hit rate in exchange for files that hold up at full resolution.
Frequently Asked Questions
Can the Leica M11 autofocus on birds in flight at all?
No. The M11 has no autofocus system of any kind, on stills or otherwise. Focus is entirely manual, either through the mechanical rangefinder patch in the optical viewfinder or, with the optional Visoflex EVF, focus peaking on a live feed. For flight photography specifically, neither method tracks a moving subject in real time, which is why zone focusing (presetting a distance and depth of field, then waiting for the bird to enter it) is the only technique that actually works.
What lens should I start with for birding on the M11?
The 135mm APO-Summicron-M is the most practical native option, sharp enough wide open to forgive small zone-focus misses and still short enough that the rangefinder coupling stays reliable. Longer reach generally means adapting R-mount or third-party telephotos, which adds weight and reduces focus coupling accuracy, so most of that work shifts to using the lens's distance scale rather than the rangefinder patch.
Is the 60-megapixel sensor actually useful for wildlife, or just marketing?
It's useful, but not for the reason people assume. The Triple Resolution modes don't give you extra optical reach, they change file size and processing, not field of view. What the high resolution actually buys is cropping room after the shot: a distant bird photographed at full resolution can still be cropped tight in post and hold up, which matters given that M-mount practical reach tops out well short of what dedicated wildlife lenses offer.
How do I deal with the sheer number of frames a manual-focus session produces?
Expect a high miss rate and plan your review process around it rather than fighting it. A single afternoon session can produce several hundred frames, most of them out of the focus zone or duplicates of the same pass. Running that through a local culling pass, sorting by actual sharpness rather than scrolling through every frame by eye, is the difference between reviewing a shoot in twenty minutes versus losing an evening to it.