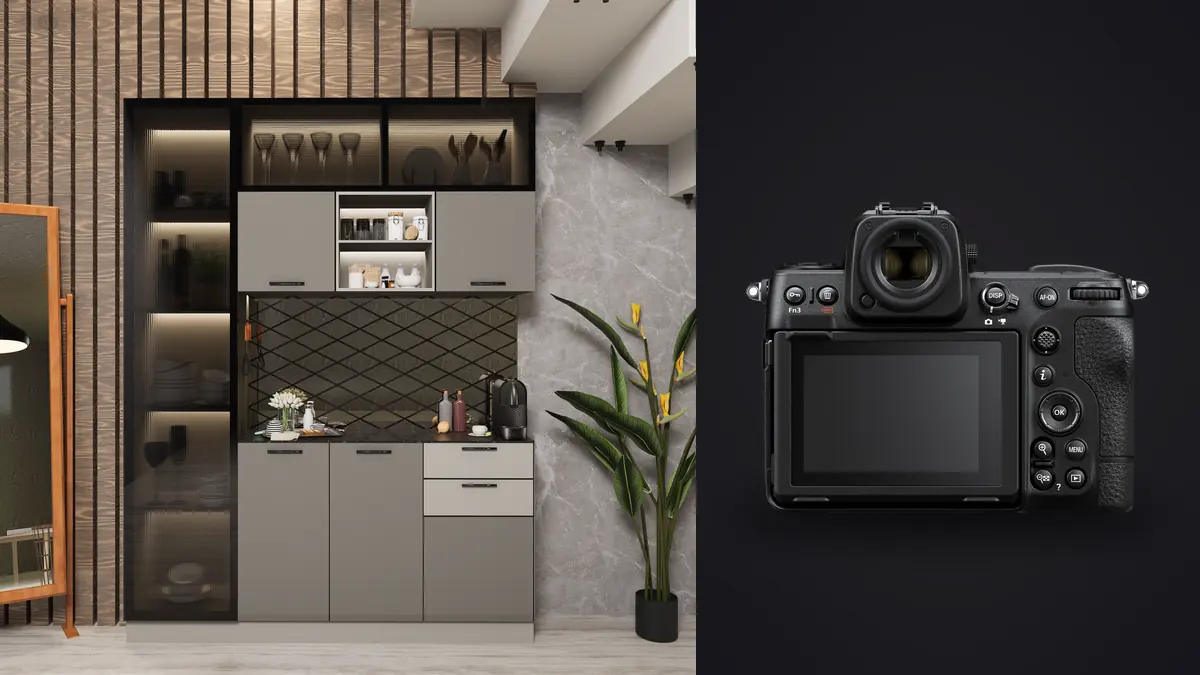
I bought a Nikon Z8 in early 2024 to replace an aging D850, mostly for general stills work. I did not buy it for architecture. But within a couple of months it had quietly become my main body for interior and building shoots too, and three years into shooting a mix of interiors, hospitality spaces, and the occasional building project of my own, it has earned that spot honestly rather than by default.
This is not a spec sheet regurgitation. It is what actually changes when you put a Z8 in front of a stairwell, a lobby, or a kitchen with three different light sources fighting each other.
What the sensor actually buys you indoors
The Z8's 45.7-megapixel stacked sensor is not new technology at this point, it is the same sensor as the Z9 in a smaller body, but the base ISO of 64 is the detail that matters most for interior work. Rooms are contrast problems before they are composition problems: you have a bright window wall on one side and a dim hallway on the other, and you need both to hold detail without looking flat or muddy. Shooting at ISO 64 with a stopped-down aperture gives you enough headroom in the raw file that a lot of moderate-contrast rooms can be handled with a single exposure and a graduated pull in post, rather than a full bracket. That said, I still bracket most rooms. Dynamic range headroom reduces how often you need five or seven frames, it does not eliminate the need entirely. For a room with direct sun coming through glass, I am still shooting a 3 to 5 stop spread and blending, because no 14-bit raw file is holding a sunlit exterior and a shadowed interior corner in one exposure without the shadows going noisy or the highlights clipping.
Lenses: what I actually reach for
Nikon still has not released a native Z-mount PC lens, which surprised me when I first switched systems. If you want shift or tilt movements, you are adapting an F-mount PC-E lens through the FTZ II adapter, focusing manually, and accepting that autofocus is off the table for those frames. I keep both approaches in rotation depending on the job.
| Lens | Movements / AF | Best for | What I've noticed in practice |
|---|---|---|---|
| Nikkor Z 14-24mm f/2.8 S | None, full AF | Tight rooms, real estate volume work | Corner sharpness is good enough to skip a tripod on quick listing shoots; distortion is easy to correct but you still need to fix verticals by hand |
| Nikkor Z 20mm f/1.8 S | None, full AF | Small bedrooms, bathrooms, low-light interiors | Less distortion than the 14-24mm at the wide end, and the extra stop matters in rooms without good ambient light |
| Nikkor Z 24-70mm f/2.8 S | None, full AF | Detail shots, tighter architectural framing, exteriors | My go-to once the wide establishing shots are done; less useful for cramped interiors |
| PC-E 19mm f/4E ED (adapted) | Shift and tilt, manual focus | Full-height interior verticals, formal architecture documentation | Slower to work with, but a shifted frame with parallel verticals needs almost no correction in post, unlike a corrected wide-angle shot |
| PC-E 24mm f/3.5D ED (adapted) | Shift and tilt, manual focus | Building exteriors, street-level facade shots | My most-used PC lens; the extra reach over the 19mm suits most residential and commercial exteriors |
The honest answer for most interior work is that the rectilinear zooms cover 80 percent of what a listing or hospitality client needs, and the correction you do in Lightroom or Photoshop for converging verticals is close enough that clients never notice the difference. The PC-E lenses come out for architecture firm work where the client is going to print large or where a facade needs to read as genuinely parallel, not just corrected-looking. If you have never worked with a manual tilt-shift lens, budget real time for it. I am shooting maybe a third as many frames per hour with the 19mm PC-E as I am with the 14-24mm, because focusing, checking the shift, and re-leveling the tripod all take longer than autofocus and a quick recompose.
Pixel-shift mode: worth the extra time, sometimes
The Z8 has a pixel-shift shooting mode that fires a burst of frames while shifting the sensor by sub-pixel increments, then merges them (through Nikon's NX Studio, not in-camera) into a single higher-resolution file. Depending on how many frames you shoot, Nikon's own numbers put the merged output as high as roughly 180 megapixels in the 32-shot mode. I have used it on maybe a dozen jobs total.
| Mode | What you get | When I actually use it |
|---|---|---|
| Single frame | Standard 45.7MP raw | Default for almost everything, including most client-facing interior work |
| 4-shot pixel shift | Same resolution, reduced noise and moire from color interpolation | Patterned fabrics, tile grout lines, fine textile close-ups where moire shows up in a single-frame capture |
| 32-shot pixel shift | Merged file up to roughly 180MP | Large-format architectural prints only; I have used this on exactly two occasions where the print was over a meter wide |
The catch that trips people up: pixel shift needs a completely static scene. Not "nobody is moving," but nothing is moving, including curtains near an HVAC vent, a ceiling fan, or plants near an open window. I have thrown away pixel-shift attempts because a barely visible breeze from an air handler blurred a curtain edge across the merged frames. For a normal listing or portfolio shot this is a total non-issue. For a hero image somebody wants printed at building-lobby scale, it is worth the setup time, but only after you have killed every source of movement in the room.
Getting exposure right without fighting mixed light
Most interior jobs put you under two or three color temperatures at once: daylight through windows, tungsten or warm LED practicals, and sometimes fluorescent office lighting that nobody has replaced in a decade. I white balance for the ambient interior light and let window light run warm-to-neutral in the raw file rather than chasing a single "correct" temperature, because there usually isn't one. Gels on strobes or on-camera flash can neutralize practicals if you're supplementing with your own light, but for available-light interior work, which is most of what I shoot, I am relying on bracketing and selective correction in post. For a typical room I am shooting a base exposure for the ambient interior light, one or two stops down for the window, and if there's a very bright exterior visible through the glass, another exposure two or three stops below that. That is a five-frame bracket per angle, and on a shoot with fifteen or twenty setups across a house or office, you are generating seventy-five to a hundred raw files before you've even started the detail shots. This is where the actual bottleneck in architectural photography shows up: not the shooting, but working through everything you captured afterward.
Sorting through a hundred nearly-identical frames
A tripod-locked bracket sequence is a specific kind of file management headache. The frames are not duplicates in the usual sense, each one is exposed differently, but they are visually similar enough at a glance that manually clicking through a folder of four hundred raws from a single house is genuinely tedious. I run everything through imagic before I open Lightroom now. Its duplicate and burst clustering groups each bracket sequence together automatically instead of leaving me with one long flat folder, and the local sharpness scoring catches the rare frame where someone walked past on a hardwood floor and put just enough vibration through the tripod to soften a shot that otherwise looks fine at thumbnail size. On a five-shot bracket that's not usually an issue since exposures are near-identical apart from brightness, but on handheld detail shots between setups it saves real time. Everything runs locally on the machine too, which matters more than I expected when site photos from pre-release commercial developments should not touch a cloud service before launch. If you want a broader look at how automated culling actually scores focus and groups bursts, I wrote about the mechanics in how AI photo culling works, and if the file-volume problem sounds familiar from other kinds of shoots, most of what applies to interiors applies just as much to general workflow speed on any high-frame-count job.
Stabilization, tripods, and where IBIS actually helps
The Z8's in-body stabilization is rated up to roughly 6 stops depending on the lens, and for interior work it genuinely changes what's shootable handheld. Walking a hallway or a stairwell where setting up a tripod for every three feet of movement isn't practical, I can handhold at a quarter or half second and get a usable frame more often than not, especially with the 20mm f/1.8 S. That said, IBIS is not a tripod replacement for the shots that matter. For hero angles, anything going out as a finished image, and definitely for bracket sequences that need to align in post, I am on a tripod with the VR effectively irrelevant because the camera isn't moving in the first place. The Z8's electronic virtual horizon (accessed on the top info display or through the viewfinder) is one of those small features that saves more time than it should. Getting a camera dead level before a bracket sequence used to mean checking a hot-shoe bubble level, adjusting, checking again. Now it's a glance at the display. For architecture work where converging verticals are the single most common thing a client will flag in review, a level camera at capture time means less correction work later, and less correction means less stretching and softening of pixels near the frame edges.
Cards, buffer, and the parts nobody mentions in reviews
I run a CFexpress Type B card in slot one and an SD UHS-II as backup. For interior work the buffer depth almost never matters, you are not machine-gunning frames the way you would at a wedding reception, but card speed does matter for pixel-shift sequences and for tethered shooting when a client wants to see frames on a laptop during the shoot. USB-C tethering to Capture One or Nikon's own NX Tether works reliably, and for architecture firm walkthroughs where someone from the design team wants to approve angles on the spot, that's been more useful than any in-camera feature. Battery life has never been a limiting factor on an interior shoot. A single EN-EL15c comfortably covers a full day of bracket-heavy work across a large house, and I carry a spare mostly out of habit rather than necessity. The bottleneck on a real shoot day is never battery, it's how many setups you can level, expose, and check before the light through the windows shifts enough to change your brackets.
Where imagic fits into the day after the shoot
Once a shoot is culled down to the frames worth editing, I lean on imagic's apply_my_style feature for the first pass. It's trained on my own past edits rather than a generic preset pack, so a batch of interior brackets comes out already close to how I typically balance shadow lift and white balance on this kind of work, rather than needing me to build a look from a blank slate for every job. I still go in and do manual blending on the trickiest window-versus-interior exposures by hand, and probably always will, but getting eighty frames to a consistent starting point before I open them individually has cut a meaningful chunk off my editing time on multi-room jobs. It's a one-time purchase rather than another subscription stacked on top of Lightroom and Photoshop, which matters when you're running software costs against a modest architecture or real estate day rate.
Frequently Asked Questions
Can I use my old Nikon PC-E tilt-shift lenses on the Z8?
Yes, through the FTZ II adapter. Aperture control works electronically since PC-E lenses have CPU contacts, but focus is entirely manual and there's no autofocus assist. Expect to shoot noticeably slower than with a native AF lens, and budget extra time on site for it.
Is the 32-shot pixel-shift mode worth it for real estate listings?
For standard listing photography, no. MLS and most listing platforms compress images down well below what a 45MP single frame already delivers, so the extra resolution is wasted. It's only worth the setup time (and the requirement for a completely motionless scene) when a client is printing large or needs genuinely oversized files for a portfolio piece.
Does the Z8's stabilization mean I can skip the tripod on interiors?
For walkthrough or behind-the-scenes handheld shots, mostly yes. For anything that needs to match exposures across a bracket sequence, or any shot going to a client as a finished deliverable, no. Bracketed exposures need the frame to be identical between shots, which handheld IBIS, however good, cannot guarantee.
How many raw files does a typical interior shoot actually produce?
On a mid-size house with fifteen to twenty setups and five-frame brackets, I'm usually somewhere between three hundred and five hundred raw files by the end of the day, once you count detail shots and handheld frames between setups. Sorting that volume manually eats a huge chunk of the editing day, which is the main reason I moved culling into imagic rather than dragging through folders in Lightroom first.