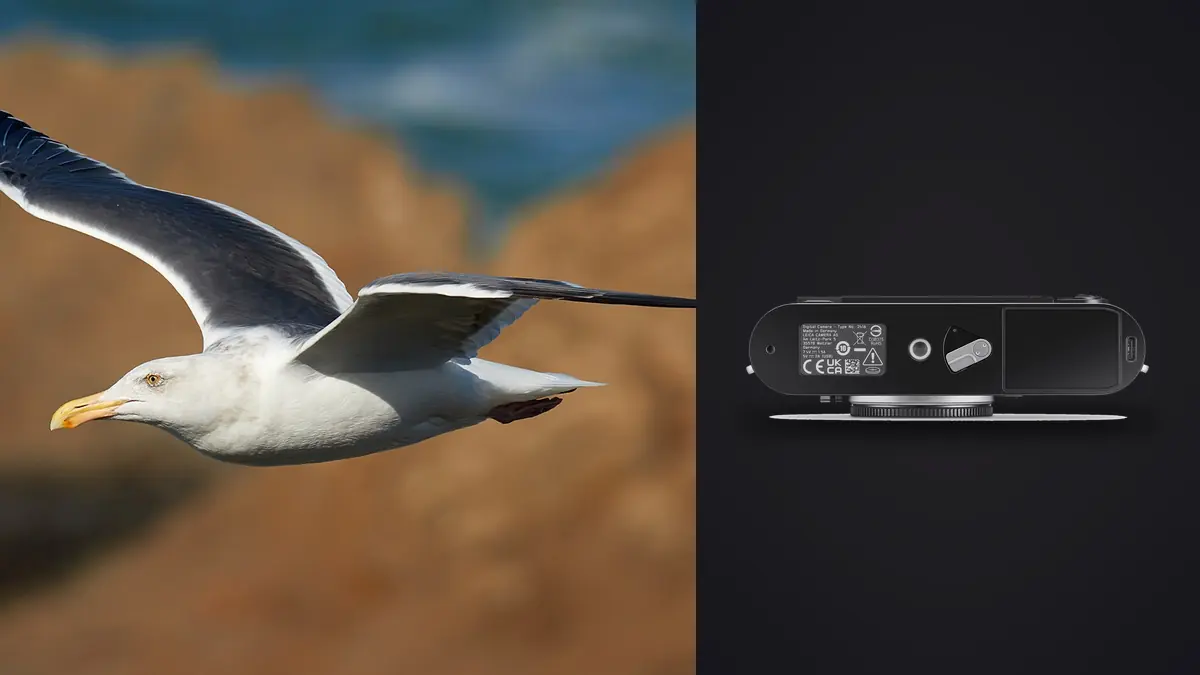
The Leica M11 is not a conventional birds-in-flight camera. It has a manual-focus rangefinder, no in-body stabilization, a modest continuous sequence, and an M-mount lens system that is not centered on modern super-telephoto autofocus. Those limitations are fundamental, not settings problems. Yet the M11 can photograph flying birds when the subject follows a predictable path and the photographer builds the setup around distance, timing, and a prepared focus zone.
This is a field-control guide for that narrow but legitimate use. It does not pretend the M11 will track an erratic swallow through branches. It explains how to make repeatable frames of gulls crossing a harbor, seabirds approaching a ledge, waterfowl entering a known landing area, or larger birds following a regular line past a hide.
Use evidence to troubleshoot a missed flight frame
Troubleshooting with a manual-focus rangefinder depends on reading where sharpness actually landed. If the bird is soft but the prepared background plane is sharp, the subject crossed outside the focus trap. If both are smeared in the same direction, camera movement is more likely. If the wings blur while the head and background remain crisp, shutter speed did not match wing motion. A bird that never enters the frame points to position, viewfinder prediction, or timing rather than focus. Recreate only the failed part with gulls or another repeatable flight line, then adjust distance, aperture, or release timing one variable at a time.
Start by choosing a solvable flight pattern
Success begins with subject behavior. A rangefinder is workable when the bird repeatedly crosses a known plane: a harbor wall, a nest approach observed from a lawful distance, a breakwater, a feeding lane, or a shoreline shaped by wind. It is far less workable when the bird changes distance unpredictably or disappears against clutter.
Watch before raising the camera. Note where birds bank, where the background becomes clean, and which landmark marks the desired focus distance. Wind matters because many birds approach and land into it. Sun angle matters because a bird turning across the light may give one useful wing position on every pass. Put the camera position where behavior, background, and illumination converge.
Respect nesting and wildlife restrictions. A repeatable path is not permission to stand close to a nest or block an approach. Use public access, maintain the required distance, and abandon the position if behavior changes because of the photographer's presence.
Choose a lens for framing and rangefinder reality
The M11's optical rangefinder is most natural with moderate focal lengths. Longer M lenses narrow the frame lines and make rapid manual focus more demanding. A 90mm or 135mm lens can work for larger birds at a known distance, but neither provides the reach of a dedicated wildlife lens. The frame will often be environmental, with the bird placed in habitat rather than filling the view.
That limitation can become the point. A gull crossing geometric harbor buildings, a heron passing through morning mist, or a line of geese over a field may need space. Compose for the whole scene and use the bird as an active shape. If the assignment requires feather detail on a small subject at long distance, choose another system.
The optional Visoflex electronic viewfinder can help with precise framing and magnified manual focus before a pass. It still does not create autofocus. Its value is establishing the focus plane and checking the actual lens view, especially with a long lens whose optical frame lines are small.
Build a focus trap instead of chasing focus
Continuous manual refocusing on an approaching bird is the least reliable method. Pre-focus on a physical reference at the expected crossing point: the end of a railing, a patch of water, a post, or an object at the same distance. Then leave the focus ring alone and release the shutter as the bird enters that plane.
Depth of field is the safety margin. A moderate aperture expands the sharp zone around the chosen distance. The exact aperture depends on focal length, distance, and output size, so use a depth-of-field calculator or the lens scale as an approximation, then confirm with actual frames. Do not stop down reflexively to the smallest setting; diffraction and a dark view can cost more detail than a carefully placed, moderately deep zone.
Use the rangefinder patch to set the landmark precisely. If the landmark is too low or outside the final composition, focus first, then reframe without touching the ring. A small removable mark on the lens can identify the working distance if the focus ring is likely to be bumped.
When follow-focus is still possible
A large bird moving laterally at nearly constant distance can be followed with small manual corrections. Keep both eyes open, turn from the hips, and avoid gripping the focus ring so tightly that the camera shakes. For movement toward the camera, a pre-focused zone remains more repeatable than trying to match closing speed.
Configure exposure before the bird arrives
Use manual exposure when the light on the bird is stable and the background changes between dark land and bright sky. Meter from a representative subject or neutral surface in the same light, then protect pale feathers from clipping. Background brightness should not force the camera to change the exposure if the bird remains under the same sun.
Auto ISO can support a fixed shutter and aperture when the light itself changes. Set the shutter fast enough for the species and direction of travel, choose the aperture needed for the focus zone, and place a sensible upper ISO boundary based on the required output. Review the histogram after an early pass. Do not wait until the sequence is over to discover that white wings have no detail.
The M11 offers 60.3, 36.5, and 18.4-megapixel DNG resolutions while using the full sensor area. Full resolution gives the most crop flexibility, which is tempting for distant birds, but it also increases storage and review load. Lower resolution is reasonable when the environmental composition is final in camera. Pick once for the session so a sequence has consistent editing headroom.
Set the controls for one deliberate action
Assign a frequently used control to ISO or exposure compensation, depending on the chosen mode. Keep the camera in continuous release for the crossing, but expect short sequences rather than a long machine-gun burst. The buffer is not the main obstacle; focus-plane timing is.
Choose a shutter mode after testing the scene. The mechanical shutter avoids the spatial distortion that an electronic readout can show on fast wing motion. The electronic shutter may be useful for silence, but a rapidly moving subject can reveal skew, and artificial lighting can band. For daytime flight, the mechanical option is the conservative baseline.
Turn off automatic image review so the display does not interrupt observation after every frame. Keep the rear screen available for deliberate checks between passes. Set a clear viewfinder frame-line preview and remove menu shortcuts that could be pressed accidentally while panning.
Use body movement to keep the composition stable
Stand with feet apart and the lead foot aimed along the expected pan. Start tracking before the bird reaches the composition, rotate smoothly from the waist, and continue after releasing the shutter. This follow-through reduces abrupt stopping and makes the background flow consistent.
Leave more space in front of the bird than behind it. The M11's optical viewfinder shows outside the active frame lines with many lenses, which can help anticipate entry. Remember that frame-line accuracy varies with distance. Keep a little more edge margin than a tightly cropped electronic view might suggest, then refine the final crop later.
Do not fill every crossing with exposures. Watch wing rhythm and release around a readable shape: wings raised, wings level, or a bank that shows the upper surface. The camera's restrained sequence rate encourages this kind of timing. It is a limitation for unpredictable action but a workable discipline for repeated passes.
Review failures by category, not by frustration
| Observed failure | Likely cause | Field correction |
|---|---|---|
| Background sharp, bird soft | Bird missed the prepared plane | Move the focus reference or release earlier. |
| Whole bird smeared | Shutter too slow or pan stopped | Raise shutter speed and follow through. |
| Wing shape skewed | Electronic shutter readout | Return to the mechanical shutter. |
| White feathers blank | Highlight exposure too high | Reduce exposure and check warnings. |
| Bird too small to carry the frame | Lens and position lack reach | Design an environmental composition or change systems. |
At ingest, separate technical failure from a frame that simply has a less useful gesture. imagic can assess sharpness and exposure and group nearby duplicates locally, but a manual-focus flight frame may be intentionally environmental. Review the top candidates yourself before final status decisions. The local desktop workflow keeps RAW files on the computer, and the camera hardware guides cover more conventional action setups.
Verify rangefinder alignment before the field session
A pre-focused flight zone depends on the lens scale and rangefinder coupling agreeing with the recorded plane. Check the combination at several real distances before relying on it. Photograph a textured target placed near the expected crossing distance, focus through the rangefinder, and inspect the DNG at full detail. Repeat from the same approach direction on the focus ring.
If the rangefinder image aligns but recorded focus consistently sits in front or behind, do not compensate by memory during an important session. Have the body and lens evaluated or use the electronic viewfinder to establish focus directly from the sensor. Different lenses can reveal different coupling behavior, so verifying one normal lens does not automatically validate a longer one.
Temperature and a bumped focus ring can still change the prepared zone. Recheck the physical landmark after moving position, changing lenses, or carrying the camera through a crowded route. This calibration work does not make the M11 track a bird, but it removes a preventable mechanical uncertainty from a technique that already has little focus margin.
A compact field routine
- Observe the path, wind, sun, and background before choosing a position.
- Select a focal length that makes a complete frame without relying on an extreme crop.
- Pre-focus on a lawful, repeatable crossing point and establish useful depth of field.
- Set exposure for the bird's light, protect pale feathers, and make an early test.
- Use the mechanical shutter unless silence has a clear benefit and skew has been checked.
- Begin the pan early, release a short sequence at the focus plane, and follow through.
- Review focus placement between passes, then change only one variable at a time.
Frequently asked questions
Does the Leica M11 have autofocus for birds?
No. It is a manual-focus rangefinder. Bird-in-flight work therefore depends on pre-focusing, depth of field, predictable paths, and timing rather than subject tracking.
Is the Visoflex an autofocus solution?
No. The optional electronic viewfinder can improve framing and help establish manual focus, but it does not add an autofocus motor or tracking system.
Should full 60-megapixel DNG always be used?
Use it when crop latitude or large output matters. The lower DNG resolutions are sensible when the environmental composition is already settled and lighter files improve the workflow.
When is another camera the better choice?
Choose an autofocus wildlife body when birds are small, distant, erratic, or hidden by clutter, or when the brief requires a high proportion of tightly framed action. The M11 works best for prepared, contextual frames.