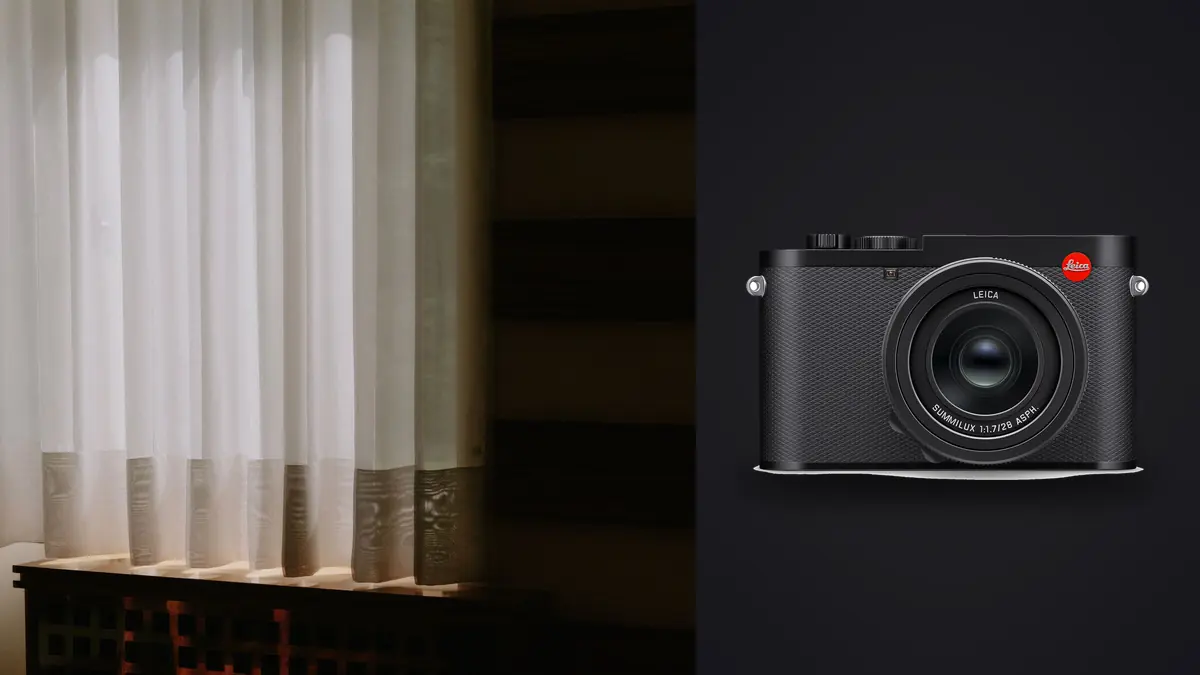
Boudoir troubleshooting should protect the subject before it protects the photograph. A soft eye, unflattering perspective, uneven skin color, or visible private detail can all make a frame unusable, but the corrective process must never turn an intimate session into an extended technical test. The Leica Q3's fixed wide-angle lens and compact form reward careful distance, camera height, and lighting discipline.
This Lens and Location Guide treats the Q3's fixed lens and the room as one design problem. Camera distance controls perspective, while window direction, wall color, mirrors, privacy, and the subject's movement define viable positions. Technical symptoms are included only where they help evaluate or improve a planned location.
Map the room around the fixed 28mm lens
Measure or pace the usable camera-to-subject distance after allowing for a closed set, lights, reflectors, furniture, and safe movement. The Q3 cannot accept a longer portrait lens, so a tight room may force close perspective that does not suit every pose. Identify the wall or doorway that provides the longest clean axis without exposing private areas.
Choose environmental frames where the 28mm view explains the room, then move to looser body crops that preserve comfortable distance. Digital crop guides can help visualize tighter output, but they do not change perspective. If the brief depends on repeated close headshots with compressed features, another camera and lens may be the responsible tool.
Scout window direction, surfaces, and privacy
Visit at the planned time and observe how direct sun, open shade, and reflected building color enter the room. Check mirrors, windows, polished furniture, televisions, artwork, family photographs, documents, and street sightlines. Decide what must be moved, covered, left visible, or excluded with the subject's agreement.
Plan a changing area and a closed route between set positions. Limit crew and monitor visibility, identify secure card handling, and confirm who may review images. A location is unsuitable if technical convenience requires compromising dignity or consent.
If proportions look wrong, check distance before cropping
The Q3 uses a fixed 28mm lens, so changing framing often means moving the camera. At close distance, features nearest the lens appear larger relative to those farther away. That is perspective, not barrel distortion, and a profile cannot remove it without changing the picture. If hands, feet, knees, or facial features feel exaggerated, increase camera distance and compose more loosely.
Camera height changes the relationship between body planes. A low view can lengthen legs but may also make a knee or foot dominate. A high view can reduce the lower body and emphasize the face or shoulder. Make the choice with the subject's pose and intended expression, not a fixed rule. Show a respectful preview when collaborative adjustment is useful.
Digital crop modes alter framing guidance and output options but do not change the physical perspective from the capture position. Moving farther away changes perspective; selecting a tighter crop only removes edges. Use that distinction to decide whether the problem can be solved in the current file or needs a new camera position.
If the near eye is soft, locate the focus plane
Inspect eyelashes, brows, hair, fabric, and background texture to find where detail peaks. A sharp far eye with a soft near eye usually indicates placement or a head angle beyond the available depth. No crisp plane may indicate camera movement, subject movement, diffusion, or missed focus. A glowing filter and shallow depth can overlap, so test them independently.
Use a small, controllable AF area for a still pose and place it on the nearer eye or another clear facial edge. Face or eye recognition can help during movement, but mirrors, framed art, another person, and partial faces can compete. Watch the target indicator during rehearsal and keep a direct focus-area option available.
Increase tolerance with a slightly smaller aperture, greater distance, a more parallel head angle, or a deliberate pose pause. Stabilization can reduce camera movement, but it does not stop breathing, hair, or the subject's shift through the focus plane. Choose shutter time for human movement rather than relying on stabilization alone.
If the image is sharp but looks harsh, audit every source
Small fixtures close to the subject produce defined transitions and reveal skin texture. That may be intentional, but it should not be confused with excessive camera sharpness. Increase apparent source size, bring diffusion closer where safe, feather the light, or use a nearby wall as a broad bounce. Confirm that the light and modifier are stable and cannot fall onto the set.
Window light can become contrasty when the subject moves only a short distance toward it. Mark the usable zone, observe how the highlight side changes, and rotate the pose before reaching for heavy shadow recovery. White bedding can act as fill; dark walls and clothing can remove it. The room is part of the lighting design.
Reset clarity, texture, sharpening, and noise reduction before evaluating skin. A processing preset can create brittle pores, halos along hair, or waxy transitions even when capture was gentle. Build a neutral RAW rendering first, then add local treatment according to the agreed retouching level.
If skin color shifts, remove hidden mixtures
Window daylight, warm bedside lamps, overhead LEDs, colored signs, and reflected wall paint can affect different parts of the body. Auto white balance cannot make all of those sources neutral simultaneously. Turn off unnecessary fixtures, gel intentional lights when appropriate, or accept a controlled warm-to-cool transition as part of the scene.
Photograph a neutral reference under the key light at the subject position. Repeat it when moving to another room or changing curtains and practical lamps. A gray card establishes a white-balance reference, not a complete skin profile, and it should not erase natural variation or creative color that the subject approved.
Check exports on a managed display and in the requested color space. Saturated fabric, colored LEDs, and warm highlights may reproduce differently on unmanaged phones and browsers. Make a small proof set before processing the session, and keep color changes separate from smoothing or reshaping decisions.
If bands appear, test the room lights
Horizontal brightness or color bands can come from flickering LED or fluorescent sources interacting with electronic capture. Photograph a plain wall at several shutter times while keeping the light and exposure otherwise stable. If band pattern changes with shutter time, test the Q3's relevant shutter or flicker options and a different fixture.
A partly dark flash frame points toward synchronization or trigger timing. Reduce shutter speed, simplify to one light, and confirm compatibility for the active shutter mode. A randomly dim whole frame may instead indicate missed firing, depleted batteries, poor connection, or a flash that has not recycled. Separate those symptoms before replacing the lighting plan.
Do not assume a problem can be repaired uniformly in post. Banding can vary across frames and skin, fabric, and background. Solving the source during a controlled test is more reliable than promising invisible correction after the subject has left.
If mirrors or polished surfaces reveal too much
Scan the full frame for the photographer, light stands, doorways, screens, labels, medication, correspondence, family photographs, and unintended body angles. Mirrors can show content outside the direct composition, while dark televisions and windows become reflective once a light is added. Use the camera's edges and corners as a checklist.
Change camera position or flag the reflection before asking the subject to repeat a pose. A polarizing filter can alter some non-metallic reflections but will not remove every mirror image and may change exposure or skin highlights. Test it rather than treating it as a universal fix.
Keep a written retouch note for small approved removals, but do not rely on later editing for privacy. The cleanest workflow prevents identifying or intimate details from entering the frame. Confirm any background personal items the subject wants visible or hidden.
If posing feels strained, reduce technical interruption
A pose can look stiff because the subject is uncomfortable, holding it too long, or receiving contradictory directions. Stop adjusting the camera and return to clear communication. Demonstrate only where appropriate, offer options, allow breaks, and make it easy to decline a pose without explanation. Consent is continuous and can be withdrawn at any point without pressure or penalty.
Set focus and exposure during a clothed or non-sensitive rehearsal when possible. Place marks for camera and light rather than repeatedly repositioning the subject. Use short sequences around breathing or natural movement, then check one frame for technical needs. Constant rear-screen inspection can make the session feel evaluative and disconnected.
Arrange a chaperone or support person according to the subject's preference and professional policy, and keep the set closed to essential people. The camera setup is only successful if the process remains safe and respectful.
If skin brightness changes across the body, trace light falloff
A face near the window and legs farther into the room can receive materially different illumination. Before painting exposure corrections through the RAW file, measure or compare those positions and decide whether the gradient supports the pose. Move the subject, rotate the body, bring in broad fill, or change the key distance so the transition is intentional.
Watch bedding, walls, and clothing as reflectors. White sheets can lift one side of the body while a dark robe absorbs fill; a colored headboard can tint nearby skin. Make a simple frame with a neutral surface at both positions to separate source falloff from reflected color. Local adjustments can refine a controlled gradient, but they should not become a substitute for noticing how the room lights the whole pose.
If the files are exposed beyond the intended team
Stop sharing and identify every copy, link, device, and recipient involved. Revoke access where the platform permits, document what happened, and communicate according to the agreed incident process and applicable obligations. Do not hide a privacy failure behind technical language.
Prevention begins before capture. Use written scope and consent, define who may view files, disable unnecessary wireless transfer, secure cards, encrypt appropriate storage, and keep proofs private. Avoid cloud services that were not explicitly approved for the material. Delivery links need expiration and access controls suited to the risk.
imagic processes supported files locally, which can keep culling and non-destructive editing on the workstation. It does not replace operating-system security, encrypted backup, consent records, or controlled delivery. The desktop overview describes its local workflow, and the AI and technology guides discuss responsible automation.
Trace inconsistent selects back to the review method
Separate technical, expressive, and consent-related decisions. First identify unusable focus, motion, exposure, and accidental frames. Next compare expression, pose line, hand position, fabric, background, and variety. Finally apply the subject's approval process and remove anything outside the agreed boundary. A single numeric score cannot combine those stages responsibly.
When using local analysis, scan before analysis and remember that culling sets status rather than deleting. Review rejected groups because a less conventional expression may be the strongest approved portrait. If stored scoring seems incorrect, check freshness; reselecting ranks stored scores, while stale files need reanalysis.
Do not use a learned style unless a profile has actually been created from the photographer's edits. Test any batch treatment on different skin tones, fabrics, and lighting states. Export applies stored adjustments, so inspect rendered samples outside the editor before delivery. Document every change that affects the subject's approval.
Frequently Asked Questions
Why does the Leica Q3 make nearby features look larger?
Close camera distance changes perspective and enlarges nearer features relative to farther ones. Step back and reframe; a distortion profile or digital crop cannot reproduce that distance change.
Can stabilization prevent soft portrait eyes?
It can reduce camera movement, but it cannot stop subject motion or add depth of field. Check the sharpest plane, shutter time, aperture, distance, and pose angle.
Is local processing enough to secure boudoir files?
No. It avoids sending files to a cloud processor, but secure devices, encrypted backups, restricted access, consent records, and controlled delivery are still necessary.