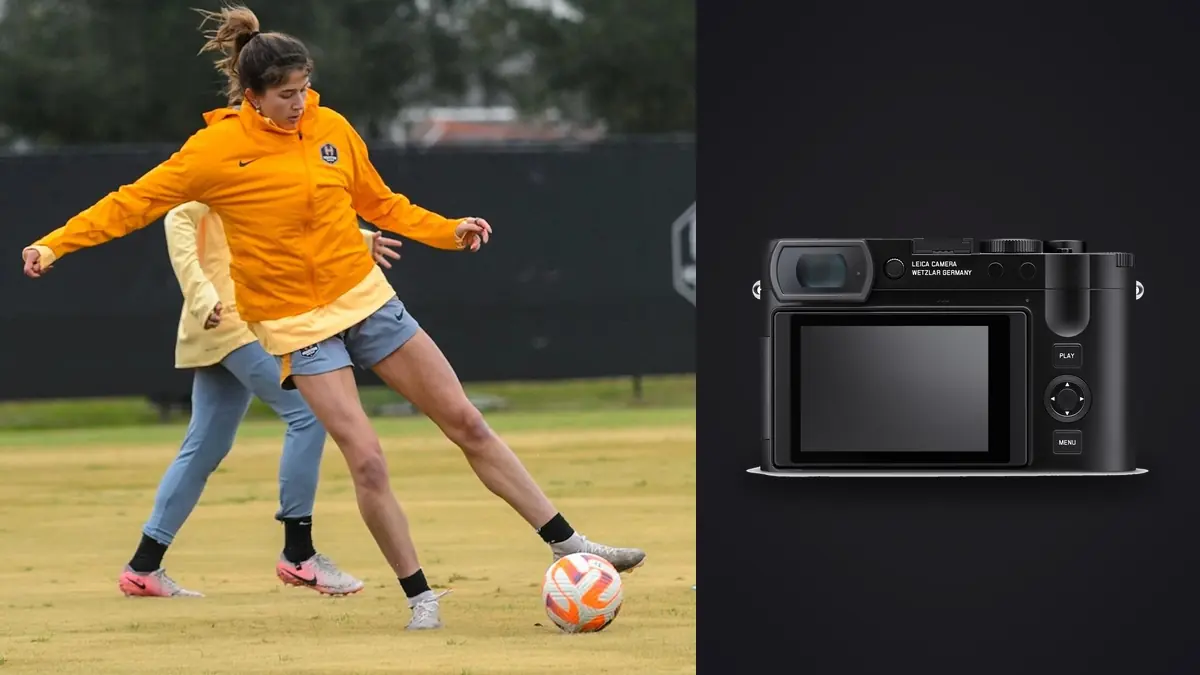
The Leica Q3 is not a conventional track camera. Its fixed 28mm f/1.7 lens favors close environmental action, its high-resolution full-frame sensor supports moderate cropping, and its compact body handles very differently from a gripped camera with a long zoom. Used from a safe, authorized position, those limits can create pictures that place speed inside the venue rather than isolating a distant subject.
A productive setup therefore starts with access and framing, not the fastest burst option. The Q3 works best near starts, paddocks, athlete preparation areas, cycling corners, or trackside positions where a wide view has purpose. It is a poor substitute for a telephoto when barriers keep the camera far away.
Define the Q3 role within the coverage
Assign the camera scenes that fit 28mm: a runner leaving the blocks from an approved side position, a cyclist leaning through a nearby corner, mechanics around a vehicle, spectators reacting, or an athlete framed with the stadium. These images explain place and energy. They should not be judged by the subject isolation of a long lens.
If a second camera is available, let the Q3 handle context while the other body covers distant action. Synchronize clocks so both streams sort correctly. If it is the only camera, accept that some events cannot be covered tightly and build the assignment around access rather than planning to crop every frame severely.
Create a shot list divided by distance: close action, medium environmental, static detail, and atmosphere. Mark which positions are safe and permitted. A compact camera does not justify stepping inside a run-off area, course, lane, or restricted pit.
Save a dedicated action profile
Use a user profile for track settings so the camera can return quickly to a known state. Store DNG or DNG plus JPEG according to the workflow, continuous autofocus, the chosen AF area, drive mode, shutter behavior, Auto ISO limits, stabilization choice, and display options. Keep a separate profile for static paddock details or portraits.
Review the profile after firmware updates because menu behavior or available functions can change. Photograph a settings slate at the start of an important event or keep a written record. If the profile is accidentally overwritten, the field routine should be recoverable without guessing.
Disable functions that can surprise action capture, such as an unintended self-timer, macro focus range, or extreme exposure compensation left from a previous scene. The macro ring should remain in its normal distance position for track action.
Choose AF area by subject size
AF-C is the starting point for a subject moving toward, away from, or across the camera. When one person or vehicle occupies a clear part of the frame, subject detection can support tracking. When several competitors overlap or the subject is small, use a restricted field or point to communicate priority.
Begin acquisition before the decisive position. Follow smoothly, keep the active area on the subject, and continue the pan after the exposure. If tracking switches to a foreground barrier or spectator, release focus and reacquire rather than hoping it returns. A smaller area is useful near clutter; a broader area can find a clean isolated subject faster.
For a predictable crossing point, pre-focus near the mark and use a sufficiently closed aperture to cover a small distance range. Continuous focus can refine the approach, while the preselected zone reduces the distance the lens must search. Test this on ordinary passes before a decisive event.
Separate crop guides from optical reach
The Q3 offers digital crop framelines that preview tighter fields of view. In DNG capture, the full sensor data remains available while crop metadata or previews guide composition, depending on the workflow. These guides can help keep a distant subject within a central clean area, but they do not change lens perspective, working distance, or light gathering.
Use a crop guide only when it helps visualization. Keep awareness of the full frame so an entering athlete, wheel, or limb is not accidentally cut off. The high-resolution file allows useful refinement, but a deep crop magnifies heat shimmer, focus error, noise, and motion blur.
For safety, never interpret a tighter frameline as permission to stand closer. Optical reach comes from lens focal length and position. When the needed frame consistently requires a severe crop, the correct tool is a longer-lens system or a different authorized location.
Set exposure for motion and changing backgrounds
Manual shutter and aperture with Auto ISO is practical when the subject crosses sun, shade, stands, and sky. Choose shutter speed for the rendering: short enough to freeze detail, or slower for a deliberate pan. Aperture controls both light and the depth needed to tolerate distance change. Exposure compensation steers Auto ISO when bright or dark backgrounds dominate.
A fixed manual exposure works when the subject and light remain constant even if the background changes. Meter from the light on the subject, protect pale uniforms or reflective vehicle panels, and let irrelevant backgrounds fall where they may. Recheck when cloud cover changes.
The f/1.7 maximum aperture is useful in low light, but shallow depth and corner character may not suit a fast subject across the frame. Stop down when light permits. A wider aperture should solve a real exposure or separation need, not serve as a default badge of lens speed.
Select shutter mode after testing the light
The mechanical shutter avoids several electronic-readout artifacts but has its own speed and sound behavior. The electronic shutter can be quiet and offer additional speed, yet fast lateral motion can distort and pulsing LEDs can create bands or uneven color. The Q3 is not a global-shutter camera.
Test electronic capture on a fast ordinary pass and under venue boards or artificial lights. Inspect wheels, railings, bats, rackets, and vertical posts for skew, then inspect smooth areas for banding. If artifacts appear, switch shutter mode or adjust shutter time. Do not wait for the final race to discover the interaction.
Electronic first-curtain behavior, flash limits, and available drive rates depend on current settings. Consult the Leica manual for the exact combination. For daytime track work without flash, consistency and motion rendering matter more than silence alone.
Use bursts as short punctuation
The Q3 can capture continuous sequences, but its buffer and single fixed view encourage anticipation. Begin just before a foot strike, corner apex, finish gesture, or interaction. Release when the motion resolves. A compact body filled with uninterrupted high-resolution DNG bursts creates a large review problem without adding much variation.
Choose a drive rate that shows meaningful changes. Running gait may need fewer frames than a brief collision of gestures. Panning practice can use single frames to improve timing, then short bursts when the technique is stable. A high rate should protect a difficult moment, not conceal uncertainty about when it occurs.
Watch the card and buffer status during a lull. Use a tested, supported SD card and carry a prepared spare. Do not delete in-camera to free space. A complete copy and backup at the workstation is the appropriate place to make permanent storage decisions.
Compose wide action with clean edges
A 28mm frame contains more background than a telephoto image, so edges demand attention. Watch barriers, signs, cropped spectators, bright sky, and objects that intersect the subject. Move along an authorized line to simplify relationships, or lower the camera to separate the subject against a distant background.
Leave space in the direction of movement unless a tight exit from the frame is deliberate. Use track markings, curbs, shadows, and fencing as lines rather than clutter. A slight camera tilt can add energy, but accidental near-level horizons generally look less intentional than either a level frame or a clear diagonal.
At close range, perspective enlarges the nearest body part or vehicle surface. Time the exposure when the subject's orientation supports that effect. A front wheel, leading foot, or outstretched arm can create depth, while an awkward near limb can dominate the frame.
Follow a position-based field routine
- Arrive: confirm credential boundaries, escape routes, sun direction, and background hazards.
- Test: make an ordinary action sequence and inspect focus, distortion, flicker, and clipping.
- Assign: decide which wide contextual picture the position can produce.
- Acquire: begin AF-C before the decisive mark and keep the selected area on the subject.
- Burst: capture a short meaningful change, then release and reassess.
- Review: magnify one sequence for focus and motion before changing settings.
- Reset: restore compensation, shutter profile, and crop guide before moving.
- Leave safely: cap loose equipment and follow marshal or venue direction.
Review the Q3 files by role
At ingest, preserve DNG originals and group frames by position or event phase. Compare technical quality within each burst, then judge whether the image adds context not already supplied by a tighter frame. imagic can analyze supported DNG files locally, group near-duplicates, and help surface sharp, well-exposed candidates without deleting rejected originals.
The artistic selection still needs human judgment about gesture, race narrative, and safety context. Use the camera hardware guides for related setup decisions and the desktop workflow for local culling, non-destructive editing, learned personal style, and JPEG or TIFF export.
Carry and protect the fixed-lens body
A fixed lens removes the need for trackside lens changes, but it also means damage or contamination affects the entire camera role. Use a secure strap that cannot swing into barriers, fit weather protection before rain starts, and keep a clean cloth and blower accessible. Avoid opening doors or card compartments in blowing dust.
The Q3 can be carried as a compact second body, yet it still needs separation from a larger camera so the two cannot strike each other while moving. A short tether or cross-body arrangement should allow either camera to reach the eye without wrapping around controls. Practice the switch while stationary and away from the course.
At the end of a wet or dusty session, inspect the lens rim, finder windows, microphone openings, card door, and strap anchors before packing. Let damp equipment acclimate in a closed bag when moving into a warm space, then dry and clean it according to Leica guidance. Field reliability depends on this routine as much as on a saved profile.
Frequently asked questions
Can the Leica Q3 replace a telephoto track camera?
Usually not. Its fixed 28mm lens is strongest for close environmental action and atmosphere. Digital crop guides help visualization but do not provide the perspective or subject detail of optical telephoto reach.
Which autofocus mode suits moving athletes on the Q3?
AF-C with an area sized to the subject and background is a practical baseline. Use a restricted area in clutter and acquire the subject before it reaches the decisive position.
Should the Q3 use electronic shutter for fast action?
Only after testing. Fast motion can distort and artificial lights can band with electronic readout. Mechanical shutter or a different shutter time may give a more dependable result.