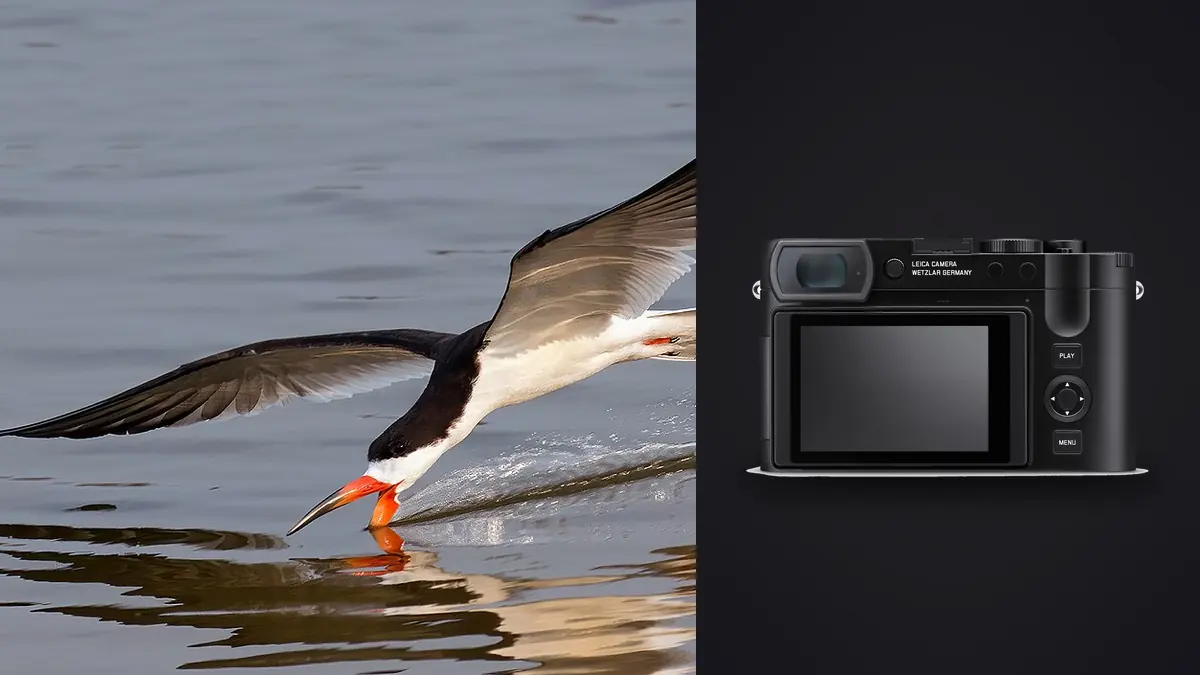
A 28mm f/1.7 prime is not the lens anyone would pick on purpose for birds in flight. I know because I did it anyway, mostly by accident, over six weeks last spring when the Q3 was the only camera in my bag on a coastal trip I hadn't planned as a wildlife trip at all. What started as making do turned into a genuinely useful lesson in where a fixed wide-normal lens can still produce a keeper of a flight shot, and where it just can't compete.
The short version: the Q3 will never touch a 400mm telephoto for a golden eagle riding a thermal three hundred meters up. But for gulls working a harbor at low tide, swifts scything past a bell tower at head height, or the flying demonstrations at a falconry center where the bird passes within a few meters of the crowd rail, the combination of a 60-megapixel sensor, autofocus that's genuinely quick for a fixed-lens camera, and Leica's in-camera crop lines turns out to be more useful than the spec sheet suggests. This is a field report on where that combination held up and where it fell apart, written after a season of actually trying it.
Where a Fixed 28mm Actually Catches a Bird in Flight
Everything about shooting flight on the Q3 comes down to one number: how close the bird gets. At 28mm, a herring gull with a roughly 140cm wingspan sitting ten meters away fills well under a fifth of the frame width. Crop that same file to the 90mm equivalent line in-camera and the bird suddenly occupies close to half the frame, with enough resolution left over from the 60-megapixel sensor to still hold up as a real print. The lens hasn't changed. The math around distance has.
That means the Q3 rewards exactly the situations most birders spend their whole kit avoiding: getting close. A few places where this actually works in practice:
- Harbor gulls and terns working a fishing boat's wake, where birds regularly pass within five to fifteen meters of the rail.
- Falconry and raptor center flying demonstrations, where handlers fly birds directly over or past a seated crowd.
- Swift and swallow colonies at dusk, when low light pushes you toward the lens's f/1.7 aperture anyway and the birds are looping at rooftop height, sometimes only a few meters overhead.
- Seabird cliffs in nesting season (gannets, kittiwakes, puffins), where birds ride updrafts along the cliff face close enough that a 28mm frame with a bit of crop still resolves feather detail.
- Garden or barn hirundine nests, where the adults make repeated close passes feeding chicks and you can preset focus distance and just wait for the pass.
What doesn't work is anything resembling classic long-lens birding: raptors on a distant ridge, waders out on a far mudflat, anything you'd currently shoot with 600mm and a teleconverter. No amount of cropping a 28mm file turns a speck into a usable image; you're just throwing away resolution on pixels that were never sharp enough to matter in the first place.
What the Crop Modes Actually Give You
The Q3 shows five framing options in the viewfinder and on the rear screen: the native 28mm, then 35mm, 50mm, 75mm, and 90mm equivalent crop lines. It's tempting to treat the 90mm line as a modest telephoto and shoot accordingly, but it's worth knowing exactly what you're trading away in resolution, because the drop is steep and not linear.
| Crop line | Approx. equivalent focal length | Approx. resolution | Realistic output |
|---|---|---|---|
| Full frame | 28mm | ~60 MP | Large prints; heavy post-crop still available |
| 35mm crop | 35mm | ~39 MP | Full-page prints, room for one more crop pass in the edit |
| 50mm crop | 50mm | ~20 MP | A4/letter prints, light additional crop only |
| 75mm crop | 75mm | ~10 MP | Web and social use, minimal further cropping |
| 90mm crop | 90mm | ~8 MP | Web use only; treat this as a ceiling, not a starting point |
The number that actually matters for flight work is that the DNG file keeps the full sensor data regardless of which crop line you had active in the viewfinder; the crop line is just a framing guide baked into the preview JPEG and the raw's metadata. That's genuinely useful when a bird crosses the frame edge at the exact moment of the shot: you composed loosely at 28mm or 35mm, and in the raw file you can still punch in and reposition the crop afterward, rather than losing a wingtip because your in-camera crop clipped it. I shoot most flight sequences with the 35mm line active for exactly this reason. It gives a rough sense of framing through the viewfinder without permanently discarding the pixels around the edges the way judging composition off a locked 90mm slice effectively does.
Autofocus and Burst Rate Once the Wings Start Moving
The Q3's autofocus is a real step up from the Q2's, and for a fixed-lens compact it tracks a moving subject better than its size suggests. Continuous AF with a small tracking box holds onto a gull crossing the frame at a steady bank reasonably well, provided there's decent contrast between bird and sky. It has no dedicated animal or bird eye-detection mode the way current wildlife-oriented mirrorless bodies do, so tracking a bird against a cluttered background (reeds, a rocky cliff face, a second bird crossing behind it) is where confidence drops and it starts hunting. Plain sky or open water backgrounds are where it's most reliable, which happens to describe most of the close-range scenarios above.
Burst rate tops out around 15 frames per second with the electronic shutter, dropping to roughly a third of that with the mechanical shutter. The electronic shutter's rolling readout does show up as skew on fast wingbeats, most visible as a slight forward or backward lean in the wingtips of a bird flapping hard rather than gliding. It's rarely bad enough to ruin a shot outright, but on a gliding gull with wings held still it's essentially invisible, while on a hard-flapping tern it's there if you look closely. Given the choice, I favor the full 15fps electronic burst for anything gliding and drop to the mechanical shutter for slower, more deliberate sequences like a raptor coming in to land, where frame rate matters less than avoiding the skew.
Buffer depth is the real limiter in practice. A three or four second burst at 15fps shooting raw plus JPEG fills the buffer fast enough that the camera visibly stalls before the sequence is even finished, and clearing it back to a fast card takes several seconds you don't get back mid-session. Switching to DNG only instead of raw plus JPEG buys meaningfully more frames before the stall, and a fast UHS-II card stops being optional the moment you're shooting flight sequences with any regularity.
Handling in a Hide, on a Boat, or at the Cliff Edge
Where the Q3 earns its keep is everywhere a full telephoto setup becomes a liability. At around 740 grams with the lens attached, it rides on a shoulder strap through a full day at the coast without the fatigue of a long telephoto and a gimbal head. On a small boat, where bracing a long lens against swell is its own skill to learn, a compact body you can operate one-handed while holding a rail with the other is a real advantage. The Q3 also carries a degree of weather sealing that makes salt spray and light rain a non-issue in a way I wouldn't trust with an unsealed telephoto and teleconverter stack.
The tradeoff, obviously, is that there's no reach to fall back on. A telephoto shooter who misjudges the approach distance can zoom out and reframe; a Q3 shooter who misjudges it just doesn't get the shot. There's also no second lens to swap to when the light or the subject changes character, which is either liberating or limiting depending on how you like to work. I found it forced better fieldcraft: pick a spot, stay still, let the bird come to you, rather than chasing, because chasing anything at 28mm accomplishes nothing.
The Q3 Against a Dedicated Wildlife Setup
| Leica Q3 (28mm, cropped) | APS-C body + 100-400mm zoom | Superzoom bridge camera | |
|---|---|---|---|
| Effective reach | ~90mm equivalent at best | 150-600mm equivalent | up to 1200mm+ equivalent |
| Body + lens weight | ~740g | 1.8-2.3kg | 0.6-1.4kg |
| Burst rate | up to ~15fps | 10-20fps depending on body | usually 10-20fps |
| Autofocus for BIF | capable, no bird-eye AF | often has dedicated bird/animal AF | variable, often hunts at full zoom |
| Best realistic subject | close, tame, or captive-flown birds | most wild birding at moderate distance | distant birds in good light |
None of this is a knock on the Q3. It was never designed as a wildlife camera, and comparing it against purpose-built long-lens setups on reach alone isn't a fair fight to begin with. The honest comparison is a narrower one: for the photographer who already owns a Q3 and occasionally finds themselves somewhere birds are close (a harbor, a falconry display, a nesting cliff walked at the right time of year), is it worth carrying instead of leaving the good glass at home? For those specific situations, yes. As a primary tool for someone setting out to build a birding portfolio from scratch, no, and buying a Q3 for that purpose specifically would be a genuinely bad decision.
Culling a Flight Sequence Off a 60-Megapixel Body
A short flight sequence at 15fps produces more frames than it feels like at the time. Thirty seconds of intermittent bursts chasing a tern easily becomes 150 to 200 raw files, each Q3 DNG running somewhere around 75 to 90MB. Most of those frames are near-duplicates of each other separated by a fraction of a second, with only small differences in wing position and focus accuracy, and picking through them one at a time on a laptop at a cliff-top campsite with no signal is exactly the kind of task that eats an evening you'd rather spend watching birds instead.
This is where I lean on imagic rather than doing it by eye. It runs the whole cull locally on the machine, which matters when you're working from a harbor or a cliff with no signal at all, scoring sharpness and focus accuracy across the burst and grouping near-identical frames from the same sequence so you're choosing between the handful of genuinely different options rather than scrolling past forty duplicates of a bird two centimeters further along its arc. For anyone still doing this entirely by eye, it's worth reading through how AI photo culling actually works before assuming it's just a fancier version of star-rating everything yourself; the sharpness scoring is catching things a tired eye at eleven at night genuinely misses.
The other part of the workflow that's easy to underestimate is color consistency once you've picked your keepers. A seabird colony shot across a single afternoon can swing from flat overcast to hard backlight and back within an hour, and matching the edit across thirty keepers by hand is tedious. I built an apply_my_style preset in imagic off a batch of seabird edits I was already happy with, trained on my own adjustments rather than a generic look, and it's saved real time reapplying a consistent grade across a season's worth of sessions instead of re-deriving the same white balance and contrast decisions from scratch every single time.
A Realistic Starting Point for Settings
For anyone taking a Q3 out specifically to try this, here's roughly where I settle. Shutter speed at 1/2000 or faster for anything with active wingbeats, 1/1000 acceptable for a gliding gull holding a steady bank. Aperture around f/4 to f/5.6 rather than wide open at f/1.7, since wide open on a moving subject at close range gives you a depth of field measured in centimeters, and a bird's head drifting half a wingspan closer than its wingtip is enough to lose focus on the eye entirely. Auto ISO with a cap around 6400 to keep noise in check, because the sensor is already doing enough work resolving detail after a crop without added grain fighting it. AF-C with the smallest tracking box on offer, recomposed constantly rather than locked and held, since a bird's flight path changes faster than a locked AF point can follow. And the 35mm crop line as a default framing guide, for the reasons already covered about not discarding pixels you might want back later.
Little of this is specific to birds. The same discipline of narrowing decisions in the field rather than after the fact applies to most fast-moving subjects, and it's covered more generally in our notes on speeding up a field-to-edit workflow.
Frequently Asked Questions
Is the Leica Q3 actually good for birds in flight, or is this just a novelty exercise?
It's genuinely usable in a narrow set of situations: birds at close range, whether that's a harbor, a falconry display, or a nesting cliff walked at the right time of year. It is not a substitute for a telephoto setup on distant or wary wild birds, and nobody should buy a Q3 expecting it to behave like one.
Which crop mode should I use for flight shots on the Q3?
The 35mm line as a default framing reference, since the DNG still retains the full sensor data underneath whichever crop line was active, so you're not permanently committing to a tight crop at the moment of the shot. Use the 50mm through 90mm lines as a rough preview of your likely final framing, not as the actual capture decision.
How many usable frames should I expect out of a burst sequence?
Out of 150 to 200 raw files from a chasing sequence, I'd typically count somewhere between 8 and 15 genuinely sharp frames with the eye or head in focus. The rest are near-duplicates, motion blur on the wingtips, or frames where the AF drifted to the background. That ratio is exactly why culling software matters more here than it does for a still portrait session.
Can I add a teleconverter to get more reach out of the Q3 for birding?
No. The Q3's lens is fixed and non-interchangeable, so there's no mount for a teleconverter or any other adapter. The only way to change effective framing is the in-camera digital crop, which trades resolution for reach rather than adding real optical magnification.
None of this makes the Q3 a wildlife camera. It makes it a camera that, if it's already the one in your bag, is worth pointing at the right kind of bird rather than assuming a fixed 28mm rules flight shots out entirely.