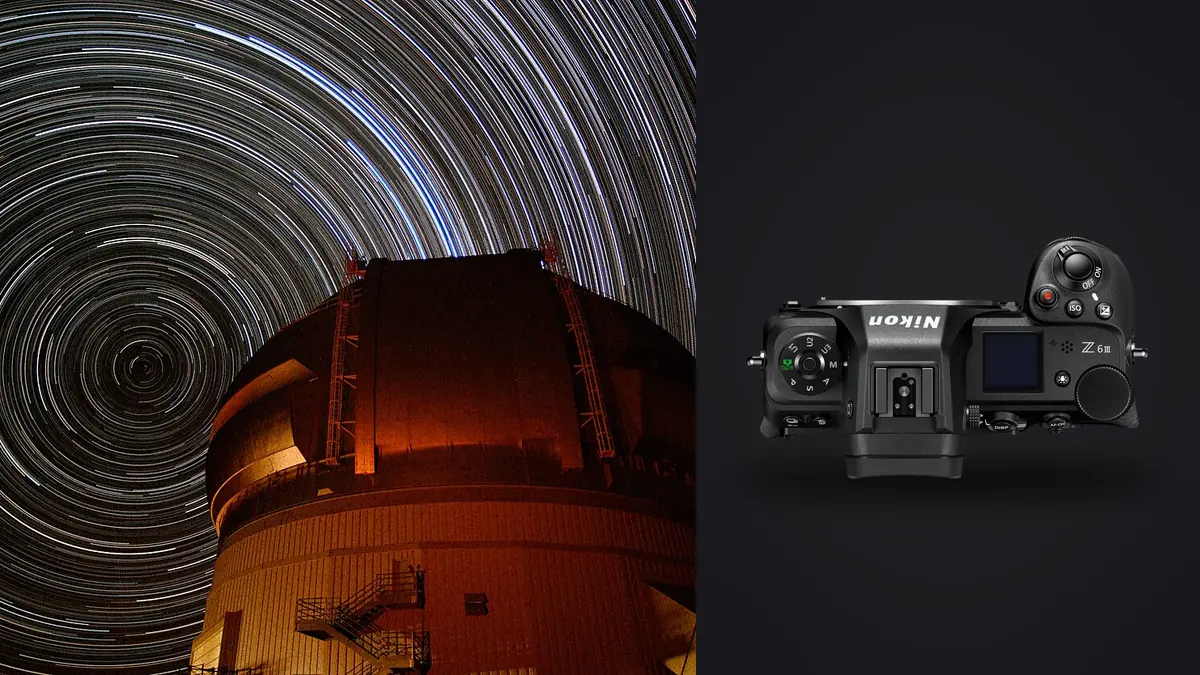
I took the Z6 III out to an unlit ranch road in the Nebraska Sandhills three times this summer, mostly because I'd read enough marketing copy about its "partially stacked" sensor and wanted to know if any of it mattered once you're actually standing in a field at 1am with dew forming on your lens hood. Short answer: some of it does, some of it is irrelevant to stacking work, and none of it replaces having an actual plan before you start firing off frames. This is the workflow I settled on after those three nights, plus a fourth session shooting a wider Milky Way panorama from a friend's cabin roof outside Custer State Park.
What the Sensor Readout Actually Buys You at Night
The Z6 III's 24.5MP sensor gets talked about mostly for its speed (partially-stacked design, fast readout, less rolling shutter), which sounds like a feature built for sports and birds, not stars. But there's a side effect that matters for astro: faster, more efficient readout tends to come with lower read noise at the pixel level, and read noise is the thing that actually limits how clean a single sub-exposure looks before you ever stack anything. On the Z6 II I used to carry, ISO 6400 frames had a grain structure I'd describe as coarse and slightly blotchy in the shadows. On the Z6 III, ISO 6400 subs look cleaner to my eye, with noise that reads as finer and more uniform, which stacking software handles better because it's closer to true random noise rather than pattern noise. That matters because star stacking is fundamentally a signal-to-noise game. You're averaging (or median-combining) many frames to let the real signal (starlight, nebulosity, airglow) reinforce itself while the random noise cancels out. A sensor that starts with quieter, more random noise per frame gives you a cleaner stack for the same number of subs, or lets you get away with fewer subs for the same result. I didn't run a lab test with a light box, this is just what came out of two cameras shooting the same target on back to back clear nights, but the difference was visible in the final stacks without pixel peeping.
Picking Exposure Length and ISO Without Guessing
The old "500 rule" (500 divided by focal length equals your max shutter speed before trailing) was already loose advice on lower-resolution sensors, and at 24.5MP packed into a full-frame body it's worse than loose, it's actively wrong if you're planning to crop in or view at full resolution. On my 20mm lens the 500 rule says 25 seconds is fine. In practice, at 100% crop, I start seeing elongated star points past about 10 to 12 seconds on this body. That's not the sensor's fault, it's just pixel density doing what pixel density does. The fix isn't to fight it with a single long exposure, it's to lean into stacking: shoot more, shorter subs instead of fewer, longer ones. Here's roughly how I split exposure strategy depending on what I'm shooting and whether I've got a tracker mounted:
| Method | Single exposure | ISO | Frames stacked | Total integration | Best for |
|---|---|---|---|---|---|
| Untracked wide-field | 8-12s | 3200-6400 | 40-70 | 6-10 min | Milky Way with a foreground you also want sharp |
| Tracked wide-field | 60-120s | 800-1600 | 15-25 | 25-45 min | Milky Way core detail, dust lanes, faint red emission near Rho Ophiuchi |
| Tracked telephoto panel | 120-240s | 400-800 | 25-40 per panel | 1-2 hrs per panel | Nebulae, galaxies, anything needing multi-panel mosaics |
The untracked column is where most people shooting this camera will actually spend their time, because it doesn't require a star tracker, and the Z6 III's high ISO cleanliness is what makes untracked stacking viable at all. You're trading exposure time for frame count, and the lower per-frame noise means you're not paying as steep a penalty for that trade as you would on an older, noisier body.
Lenses That Don't Turn Stars Into Seagulls
Coma is the thing that ruins wide-field astro faster than noise ever will, especially in the corners where stars stop looking like points and start looking like little winged shapes. I've used three lenses on this body for night work. The Nikkor Z 20mm f/1.8 S is genuinely excellent wide open, corner stars stay tight enough that I rarely stop down past f/2.2. The Z 14-24mm f/2.8 S is sharper still in the center but needs to come down to around f/4 before the extreme corners clean up, which costs you a stop and a half you don't really want to give away at night. A Sigma 14mm f/1.4 DG DN I borrowed for one session had more coma than either Nikkor at matching apertures, though it's hard to beat for raw light-gathering on a budget if you're willing to crop the corners in post or blend a stopped-down foreground frame separately. None of this is specific to the Z6 III, coma is a lens property, but it's worth saying because a camera this capable at high ISO will happily reveal exactly how bad your lens's corners are. There's no hiding a soft corner behind noise anymore.
Camera Settings I Change the Moment the Sun Sets
A short list, roughly in the order I touch them: I switch to full manual exposure and manual focus, use the electronic (fully silent) shutter to avoid any shutter-induced vibration on the tripod, and I turn on the built-in interval timer set to fire continuously with a 1-second gap between frames rather than trying to hold a remote release for forty minutes. I shoot 14-bit uncompressed RAW for anything I plan to stretch aggressively in post, since the extra bit depth actually shows up as smoother gradients in the sky background once you push shadows. For focus, I use manual focus with focus peaking cranked and zoomed-in live view on a bright star, not autofocus, even though the Z6 III's low-light AF is genuinely better than what I had on the Z6 II. Autofocus hunting in near-total darkness wastes battery and risks a soft frame if it shifts mid-sequence. I check focus again every 20 to 30 minutes because temperature drop alone can shift it enough to matter on a fast prime. One setting people forget: turn off long exposure noise reduction. It sounds helpful, but it doubles your time per frame (a 20 second exposure becomes a 20 second exposure plus a 20 second dark frame capture before the camera lets you shoot again), which on an interval timer session can quietly cost you half your available shooting window. Shoot your darks separately, in a batch, and subtract them in software instead.
Sorting Three Hundred Subs Before You Ever Open a Stacking App
An interval timer session at 10-second exposures for 45 minutes gives you close to 250 frames. Not all of them are usable. Wind shakes the tripod, a plane or satellite streaks through a handful of frames, condensation creeps onto the front element two-thirds of the way through, or you bump the tripod leg reaching for a headlamp. Reviewing 250 RAW files one by one on a 3-inch LCD in the dark is exactly the kind of task I stopped doing manually once I started running the stack through imagic before it ever touches DeepSkyStacker. If you want the fuller explanation of how that culling step works, see how AI photo culling works. I use imagic's local sharpness scoring to flag the frames where focus drifted or the tripod moved mid-exposure, since those show up as measurably softer even when they look fine at a glance in the dark. It also clusters the near-duplicate frames from when I'm bracket-testing exposure at the start of a session, so I'm not stacking six identical test shots alongside the real sequence. Because everything runs locally on the laptop rather than uploading to a cloud service, this happens right at the truck with no signal, which matters more than it sounds like it should when you're two hours from the nearest cell tower. Once I've got a clean folder of keepers, that's what goes into the actual stacking software.
Stacking: DeepSkyStacker, Sequator, or Just Median-Blending
For tracked deep sky work I still reach for DeepSkyStacker. It's free, it handles calibration frames (darks, flats, bias) properly, and its sigma-clipping rejection does a solid job of throwing out the odd satellite trail without you having to manually flag every affected frame. For untracked wide-field Milky Way shots with a foreground I want sharp, I use Sequator on Windows, which detects the sky region automatically and blends a separately-exposed foreground frame in without the ghosting you get trying to force a single stacking method to handle both moving stars and a static landscape. If neither tool behaves (Sequator occasionally mis-detects the sky/ground boundary on a low horizon with silhouetted trees), I fall back to a manual median stack in Photoshop using auto-align layers set to "stars" alignment. It's slower and it's manual work for every frame, but it never fails silently the way an automated sky detection can. I keep this as the last resort, not the default, because it easily adds an hour to what should be a twenty-minute job. One thing that actually improved once I switched cameras: because the Z6 III subs start cleaner, the stacking software's rejection algorithms have an easier time telling "real faint star" apart from "noise spike that looks like a star," so I get fewer false-positive hot pixels surviving into the final stack.
Darks, the Noise Reduction Trap, and Cold Batteries
Shoot a set of 15 to 20 dark frames at the end of every session, same exposure length and ISO as your lights, lens cap on. Sensor noise characteristics drift with temperature, so a dark library from a warm summer night isn't reliable calibration for a cold October shoot even on the same body. I keep a rough log (exposure, ISO, ambient temp, date) taped inside my camera bag so I'm not guessing which dark set matches which session six months later. Cold is also the thing that quietly kills long sessions. The EN-EL15c in the Z6 III holds up better in the cold than older EN-EL15 variants I've used, but below freezing I still watched a fully charged battery drop to under 30% after about two and a half hours of continuous interval shooting. I now carry two spares in an inner jacket pocket, body heat keeps them usable, and swap at the first low-battery warning rather than waiting for it to die mid-sequence and orphan half a stack.
Frequently Asked Questions
Does the Z6 III's high ISO performance mean I can skip a star tracker?
For wide-field Milky Way shots with a visible horizon, yes, that's honestly the point. Untracked stacking of many short, high-ISO frames gets you a clean result without a tracker. For anything telephoto (nebulae, galaxies, tight framing on the core), a tracker still wins because you can use much longer individual exposures at lower ISO, which no amount of sensor improvement fully substitutes for.
How long can I actually expose a single frame before stars trail on this camera?
It depends on focal length and how closely you're going to examine the result, but at 20mm I treat 10-12 seconds as my practical ceiling if I care about tight star points at full resolution. Wider lenses buy you a bit more time, longer ones give you much less. The 24.5MP resolution shows trailing sooner than older lower-resolution full-frame rules of thumb suggest.
Should long exposure noise reduction be on or off when I'm building a stack?
Off. It roughly doubles your time per frame by shooting a matching dark after every single light frame, which on an interval timer session eats into your shooting window badly. Shoot a batch of darks separately at the end of the session and subtract them in your stacking software instead.
How many subs actually make a visible difference in the final stack?
In my experience the jump from 10 to 40 frames is dramatic, background noise visibly smooths out and faint structure starts appearing. Past roughly 60-80 frames for untracked wide-field work, the improvement per additional frame gets small enough that I'd rather spend the extra time reshooting a cleaner foreground or moving to a second composition.