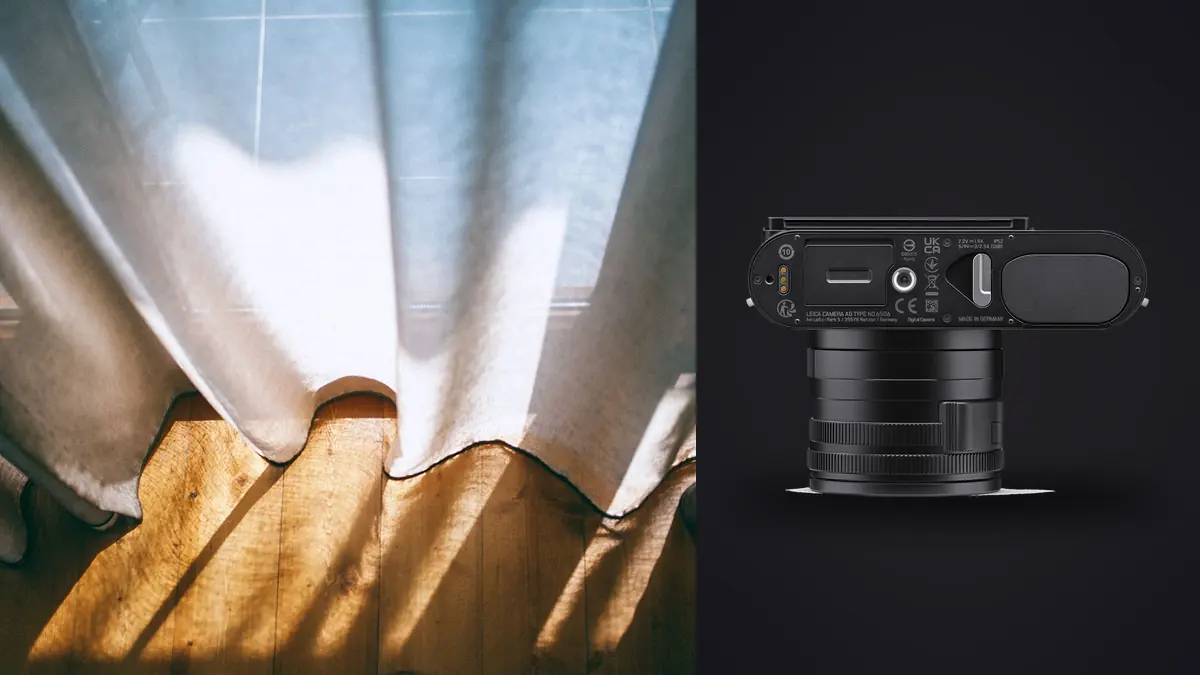
The first objection every boudoir photographer raises when shooting a session on a Leica Q3 comes up is the same one I raised myself the first time I rented one: it's a fixed 28mm lens. No swapping to an 85mm for compression, no 50mm for a "normal" look, no macro lens for detail shots. On paper that sounds like the wrong tool for a genre built on flattering perspective and tight, intentional crops. In practice, after plenty of time shooting with one, I've come around to the opposite view: the Q3's limitations are exactly what make it work in a bedroom, a hotel suite, or a private home, where space is tight and trust matters more than focal length.
This isn't a spec sheet rundown. It's what actually changes about how you shoot, light, and edit an intimate portrait session when your camera is a quiet, hand-sized rangefinder-style body with one lens permanently attached, a 60-megapixel sensor behind it, and no second body to reach for.
Why a Fixed 28mm Lens Isn't the Handicap It Sounds Like
Twenty-eight millimeters is a documentary and environmental focal length, not a classic portrait one. Get too close to a face with it and you'll distort features in ways that flatter almost nobody: noses grow, chins recede, ears vanish behind cheeks. Every review of the Q3 mentions this in passing and moves on. For boudoir work specifically, that distortion risk is the first thing you have to actively manage, because tight face-and-shoulders framing is common in this genre and 28mm punishes you for shooting it carelessly.
The fix isn't complicated once you internalize it: stop treating the Q3 like a normal-lens camera and start treating it like a wide-lens camera that happens to also do close work. Keep the frame edges away from the face. Let the environment, the rumpled sheets, the window light falling across a shoulder, the shape of a doorway, do the work that a longer lens would do by isolating the subject through blur. I shoot most facial close-ups at a minimum of arm's length plus a step, closer to 1.2 to 1.5 meters, which keeps the geometry honest. For anything tighter than that I switch to the in-camera crop modes rather than physically closing the distance.
Working Distance in a Real Bedroom
Most boudoir sessions don't happen in a studio with forty feet of clearance. They happen in a bedroom, a hotel room, or a rented Airbnb where you're lucky to have three meters between your back and the wall behind you. A fixed wide lens is actually an advantage here in a way telephoto portrait glass isn't: you can compose a full-length or three-quarter shot without backing into a closet door. I've shot 85mm boudoir sessions in cramped rooms and spent half the session apologizing for bumping into furniture. The Q3 never puts me in that position.
Crop Modes as a Working Portrait Kit
The feature that actually makes the Q3 viable as a one-lens boudoir camera is the in-body digital crop, framelines for 35mm, 50mm, 75mm, and 90mm equivalents, all pulled from the same 60.3-megapixel sensor without a physical lens change. Because the base file is so dense, the crops still leave you with real resolution to work with, not the mushy 4-megapixel leftovers you'd get cropping a 24-megapixel file down to the same field of view.
I treat these like four lenses I never have to change. Full 28mm frame for environmental shots that show the room and set the scene. 35mm for a slightly tighter environmental portrait. 50mm for a natural three-quarter shot with much less edge distortion than native 28mm at the same distance. 75mm for face-and-shoulders work where I want genuine compression without walking into the subject's personal space mid-pose.
| Crop mode | Approx. resolution | Typical distance from subject | Where it earns its place in a boudoir set |
|---|---|---|---|
| 28mm (native) | 60 MP | 2.5-4 m | Full-room environmental frames, wide reveals, getting-ready shots |
| 35mm crop | ~37 MP | 2-3 m | Full-length poses with the room still visible but less peripheral clutter |
| 50mm crop | ~19 MP | 1.5-2.5 m | Three-quarter portraits, a natural everyday perspective on the face |
| 75mm crop | ~8 MP | 1-1.8 m | Tight face/shoulder frames, real compression without closing the distance |
| 90mm crop | ~6 MP | 0.9-1.5 m | Detail-adjacent close portraits, usable for web galleries, tight for large prints |
The trade-off is honest and worth stating plainly: past 75mm you're giving up enough resolution that large prints (anything over roughly 16x20) get marginal. For a genre where the deliverable is very often a digital gallery, an album spread, or a phone-sized keepsake rather than a wall-sized canvas, that trade-off rarely matters. When a large framed print is the goal, shoot that specific pose at native 28mm or the 35mm crop and compose loosely enough to crop by hand later, keeping the megapixel count high.
Discretion Matters More in This Genre Than Almost Any Other
I've shot boudoir with a full-frame DSLR and an 85mm f/1.4 in front of it, and I've shot it with the Q3. The difference in how clients behave in front of the camera is not subtle. A big body with a long barrel of glass pointed at someone who is already nervous, already half-undressed, already second-guessing the whole idea, reads as clinical and a little intimidating even when nothing about your behavior has changed. The Q3 is small enough to half-disappear. Clients stop performing for the lens faster, which for boudoir specifically means the difference between a stiff, self-conscious set of images and ones where someone actually looks like they're enjoying themselves.
The shutter matters just as much as the body size. The Q3's mechanical shutter is quiet, and the electronic shutter option is completely silent. In a small room with no ambient noise to mask a shutter clack, every audible click reminds the client that a photo was just taken, which pulls them out of whatever mood you've built. Shooting silently lets you fire off a burst around a genuine laugh or a shift in weight from one hip to the other without announcing each frame. I leave the shutter on electronic for nearly the entire session and only switch to mechanical if I'm working under strong continuous lighting where rolling-shutter artifacts on a moving hand or fabric could become visible.
Lighting a Boudoir Session Around f/1.7 and a High ISO Ceiling
Boudoir lighting tends to be moody on purpose: a single window, a bedside lamp, maybe one small LED panel bounced off a wall or ceiling rather than aimed directly at the subject. The Q3's Summilux 28mm f/1.7 and its ISO range, which nominally runs into six figures, give you room to work with available light rather than fighting it with flash that flattens the mood you're trying to build.
| Light source | Typical aperture | Typical ISO | Working note |
|---|---|---|---|
| Bright window, indirect (north-facing or shaded) | f/2 - f/2.8 | 200-800 | Cleanest files of the session, stop down slightly to soften the 28mm's wide-open falloff |
| Single bedside lamp, warm tungsten | f/1.7 - f/2 | 1600-3200 | Wide open for the shallowest depth available, expect a warm cast and correct it in post rather than in-camera |
| Candlelight or fairy lights only | f/1.7 | 4000-8000 | Push ISO before you add light, extra fill kills the atmosphere that made the scene worth shooting |
| Overcast daylight through sheer curtain | f/2.8 - f/4 | 200-400 | Soft, even, forgiving, a sensible default for a first boudoir session |
In practice I keep real working files under ISO 6400 for anything where skin tone rendering matters, which the candlelight row above pushes right up against. Past that point the Q3's files are still usable, especially converted to black and white, but color noise in shadow areas on skin starts needing real attention in post rather than a one-click adjustment.
The Tilting Screen Changes How You Direct a Session
The Q3 added a tilting rear screen that the Q2 never had, and it matters more for boudoir than most other genres. Shooting from a low angle off the end of a bed, or from above while someone reclines, used to mean either kneeling with your eye jammed against the viewfinder (which breaks eye contact and conversation at exactly the moment you want to keep someone relaxed) or guessing at framing. Tilting the screen out lets you shoot from waist height or floor level while still looking at the client rather than hiding behind the camera. For a genre that depends on the photographer talking someone through a pose, keeping a conversational posture instead of vanishing behind a viewfinder is worth more than it sounds.
Macro Mode for the Detail Shots Every Boudoir Gallery Needs
Every boudoir set I deliver includes detail frames: lace texture on lingerie, a hand resting on a collarbone, jewelry, the curve of a shoulder strap. The Q3's macro switch on the lens barrel lets you focus down to roughly 27cm, close enough for genuinely tight detail work without unscrewing a lens or packing a second body just for macro. It's not a true 1:1 macro lens and I wouldn't buy the camera for that feature alone, but as a bonus capability already built into the one lens you're carrying, it removes a piece of gear I used to pack specifically for these shots.
What Happens After the Shutter: Handling 60-Megapixel Files From an Intimate Shoot
A two-hour boudoir session on the Q3 easily produces 600 to 900 RAW frames once you account for burst sequences around movement and expression, and at roughly 80MB per DNG that's a genuinely large take to review by eye. Two things about this genre make the culling stage different from a normal portrait shoot: the sheer number of near-duplicate frames from working a single pose through several small adjustments, and the fact that these are some of the most sensitive images a client will ever hand you, which makes where that culling happens a real consideration, not an afterthought.
I run every take through imagic before I touch a single frame in an editor. The local sharpness and focus scoring flags which frame in a run of six or eight near-identical poses actually has the sharpest eyes and cleanest catchlight, which matters more here than in most portrait work because a boudoir client will zoom into her own face on her phone looking for exactly the kind of softness that's easy to miss scrolling through a grid at normal size. The duplicate and burst clustering groups those runs automatically instead of leaving you to eyeball six frames that look nearly identical at a glance, which on a 900-frame take is the difference between an hour of culling and half a day of it.
The part that actually matters most for this specific genre is that imagic processes everything locally. Nothing gets uploaded to a cloud service to get sorted or scored. For most photography that's a convenience; for boudoir and intimate portrait work it's closer to a professional obligation. Clients trust you with images they wouldn't want anywhere near a server they don't control, and a culling tool that never sends a frame anywhere is one less thing to explain, or worry about, in that trust. If you're weighing culling tools against each other for this kind of work specifically, it's worth reading through a full culling software comparison rather than taking any one vendor's word for how they handle client files.
Once the take is culled down to the real selects, usually somewhere between 40 and 70 images out of the original hundreds, I run the set through imagic's apply_my_style preset, trained on my own previous boudoir edits rather than a generic preset pack. Because it learns from edits I've actually made on skin tones and warm low light before, the starting grade lands much closer to my finished look than any off-the-shelf preset does, which matters when you're trying to keep a consistent, recognizable feel across every gallery you share. If you haven't built a workflow around a personal grading style yet, it's worth the read on building a consistent color grading approach before you shoot your next session, since the earlier you standardize your look, the more useful a learned preset becomes.
A Practical Rhythm for Shooting the Session
The workflow I've settled into when shooting this way: open with native 28mm environmental frames while the client is still settling in, walking the room, adjusting light. Move to 35mm and 50mm crops once posing starts in earnest, treating them as your default working focal lengths for the bulk of the session. Reserve 75mm and 90mm crops for closing sequences, tight face work, and any detail shots where you want compression without invading personal space at a moment when the client is already at her most exposed, literally and otherwise. Keep the shutter silent throughout, and only reach for mechanical if you need the marginally faster max sync for a strobe-lit setup, which most boudoir lighting rarely calls for.
None of this requires a second lens, a second body, or a bag any bigger than what fits over one shoulder, which by itself changes the tone of a session held in someone's actual bedroom. Less gear in the room reads as less production, and less production reads as more privacy, which is the entire currency this genre runs on.
Frequently Asked Questions
Is a fixed 28mm lens really workable for boudoir, or should I buy a different camera?
It's workable, with a caveat: you have to shoot it deliberately rather than treating it like a normal portrait lens at close range. Keep facial close-ups at 75mm or 90mm crop rather than physically closing the distance at native 28mm, and reserve the true wide angle for environmental and full-length frames where its perspective is a strength instead of a liability. If your business model depends on large framed prints delivered at full resolution beyond roughly 16x20, a longer native lens on another body will serve you better for that specific deliverable.
How do I avoid distortion on close detail shots with a wide lens like this?
Distortion gets worse the closer you get and the more off-axis the subject is from the lens's center. For detail shots (hands, jewelry, fabric texture) keep the subject roughly centered in the frame and use the macro switch to get close rather than cropping in tight from a distance, which introduces its own softness. For face-adjacent details, shoot at a crop setting instead of walking closer with the native lens.
Is the Q3 actually quiet enough for a client who's nervous about being photographed?
In my experience, yes, more than any DSLR I've shot boudoir with previously. The electronic shutter is silent, and the body itself is small enough that it doesn't dominate the room the way a gripped full-frame body with a long portrait lens does. The bigger factor is usually how you talk through the session, but a quiet, unobtrusive camera removes one more thing for a nervous client to be aware of.
How should I be thinking about subject privacy once the shoot is over and I'm editing?
Treat the RAW files with the same care you'd want extended to your own private images: minimize how many places they exist, and be deliberate about which tools in your pipeline send anything off your machine. Culling and initial sharpness review are a good place to start since that's the stage where you're handling the largest volume of unedited frames; doing that locally, before anything gets uploaded anywhere for delivery or backup, closes off the biggest unnecessary exposure point in the whole workflow.
The Q3 was never designed as a boudoir camera specifically. Leica built it as a fast, high-resolution generalist with a lens nobody expected to double as a portrait tool. What makes it work for this genre isn't a headline feature, it's the combination of small, quiet, close-focusing, and dense enough in resolution to fake four extra lenses through cropping. That combination happens to map unusually well onto a genre where the biggest obstacle is rarely technical and almost always about making someone comfortable enough in front of the camera to stop noticing it's there.