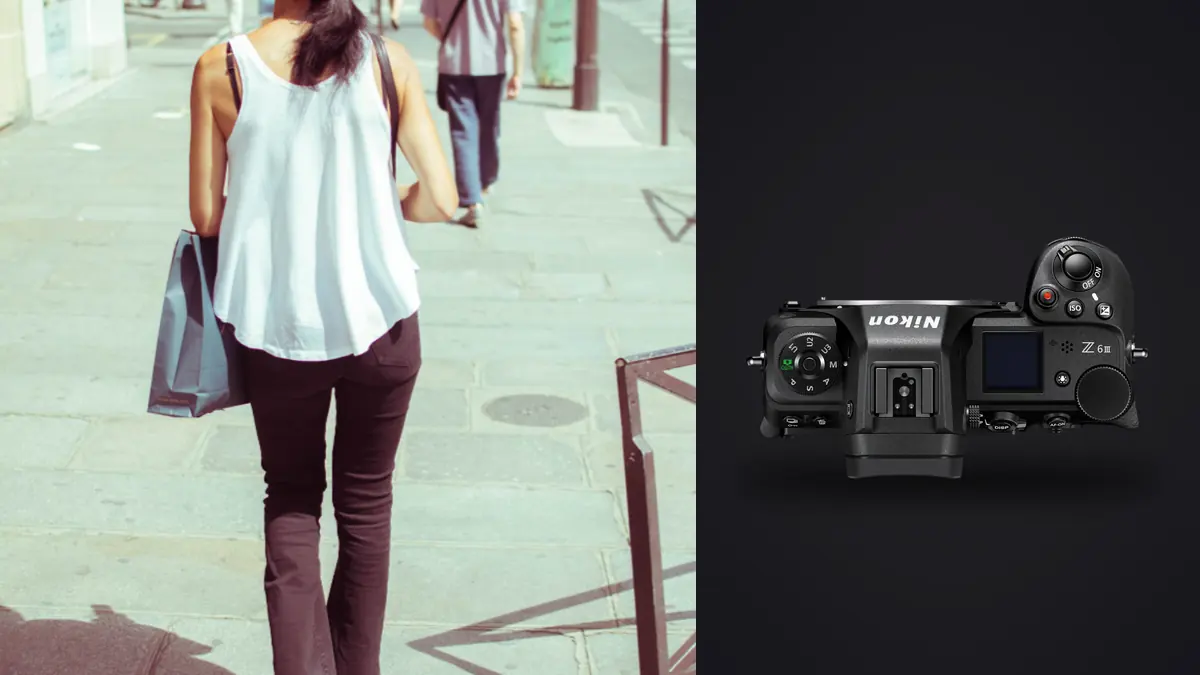
Fashion lookbook days are a series of small contradictions. There's a wardrobe rack with fourteen looks pinned to a call sheet, a client rep watching the clock because the model's contract ends at 5pm sharp, a stylist re-pinning a jacket between every third frame, and a photographer trying to move fast enough that nobody in the room notices they're actually behind schedule by frame twelve. This is the kind of day a Nikon Z6 III gets picked up for. Not for landscapes, not for weddings, for the narrow, repetitive, unglamorous problem of getting through a full lookbook (jacket, dress, footwear, accessories, three or four angles each, sometimes a detail shot of stitching or hardware) inside a six or eight hour call without the camera becoming the reason you're running late.
This isn't a spec sheet rewritten in prose. Think about what a full lookbook campaign or a smaller capsule drop asks of this body, because most of what actually matters about it for this specific job never shows up in a product page bullet point.
The readout speed is the real headline, not the resolution
Nikon markets the Z6 III on its partially stacked sensor, and on a lookbook set that's the one spec that changes how you actually shoot rather than just how the camera scores on paper. The old Z6 II blacked out the viewfinder during any real burst, which sounds minor until you're trying to track a model turning a coat mid-spin so the hem catches light, or catching the exact frame where a scarf is airborne instead of collapsed against a shoulder. You lose the subject for a fraction of a second and you either miss the peak or you fire long bursts hoping one frame lands, which just makes the culling problem worse later.
With the electronic shutter engaged, the Z6 III shoots blackout free up to 20fps in 14-bit raw, and you can actually track the motion through the finder the entire time instead of guessing. The rolling shutter is also tight enough that fast garment movement (a flared skirt, someone tossing a jacket over their shoulder) doesn't turn into the jello-wobble you'd get on an older non-stacked sensor at similar speeds. Mechanical shutter tops out lower, around 14fps, and I still reach for it the moment strobes come into play, more on that later.
Autofocus when the model won't stand still between racks
Lookbook shoots are stop-start by nature, model walks in, hits a mark, holds a pose for three or four frames, walks to the next background or prop, repeats forty times. The subject-detection modes on this camera are tuned well enough for people that I leave it on auto-area with people priority for almost the entire day and only drop into a smaller AF area for tight product detail (a shoe buckle, a collar seam) where I want to place focus manually. Eye detection sticks through sunglasses more reliably than I expected going in, and it holds through wide-brim hats better than the Z6 II did, though a hat brim casting hard shadow across the eyes in flat studio light will occasionally cause it to hunt for a frame or two. Side-profile detection is where it's still not perfect, if the model turns fully to profile with hair covering the visible eye, the camera sometimes grabs the cheekbone or ear instead, which for a full-length lookbook frame barely matters (nobody's pixel-peeping focus at f/8) but for a tight beauty crop within the same shoot it can cost you a frame.
Tethering, and where the free option stops being enough
Nikon's own NX Tether is free and works fine for a client monitor showing raw frames as they land, but the moment art direction wants to see a rough grade applied live (matching a previous look's white balance, checking a garment color against a swatch) you're reaching for Capture One instead, and Nikon support there is a paid add-on rather than bundled. Running it that way for anything client-facing is worth the subscription cost purely in reduced "can you send that again but warmer" round trips. USB-C tether over a locking cable has been rock solid through full day sessions, including pulling power through the same port so battery life stops being a variable at all. Wi-Fi tether exists and works, but at 24.5 megapixels the file transfer is noticeably snappier than it would be off a 45-megapixel body, which matters more than people expect when you're tethering wirelessly across a studio and the client is refreshing the screen every four seconds waiting for the next frame.
How it stacks up against the other lookbook workhorses
Every rental house I use stocks some combination of these four bodies for commercial fashion work, so here's how I'd actually weigh them against each other for this specific job rather than as general-purpose cameras.
| Camera | Resolution | Fastest Raw Burst | Native Tether Support | Approx. Body Price | Where It Wins for Lookbook Work |
|---|---|---|---|---|---|
| Nikon Z6 III | 24.5MP | 20fps (e-shutter, 14-bit raw) | NX Tether (free) + Capture One (paid plugin) | ~$2,500 | Best balance of burst speed, buffer depth, and file size for a full day of look changes |
| Nikon Z7 II | 45.7MP | 10fps | NX Tether | ~$2,800 new, less used | When the client needs billboard-size crops, but slower shooting and heavier files to cull |
| Nikon Z8 | 45.5MP | 20fps raw (stacked sensor) | NX Tether | ~$3,800 | Z6 III speed with Z7 II resolution, if the day rate justifies the rental cost |
| Sony A7 IV | 33MP | 10fps | Capture One / Imaging Edge | ~$2,500 | Common alternative at rental houses, well supported by third-party tethering, but noticeably slower burst for motion-heavy setups |
For a straightforward lookbook where the deliverable is web and lookbook-PDF sized images rather than print campaign crops, the Z6 III's 24.5 megapixels is genuinely enough resolution, and the smaller files mean faster tethering, faster culling, and a card that doesn't fill up at look nine.
Where the day actually gets lost: the card dump after wrap
Nobody warns junior photographers about this part. Twelve looks, five angles each, three to six frames per angle because you're bracketing pose and expression, and by wrap you're looking at three to five thousand frames easily, sometimes more if the client wanted movement shots for social alongside the static lookbook set. The client wants selects by 9am the next morning. Scrolling that many raw files one by one in Lightroom at midnight is how lookbook shoots turn into all-nighters that have nothing to do with the actual photography. This is the part of the workflow where I stopped doing it manually. I run the card through imagic before I open anything else, it scores sharpness and focus accuracy locally on the frames, clusters the near-duplicate bursts (the four frames where the model held roughly the same pose) so I'm reviewing one representative instead of four, and flags the technically weak frames without me eyeballing each one. It's not doing the creative edit, that part's still mine, but it cuts the pile I'm actually looking at by more than half before I've had coffee. If you want more detail on how that kind of local scoring actually works under the hood, this breakdown of AI photo culling covers it better than I can in a paragraph here.
Keeping ten looks looking like one shoot
A lookbook lives or dies on consistency. If look four reads warmer than look nine because a strobe pack's output drifted slightly or the sun moved past a bounce card between setups, the client notices immediately, even if they can't articulate why the set feels off. Grading twelve looks individually by eye, late at night, after a long shoot day, is exactly when that consistency slips. What's worked for me is building out a grade on the first two or three looks I'm happy with, then using imagic's apply_my_style feature, which trains on your own past edits rather than pushing a generic preset, to carry that same tonal decision-making across the rest of the set instead of re-deriving it look by look. It's still my edit, just applied consistently instead of me trying to remember exactly how much I pulled the highlights down three hours and eight looks earlier. For a deeper look at building that kind of consistent grade in the first place, this color grading guide is a decent starting point if you're still developing your own baseline look.
Why the take doesn't go anywhere near a cloud service
Unreleased capsule collections are a bigger confidentiality problem than most photographers treat them as. Some client contracts include an embargo clause that specifically names cloud photo services by category, not because anyone thinks a photographer would leak anything on purpose, but because an auto-sync folder or a shared drive with the wrong permissions has genuinely tanked pre-launch campaigns before. Processing everything locally, culling and grading on the machine with the card still in hand, without anything touching an upload queue, has become less of a nice-to-have and more of a contract requirement on the higher-profile jobs. It's one of the reasons I stuck with imagic over some of the subscription tools that route your selects through their servers, everything stays on the drive it started on.
Settings I've actually landed on for this camera
A few things worth knowing before you show up on set with one of these for the first time. The full electronic shutter, the one giving you that 20fps blackout-free burst, will band under most studio strobes because the sensor readout and the flash duration don't sync cleanly, so the moment lights come on I drop back to mechanical or electronic front-curtain. It costs some burst speed but it's the difference between usable frames and a stack of banded garbage. I shoot lossless compressed raw rather than uncompressed, the file size difference over a multi-thousand-frame day is real and I haven't been able to see a quality difference worth the extra card space. CFexpress in the primary slot, SD as backup, and the buffer is unlikely to stall you mid-burst on a lookbook shoot, the deep buffer on this body genuinely holds up through the kind of five-to-eight frame bursts this work calls for. The 4-axis tilting screen has been more useful than I expected for low-angle full-length frames, being able to tilt it sideways while shooting vertical orientation without a full articulating flip-out screen saves real time when you're constantly switching between horizontal group shots and vertical single-look frames.
Frequently Asked Questions
Is 24.5 megapixels really enough resolution for a commercial lookbook?
For web galleries, lookbook PDFs, and most e-commerce sized deliverables, yes, comfortably. Where it starts to matter is if the client also wants the same shoot to double as print campaign assets with heavy crops, in which case a 45-megapixel body earns its keep. I ask about final output size before deciding which camera to bring, not the other way around.
Does the electronic shutter cause banding with studio strobes?
Yes, on this body and most others with a fully electronic shutter, the sensor readout speed doesn't sync cleanly with flash duration and you'll see horizontal banding across frames. I switch to mechanical or electronic front-curtain shutter the moment strobes are involved and save the full electronic mode for continuous available-light bursts.
How many outfit changes can you realistically shoot in one day with this setup?
With a single model, a decent-sized crew, and roughly fifteen minutes per look including a wardrobe and hair touch-up, I've comfortably gotten through twelve to fourteen looks in an eight hour call, tethered, with time left for a handful of movement or detail shots per look. The camera hasn't been the bottleneck on any of those days, wardrobe changes and client review time always are.
What lens pairs best with the Z6 III for full-length lookbook frames?
An 85mm or the 70-200mm f/2.8 zipped in around 85-100mm handles full-length frames with flattering compression and enough working distance to stay out of the stylist's way between shots. For tighter studio spaces I'll drop to a 50mm, but anything wider than that starts introducing distortion at the edges of a full-length frame that's noticeable on a garment with structured shoulders or a straight hem.