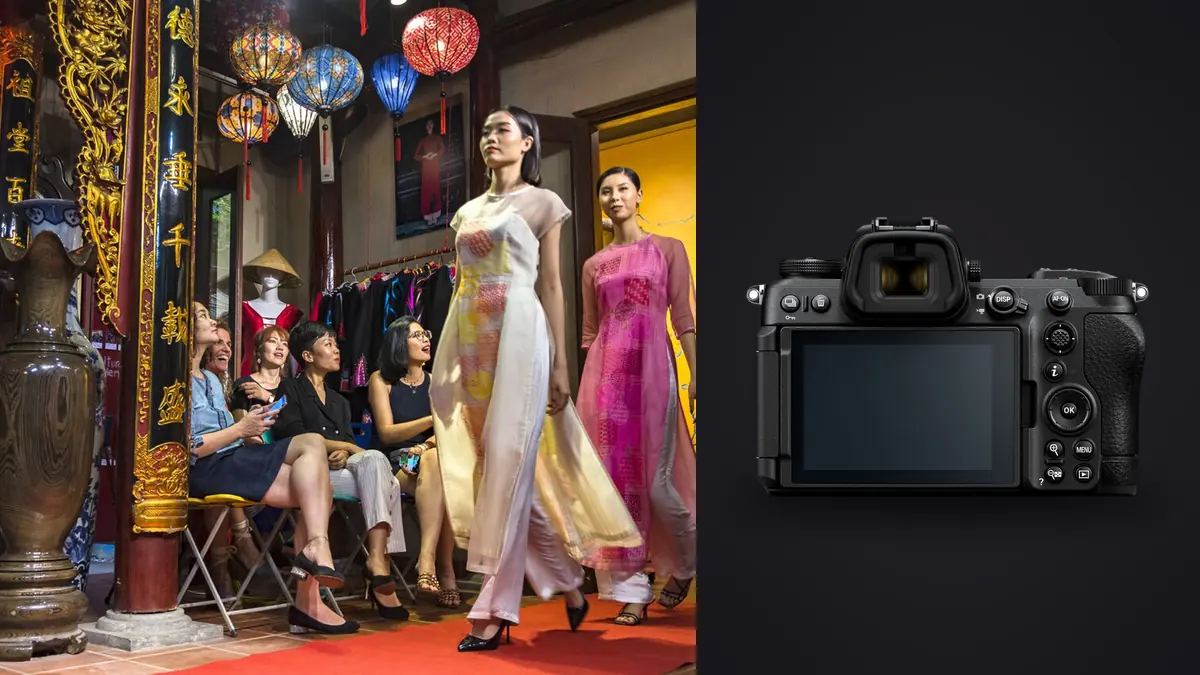
A commercial lookbook depends on repetition. The garment changes, but focus, skin tone, framing, and exposure should remain stable enough that the collection feels coherent. The Nikon Z6 III is well suited to that rhythm, with a partially stacked full-frame sensor, strong subject detection, an articulating screen, and manageable file size. Problems usually arise when a fast studio process changes several variables at once.
Troubleshooting should protect the schedule. Establish one verified reference look, identify whether a miss belongs to focus, movement, lighting, or color, and correct only that part. This method is faster than compensating in post for a capture setup that continues to drift.
Diagnose focus misses by locating sharp texture
When the eye looks soft, inspect the rest of the frame. Sharp fabric in front of the model indicates the camera selected the garment or the focus plane fell forward. Sharp hair behind the eye indicates rear placement. A uniformly soft model and background suggests camera movement, subject movement, or an image-processing issue rather than simple target choice.
Enable human and eye detection, then constrain the active area to the model. In a full-length frame, the face occupies a smaller region and high-contrast clothing may compete. Begin tracking on the upper body or face, confirm the displayed target, and use a narrower area when racks, assistants, or set edges enter the frame.
For a fixed mark, place the model on a taped floor position and confirm focus at the actual working aperture. If the model steps forward during a turn, continuous autofocus is appropriate. If every frame is static and aligned, single autofocus may provide clearer confirmation. Match mode to movement instead of leaving one default for the day.
Protect depth of field across the garment
A lookbook often needs more than a sharp eye. Front details, texture, accessories, and silhouette may all matter. Wide apertures can make the far shoulder, hand, or garment edge unnecessarily soft. Choose enough depth for the client's inspection needs, especially on three-quarter and angled poses.
Keep the model close to the chosen plane by marking feet and showing the movement boundary. If the pose extends a bag or sleeve toward the lens, decide whether that feature must remain sharp. Stop down, adjust camera angle, or make a separate detail frame rather than hoping one shallow exposure covers every use.
Check focus at delivery size and at a technical magnification. Extreme pixel inspection can make a good file seem weak, but thumbnail review can hide a real miss. A representative full-length, mid-shot, and detail image should pass before the team advances through the collection.
Stabilize skin exposure before adding style
Set a neutral lighting baseline before creative color. Use manual exposure with studio flash or stable continuous sources. Meter or test at the model's face, inspect the brightest important skin area, and confirm texture in pale fabric. Once stable, lock shutter, aperture, ISO, and light power.
A histogram describes the whole frame, so a white sweep or dark set can shift its shape dramatically. Combine it with highlight alerts and direct inspection of the face and garment. Do not chase a centered histogram. The correct exposure is the one that preserves required highlights and gives skin enough signal.
If exposure changes as garments switch, look for reflective material, white outfits, black outfits, or accessories influencing automatic flash or metering. Manual flash output prevents the background from controlling the subject exposure. Re-meter when distance or modifier position changes, not merely when the wardrobe color changes.
Fix flash synchronization and partial frames
A dark band or partially lit frame under flash usually points to shutter synchronization, trigger timing, or a source that has not recycled. Begin with a shutter speed within the supported synchronization range and use a compatible shutter mode. Electronic and mechanical options do not behave identically with every trigger.
Reduce flash power or allow more recycle time if brightness fades during a rapid sequence. A lookbook rarely benefits from firing faster than the lights can deliver consistent output. Use a deliberate cadence: pose, settle, focus, expose, verify, then move. This also gives wardrobe and hair time to fall naturally.
Test the full chain before call time: Z6 III, lens, trigger, receiver, cable, and each light. Replace weak batteries and keep a known working sync cable available where the equipment supports it. A backup path is more valuable than another modifier when the main trigger stops.
Detect LED flicker and color drift
Continuous LEDs and practical fixtures may cycle faster than the eye notices. The result can be horizontal bands, changing brightness, or color differences between consecutive frames. Photograph a plain background at the intended shutter and review a sequence. If frames vary, change shutter speed, use flicker-related controls, or replace the source.
Set a fixed white balance for each controlled setup. Automatic white balance can react to garment color and background changes, making a consistent light appear to drift. Capture a neutral reference under the key light after modifiers or source settings change. Keep that reference with the sequence.
Mixed daylight and LED can create different colors across the model. Close blinds, turn off unwanted practicals, gel sources to a closer match, or keep the color zones physically separate. Global white balance cannot make two overlapping light colors neutral at once.
Handle motion without making a burst problem
Lookbooks often include walking, turns, jacket movement, and fabric throws. Set shutter speed for the face and key garment detail. Stabilization does not freeze the model. If flash is the dominant source, its duration may help, but ambient contribution can still leave a ghost at slower shutter speeds.
Define a start mark, finish mark, and direction of gaze. Prefocus near the finish zone, use continuous autofocus through the movement, and capture a short sequence around the best shape. Repeating a controlled path gives better options than asking for unscripted movement within a narrow set.
Review foot placement, hands, hem shape, and brand visibility as well as the face. The technically sharpest frame may show the garment poorly. Separate the technical pass from the merchandising pass so both requirements receive attention.
Resolve monitor and file disagreements
If the rear screen, workstation, and client monitor show different brightness or color, do not adjust the camera to satisfy every display. Use a calibrated reference monitor, embedded profiles, and a controlled viewing environment for final judgment. Keep camera screen brightness consistent so it remains a field check rather than a grading display.
Confirm RAW settings and picture controls. Camera previews can look more contrasty or saturated than the underlying RAW. The difference is expected, but a dramatic mismatch may indicate a changed profile, display mode, or software default. Process a reference file before the full shoot to establish the intended baseline.
For rapid review, imagic can locally score sharpness, exposure, closed eyes, and composition while grouping duplicate or burst frames. It runs on Windows and macOS and keeps photos on the machine. The fashion team must still choose garment presentation, pose, and brand consistency.
Use a controlled troubleshooting sequence
- Freeze the setup: stop changing pose, light, and camera together.
- Locate sharp detail: identify target error, motion, or insufficient depth.
- Inspect skin and fabric: protect important highlights, not the average frame.
- Test the light cycle: check flash recycle, synchronization, and LED variation.
- Confirm color: use a fixed white balance and neutral reference.
- Process one file: verify the complete look at delivery size.
- Resume consistently: record the corrected baseline before continuing.
Keep the successful settings with the lighting diagram and floor distances. The next lookbook can begin from evidence instead of memory. More post-production systems are available in the AI and technology guides.
Prevent styling changes from breaking the baseline
Each new outfit can alter metering, autofocus contrast, spill, and required depth. A white reflective jacket may clip where a matte dark dress did not. Sequins may attract focus or create point reflections. Make a reference frame after every major material change and compare it with the approved baseline before shooting the full set.
Keep the model mark, camera height, and key-light distance measured. If shoes change height or a hat extends the silhouette, adjust composition while preserving perspective. Do not solve every framing change by tilting the camera, because a side-by-side catalog layout will reveal inconsistent body proportions and verticals.
Ask the stylist to define the product-critical feature for each look. It may be a closure, texture, bag, shoe, or layered profile. Focus and aperture should keep that feature usable. A sharp eye does not complete the commercial task when the required garment detail is hidden or soft.
Capture a final clean reference before the outfit leaves set. It should show stable exposure, accurate color, complete garment shape, and no accidental crew or equipment. Experimental movement frames can then be judged against a dependable merchandising version.
Prepare a fast recovery card
Write the verified shutter mode, sync speed range, aperture, ISO, white balance, focus area, and light powers on one card. Add the trigger channel, spare battery location, and backup lens. If settings drift or equipment restarts, the team can return to a known state without reconstructing the setup from memory.
Include symptom-to-cause prompts: dark edge means check synchronization, alternating brightness means check recycle or flicker, sharp garment with soft eye means check target and depth, and changing skin color means isolate the light source. These prompts keep troubleshooting factual under time pressure.
The card should not become a rigid recipe. When the set or concept changes, write a new baseline. Its purpose is to protect a proven look from accidental drift, not to prevent a deliberate creative decision.
At wrap, photograph the recovery card beside a non-sensitive lighting diagram and store that reference with the job notes, not in the public delivery. The next production can reconstruct distances and power relationships without exposing client images or depending on an assistant's memory.
Record which symptom actually occurred and which correction solved it. Over several lookbooks, that log will show whether the recurring weakness belongs to one light, trigger, lens, or part of the studio process.
Frequently asked questions
Why does the Z6 III focus on clothing instead of the eye?
High-contrast garments or a broad active area can compete with a small face. Constrain the area, confirm eye detection, and begin tracking on the intended model.
What causes a dark band in a studio flash frame?
The shutter may be outside the supported sync behavior, the trigger may be delayed, or the light may not have recycled. Return to a tested shutter mode and speed, then test each part.
Should Auto White Balance be used for a full lookbook?
A fixed white balance is usually more consistent under controlled light. Capture a neutral reference whenever the source or modifier changes, then refine color non-destructively.