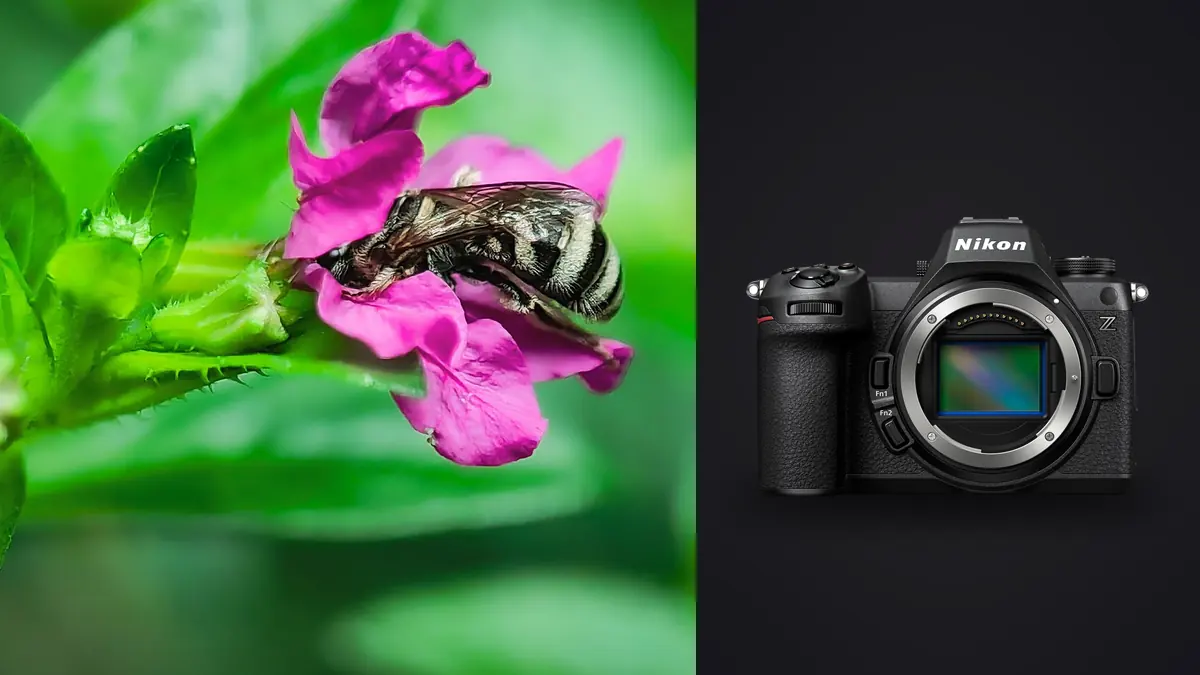
A macro lens changes more than subject size. It sets working distance, diffuser clearance, background angle, support needs, and how much physical presence enters an insect's space. The Nikon Z6 III can use native Z lenses and compatible adapted options, but habitat and subject tolerance should choose among them.
This Lens and Location Guide connects macro focal-length roles to gardens, woodland, wetlands, open ground, and controlled indoor subjects. It prioritizes animal welfare, safe footing, wind, light, background, and a verified NEF review. Magnification is useful only when the encounter remains responsible and the important plane can be recorded.
Define the close-up before choosing a macro lens
An environmental portrait shows the insect with host plant, shelter, or terrain. An identification frame may need several anatomical features. A behavioral sequence may value interaction over maximum detail. A graphic study may isolate texture or wing pattern. Write the purpose first.
Estimate subject size, likely movement, and permitted distance. A larger calm insect on an open perch presents a different lens problem from a tiny subject inside dense foliage. Do not choose maximum reproduction as the default if it removes context or requires harmful approach.
Plan one wider fallback and one detail frame. This creates useful coverage when wind, movement, or access prevents the ideal close-up. A less magnified ethical picture is better than a technically ambitious disturbance.
Use shorter macro lenses for controlled proximity
A shorter macro can make a compact kit and may be easy to handhold over static plants, specimens, craft details, or tabletop subjects. At high magnification it places the lens and diffuser close, which can block light or crowd a live insect.
Check how the lens extends, where its front element sits, and how close a hood or diffuser comes to the subject. Working distance can be much shorter than the distance marked from the sensor. Test the complete arrangement before using it around wildlife.
Use this role where access is open and subject tolerance is not an issue, or for controlled non-living subjects. Do not rely on a short lens to justify moving vegetation or restraining an animal.
Use longer macro lenses for distance and background control
A longer macro can provide more space for a wary insect and a narrower view of the background. It also adds size, narrows acquisition, magnifies movement, and may require stronger support. The clean background is not free; it comes with handling costs.
Check minimum focus, limiter, stabilization, tripod collar or support options, hood, converter compatibility, and autofocus behavior. A longer lens may fit a flower-bed approach and become awkward at ground level beneath branches.
For an insect that never allows close approach, accept the subject scale delivered from a respectful position. Cropping cannot restore detail lost to motion, atmosphere, or an insufficient focus plane, but it can refine a well-made environmental frame.
Consider close-focusing telephotos for habitat portraits
A telephoto that focuses relatively close may produce less magnification than a true macro but can show an insect in habitat from a useful distance. It may be easier for butterflies, dragonflies, larger beetles, and subjects on inaccessible plants.
Compare actual reproduction, minimum focus, background angle, and handholding. A lens described as close-focusing may still leave a small subject too small for the intended output. Test representative targets at real distances.
This role is often strongest as a complement, not a replacement, for a macro lens. It can cover behavior and context while the dedicated macro handles calm detail when conditions permit.
Evaluate adapted F-mount macro lenses as complete systems
An F-mount macro on a compatible adapter may provide a familiar focal length or working distance, but the combined system changes length, balance, support, autofocus behavior, and weather handling. Confirm current Nikon compatibility for the exact lens, adapter, camera firmware, and focus mode.
Test aperture control, metadata, stabilization interaction, focus limiting, manual-focus feel, and tripod clearance. At high magnification, small flex or a loose connection can shift composition. Support the lens where appropriate rather than allowing the adapter to carry a poorly balanced load.
Adaptation is worthwhile when the lens solves a real habitat or subject problem. It is not automatically economical if the resulting rig is too slow to place, difficult to diffuse, or unsupported by the intended bracket workflow.
Carry the adapted and native candidates to one ordinary location before choosing. Compare how each clears plants, reaches controls, balances near the ground, and returns from close focus. Review final-size files together with setup notes. The better lens is the one that produces the required plane without expanding the photographer's footprint or the animal's disturbance.
Scout gardens without treating them as sets
Observe which plants attract insects and when light reaches them. Note watering, public hours, gardeners, pesticides, paths, and rules about tripods. A public or private garden is managed habitat, not an unlimited studio.
Stay on permitted surfaces and avoid moving flowers, leaves, or insects for a cleaner background. Choose camera height and focal length from the path. A longer lens may preserve distance; a wider close-up may show plant context when the angle is constrained.
Protect precise locations for rare species even inside familiar sites. Record broad habitat and visible behavior without claiming feeding, pollination, mating, or egg laying unless the evidence supports it.
Plan woodland and wetland close-ups around ground conditions
Woodland adds low light, branches, humidity, uneven ground, and strong green reflection. Scout clean sightlines from established paths and identify calm air pockets. A compact lens can move around obstacles more easily, while a longer lens can isolate through a narrow gap.
Wetlands add water boundaries, mud, sensitive vegetation, mosquitoes, and reflected sky. Use boardwalks and approved hides. Do not step off route to reach a dragonfly or amphibian. Choose a lens that can work from the permitted edge.
Carry support that cannot sink, spread into a trail, or damage ground. A beanbag, low tripod, monopod, or handhold each suits different surfaces. Plan how to stand up without falling onto habitat or equipment.
Use wind and sun to choose a micro position
Wind moves both subject and focus plane. Observe repeating calm intervals and whether vegetation shelters one side. Use the body or a permitted freestanding screen without touching the plant or blocking the animal's route. A faster shutter cannot stop the subject moving out of focus.
Front light can describe color, side light reveals texture, and backlight can outline hairs or wings while increasing flare. Reflective leaves create bright holes in the background. Move laterally within the path before moving closer.
Early or cool conditions may reduce movement but can also relate to normal insect activity and welfare. Do not chill or manipulate a subject to imitate calm. Follow specialist guidance and stop when behavior changes.
Match support and lighting to the lens footprint
A tripod supports precise composition and brackets when the subject is still, but it occupies space and can be slow around movement. A monopod reduces fatigue with a longer lens. Handholding can respond quickly while demanding disciplined stance and focus-plane control.
A diffused flash can provide controlled light, but source size and distance determine reflection. Check that the modifier clears vegetation and does not strike the subject. Keep stands and cables out of paths, and minimize repeated flashes around live animals.
Balance ambient and flash according to the habitat. A black background often results when distant surroundings receive little flash. Include closer vegetation, raise ambient contribution, or change angle when environmental context matters.
Plan focus brackets only for stable subjects
Focus bracketing can support depth composites or help select the best plane, but it records a sequence rather than guaranteeing a finished stack. Confirm current Z6 III behavior, compatible lenses, order, step control, and file destination in Nikon documentation.
Use stable support, manual exposure, fixed white balance, and consistent light. Start before the nearest required detail and continue beyond the farthest. Step size depends on aperture, magnification, lens, and initial distance, so test the real setup.
Living subjects may move antennae, legs, wings, or body between frames. Keep a clean single exposure and stop if repeated capture causes disturbance. Dedicated stacking software is still needed to align and blend appropriate sources.
Use a habitat-to-lens matrix
| Situation | Lens role | Primary constraint |
|---|---|---|
| Open garden perch | Medium or long macro | Subject tolerance and public path |
| Dense woodland detail | Compact macro or flexible close focus | Obstructions, low light, and ground |
| Wetland boardwalk | Long macro or close-focusing telephoto | Fixed boundary and water distance |
| Environmental insect portrait | Close-focusing normal or telephoto | Context and subject scale |
| Static controlled subject | Macro with stable support | Focus-plane coverage and reflections |
Replace broad roles with actual lenses after testing the permitted distance. The location matrix should prevent carrying equipment that cannot be placed responsibly.
Record subject scale and location limits for the next visit
Keep a small field reference with lens, approximate working distance, subject type, camera height, light direction, wind, and background. Do not record or publish precise coordinates when the site or species is sensitive. The purpose is to understand why a focal length worked, not to build a map that exposes wildlife.
Review whether the subject was large enough at the intended output without an extreme crop, whether support could be placed safely, and whether the diffuser remained clear of habitat. A lens that was optically capable but physically disruptive should not keep its role.
Update the matrix after each ordinary session and retest only one changed element. Consistent notes separate lens limitations from weather, behavior, or access and prevent repeating the same unsuitable setup at a rare encounter.
Review NEF files by encounter and focus plane
After verified copies, imagic can scan Nikon NEF files and analyze them locally. It scores technical qualities and groups similar frames; culling changes status and leaves originals intact. Use encounter notes to preserve behavior and habitat context.
Human review must locate the intended anatomical plane, compare movement, check bracket continuity, and verify ethical and species context. If a stored score appears outdated, check freshness and reanalyze stale files; reselecting only ranks existing values.
The desktop page explains local, non-destructive review, and the AI and technology guides discuss automation limits. imagic does not merge focus stacks, so preserve NEF sources for a dedicated compositor.
Frequently Asked Questions
Is a longer macro lens always better for insects?
No. It can provide working distance and background control, but adds size, narrower acquisition, and support demands. Choose from habitat, subject tolerance, and image purpose.
Can a telephoto replace a macro lens?
It can make useful environmental close-ups when its minimum focus and subject scale suit the output. A true macro remains better for higher magnification and small detail.
Should live insects be focus stacked?
Only when the animal remains naturally still and capture does not disturb it. Keep a single-frame alternative because small movements can break the stack.