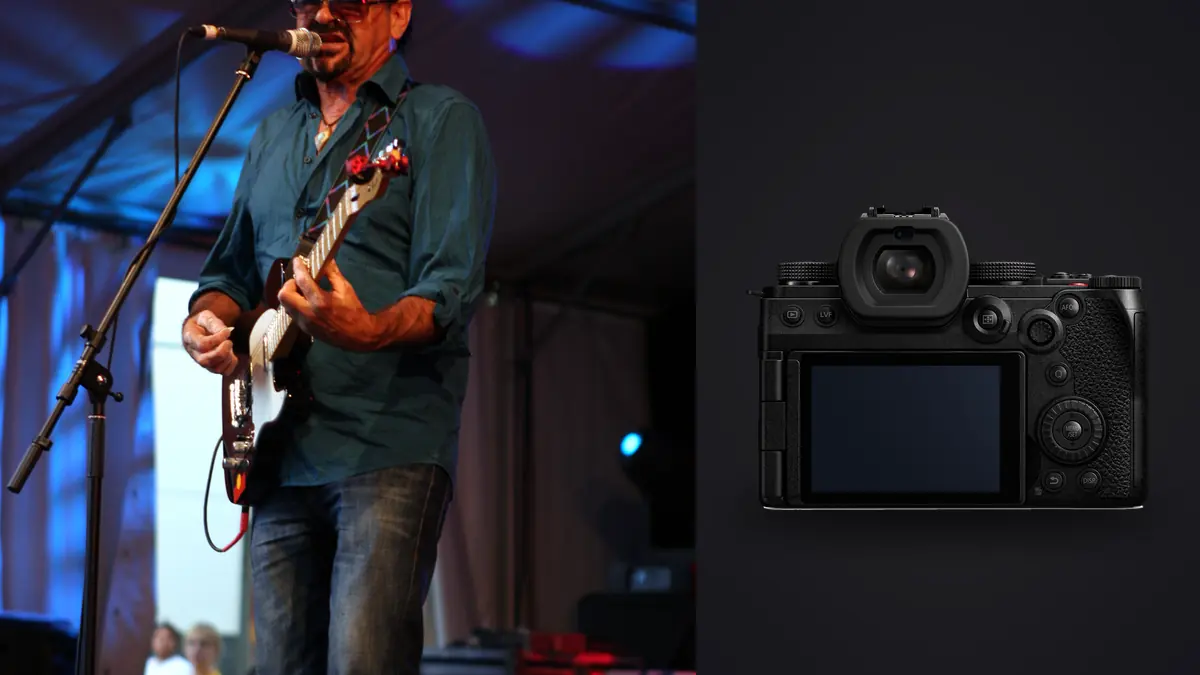
The Panasonic Lumix S5IIX is often discussed as a hybrid video body, but its full-frame still files, phase-hybrid autofocus, stabilization, and L-mount lens choices also make it a practical concert camera. The key is to build a stills kit around access and stage distance rather than carrying video accessories into a crowded pit without a clear purpose.
A small club, festival pit, balcony, and sound-desk position each change the useful lens pair. Lighting can also make silent shutter, autofocus, and exposure behave differently from rehearsal. This guide treats lenses, accessories, and venue strategy as one connected plan.
Begin with the credential and sightline
Ask for the photo policy before packing: allowed songs, pit or audience position, flash restriction, bag size, lens limit, movement rules, and exit route. A lens that is ideal from the sound desk may be unusable under a low stage. Access determines focal length more directly than camera specifications.
Study stage height and monitor placement. From a shallow pit, microphone stands, speakers, and the stage edge can block faces. Side positions often provide cleaner profiles and instrument views. From the rear, plan around heads, raised phones, and lighting structures.
Arrive before the room becomes crowded if access permits. Note where performers receive clean front light, where haze catches beams, and where the background separates from dark clothing. Position can solve problems that no fast lens fixes.
Build a standard-zoom foundation
A bright 24-70mm class L-mount zoom covers full-stage context, groups, half-length performers, and close pit portraits. A constant aperture keeps exposure behavior stable through the zoom range. It is usually the first lens to mount when the opening position and performer movement are not yet known.
A lighter 20-60mm class zoom can be useful for travel, wide stages, and venues with adequate light. Its smaller size suits a compact kit, but the variable aperture and shorter long end should be assessed against typical conditions. Do not assume maximum brightness is always necessary if stabilization, good stage light, and static moments are available.
Use the wide end carefully near a tall stage. Faces and limbs close to frame edges can stretch, and a low viewpoint can exaggerate proportions. Include the whole venue intentionally rather than using width only because the performer is close.
Add telephoto reach only when distance demands it
A 70-200mm class lens covers drummers, performers across a large stage, balcony work, and sound-desk positions. It isolates expressions and compresses lights. In a small pit it may be too tight and physically intrusive, so its value should be tied to actual credentials.
A 70-300mm class option can provide more reach at outdoor festivals with less emphasis on a bright aperture. It asks more from stage light and ISO, but daytime sets may make that trade sensible. Compare balance, autofocus behavior, and weather protection with the S5IIX.
Use a lens hood for physical protection and stray light, but watch long hoods around barriers and other photographers. Keep the camera within personal space. A telephoto advantage disappears if it blocks everyone else's frame.
Use primes for a planned reason
Fast L-mount primes help in very low light and can create a distinct separation between performer and stage. A wide prime suits room atmosphere, a normal prime handles intimate club distances, and a short telephoto can isolate a singer. Each gives up framing flexibility.
Choose one prime that matches a known position instead of packing several. Lens changes in haze, dust, drinks, and a crowded pit expose the sensor and cost time. If two bodies are permitted and genuinely useful, mount the standard zoom on one and the prime or telephoto on the other before entry.
Test autofocus at the widest aperture. Very shallow depth can place one eye sharp while the microphone or instrument falls out of context. Stop down when two performers interact or when the instrument must remain readable.
Configure stabilization around subject movement
The S5IIX's stabilization helps keep a long lens steady and supports static stage details. It does not freeze a singer turning, a drummer's hands, or jumping hair. Set shutter speed from performer movement and treat stabilization as control of the camera side.
For intentional blur, capture a safe sharp frame first. Then slow the shutter for a panned guitarist, moving lights, or audience motion. Follow through smoothly and check whether the face or instrument retains enough structure to anchor the image.
A monopod can support a long lens from a fixed rear position, but it is usually awkward in a pit. Confirm venue permission and keep its foot out of walking paths. A tensioned strap and stable stance may provide enough support for the shorter assignment.
Pack power and cards for the complete set
Continuous autofocus, display use, stabilization, and review consume power. Carry charged spares in a reachable protected pocket and know the set length. If external USB power is considered for a fixed position, secure the cable so it cannot pull the camera or catch a passerby.
Use reliable cards with enough headroom for RAW bursts and any required backup routing. Format after verified ingest, not immediately after delivery. Keep empty and exposed cards in distinct cases so a card is not reused accidentally during a festival.
Confirm still-photo settings after any video work. Resolution, shutter behavior, picture profile previews, and card destination should match the concert brief. Save a stills custom mode so a hybrid assignment cannot carry an unintended video-oriented configuration into the photo pit.
Carry accessories that respect the venue
Hearing protection is essential. Add a short secure strap, lens cloth, weather cover, dim light for use away from the audience, and any credential pouch. Avoid dangling accessories, noisy fasteners, and bright displays. Quiet conduct involves the entire kit, not only the shutter.
A small rain cover protects outdoor festival work. Keep a dry cloth separate from one used on the lens. If moving from cold air into a humid room, let equipment acclimate in the closed bag to reduce condensation.
Do not carry flash unless the venue and assignment explicitly allow it and its use will not distract performers or audience. Even with permission, direct flash can flatten stage atmosphere. Existing light is usually part of the event's visual identity.
Test silent shutter under stage LEDs
Electronic shutter can make capture unobtrusive, but LED fixtures may create horizontal bands or uneven color. Test the intended shutter speed under the actual lights and inspect the full frame. A plain wall or haze can make patterns easier to see.
If bands appear, change shutter speed, use flicker-related tools where suitable, or switch shutter mode. The partially controlled nature of concert lighting means one stage may behave well while another does not. Save a reliable mechanical-shutter fallback.
Display brightness should be low enough not to distract yet high enough for a technical check. Use the histogram and highlight warnings rather than judging exposure from a glowing screen in a dark room.
Position for light instead of chasing it
Observe repeated lighting cues. A vocalist may step into a clean front spotlight for each chorus, while verses remain backlit. Wait for the known mark rather than moving continuously through the pit. This produces more stable exposure and fewer obstructed frames.
Protect highlights on faces and pale costumes. Saturated red and blue channels can lose detail before the overall preview appears clipped. Use manual exposure when the key light repeats, or Auto ISO with compensation when performers cross genuinely different zones.
Change angle to separate the microphone from the face and instruments from dark clothing. A small lateral move can place a rim light behind a performer. Good access strategy often provides more visible detail than raising exposure.
Prepare for outdoor festivals
Check weather, stage orientation, sun position, dust, and distance between stages. A lens plan that works after dark may be too heavy for a full day. Carry water and protection for the photographer as well as the camera, and use designated routes.
Daylight sets can have very bright backgrounds and shaded faces under the stage roof. Expose for the performer or wait for a better lighting angle. Do not assume RAW will recover a completely clipped sky and deeply underexposed face without compromise.
Festival turnaround may require selection between stages. Identify a safe media area rather than opening cards in the crowd. Keep one verified copy before reusing media, and record which images have already been delivered.
Cull a varied live-music story
Group bursts and compare expression, focus, microphone clearance, hands, instrument position, and lighting. One frame should lead each repeated gesture. Add wide venue context, performer interactions, detail, and audience response only where access and privacy allow.
A local desktop tool such as imagic can score sharpness, exposure, closed eyes, and composition and group duplicates or bursts on Windows and macOS. Photos stay local. Human review decides musical significance and whether stage color should remain.
Use non-destructive edits, preserve intentional stage lighting, and export JPEG or TIFF according to the brief. The camera hardware guides provide more kit planning for difficult venues.
Build a second-body plan only when access supports it
Two bodies can keep a standard zoom and telephoto ready, but they also widen the photographer's profile and add straps, weight, and collision risk. In a narrow pit, one S5IIX with a versatile zoom may produce better movement and etiquette than a second body that cannot be handled safely.
When two bodies are justified, make their clocks, file naming, white balance baseline, and exposure logic consistent. Assign each a clear focal-length role. Avoid swapping lenses or bodies randomly, because the later sequence and color workflow become harder to interpret under deadline.
The backup body should still be usable if the S5IIX fails. Keep a charged battery and prepared card in it, and confirm that its RAW files open on the workstation. A body carried only as a lens holder is not a complete contingency.
At exit, count both bodies and every mounted lens before leaving the credentialed area. Separate exposed cards immediately and record which camera created each urgent select.
During ingest, filter by camera serial or model and compare one neutral frame from each body. Correct a genuine baseline difference before synchronizing the wider set, while preserving the intentional color of stage lighting.
Frequently asked questions
Which first lens suits an S5IIX photo pit?
A bright standard zoom is the most flexible starting point for many pits. Choose the exact range from stage distance and access, then add telephoto reach only when needed.
Does S5IIX stabilization freeze performers?
No. It reduces camera movement. Shutter speed or flash duration must control movement from the performer, hair, hands, and instruments.
Should electronic shutter always be used at concerts?
No. Some LED systems create bands or color variation. Test the stage at the intended shutter speed and keep a reliable alternate shutter mode available.