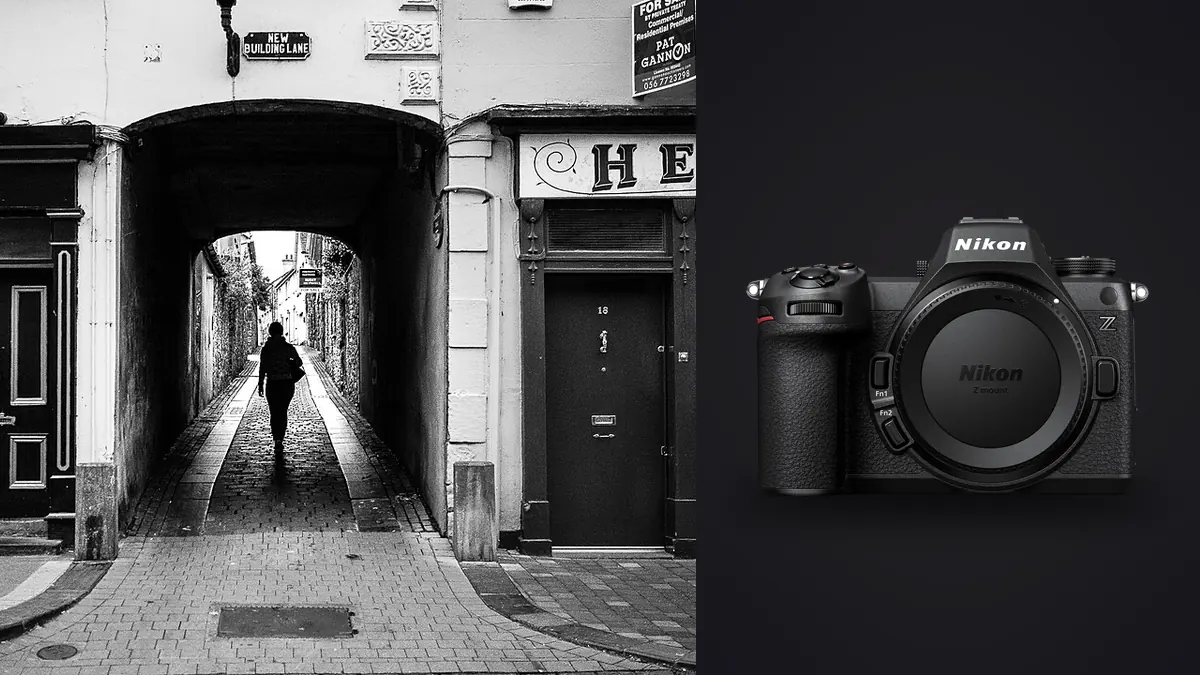
I switched to the Z6 III last winter to replace a Z6 II that had started feeling a step behind in fast-moving situations: markets, protests, transit stations, the kind of environments where a half-second of shutter lag costs you the frame entirely. Eight months and a few thousand frames later, this isn't a spec-sheet rundown. It's what actually changed in how I shoot street and documentary work, and what didn't.
Why the Sensor Change Actually Matters for This Kind of Work
Nikon's marketing leans hard on the "partially stacked" sensor language, and it's easy to tune that out as another spec bump. In practice, the readout speed is the thing you notice. Panning with a cyclist or a subject cutting across a frame at close range on the Z6 II produced visible rolling shutter skew with the electronic shutter engaged. On the Z6 III, that skew is dramatically reduced, not eliminated, but reduced enough that I stopped avoiding electronic shutter mode for anything involving lateral motion. That matters for documentary work specifically because the mechanical shutter's clack is exactly the kind of sound that makes a subject look up and break the moment you were trying to capture.
The EVF is the other change that shows up in daily use more than the sensor does. At 4000 nits peak brightness, it holds up shooting into harsh midday light in a way the Z6 II's finder didn't, and the blackout-free viewing at high frame rates means you can track a subject's face through a burst without losing them in the gaps. For portraiture that's a nice-to-have. For a subject moving unpredictably through a crowd, it's the difference between having six usable frames and having one.
Handling It in a Crowd: Size, Weight, and Staying Unnoticed
At roughly 760g body-only, the Z6 III is not a compact camera by street photography standards. It's noticeably lighter than a Z8, and paired with something like the 40mm f/2 SE it disappears into a shoulder bag reasonably well, but it's never going to have the low profile of a Fuji X100VI or a Ricoh GR. If your work depends on genuinely blending in on a bus or in a small shop, this isn't that camera. If you're working a market or a public demonstration where a visible camera is expected and even useful for signaling intent, the size stops mattering.
Where it earns its keep is the silent shutter mode combined with a fully dimmable rear screen and a finder that doesn't flash on capture. I run mine with the confirmation beep off, screen brightness dropped two stops from default, and a completely silent electronic shutter for anything inside a building. Outdoors, in genuinely loud environments, I'll switch back to the mechanical shutter because the tactile click helps me confirm a shot fired without checking the screen, which matters when you're not looking away from the scene.
Picking a RAW Format for the Pace You're Actually Shooting At
This is the part most reviews skip, and it's the one that changes your entire workflow on a multi-day documentary trip. The Z6 III introduced High Efficiency RAW options alongside the standard Lossless Compressed format, and which one you pick has real consequences for buffer depth and how much culling you'll be doing at 11pm in a hotel room.
| RAW Format | Bit Depth | Approx. File Size (24.5MP) | Rough Buffer Depth* | Where I Use It |
|---|---|---|---|---|
| Lossless Compressed 14-bit | 14-bit | ~58-65MB | ~40-48 frames | Slower documentary sequences, portrait-adjacent work, anything headed to print |
| High Efficiency* (HE*) | 14-bit | ~34-40MB | 150+ frames | Fast-moving street bursts, protests, anything with unpredictable subject motion |
| High Efficiency (HE) | 12-bit | ~24-29MB | 250+ frames | Multi-day trips where card space and file count matter more than shadow latitude |
| Lossless Compressed 12-bit | 12-bit | ~40-45MB | ~55-65 frames | A middle ground when I'm not sure which way a shoot will go |
*Tested with a 325GB CFexpress Type B card at 20fps electronic shutter; your numbers will shift with card speed and in-camera noise reduction settings.
For most street work I've landed on HE* as the default. The quality difference against Lossless Compressed is genuinely hard to see unless you're pushing shadows five stops in a dark alley scene, and the buffer headroom means I stop worrying about the counter mid-burst. I switch to full 14-bit Lossless Compressed for anything I already know is going into a gallery show or a print run, where I want every bit of dynamic range available for the edit.
The dual card slots (CFexpress Type B and UHS-II SD) matter more for documentary trips than for a single afternoon walking around. I run backup recording to the SD card on anything I can't reshoot: an interview subject, a one-time event, a border crossing. It's slower and it eats into buffer depth slightly, but losing a card on the last day of a two-week trip is a worse outcome than a marginally shorter burst.
Autofocus and Burst Rate When the Moment Doesn't Repeat
Street and documentary photography share one hard constraint: you rarely get a second take. The Z6 III's subject detection handles human subjects well in the specific conditions this genre throws at it, which is not studio lighting. Low-light AF sensitivity down in the -9 to -10 EV range means it will still lock focus on a face lit only by a shop window or a phone screen, situations where the Z6 II's AF would visibly hunt.
At 20fps with the electronic shutter and 14-bit RAW, you get enough frames through a fast gesture (a hand reaching out, a head turning, a jump) to actually have options in the edit rather than one lucky frame and four near-misses. I don't use the higher frame rate crop modes for documentary work since the resolution loss isn't worth it once you're already cropping in post for composition, but for pure street candids where you can accept a smaller final file, they're there.
Eye and face detection in a crowd is the feature that took the longest for me to trust. Early on it would occasionally lock onto a background face instead of my intended subject when both were roughly the same distance from the lens. Assigning subject-detection toggling to a custom button (I use the lens function button on the 35mm f/1.8 S) lets me kill it instantly when I want manual control over exactly which face gets priority, which happens more often in a crowded frame than the marketing demos suggest.
Lens Pairings That Actually Hold Up on a Full Day of Shooting
The Z 40mm f/2 SE is the lens I reach for most. It's small, it balances the body well without a grip extension, and the field of view sits close enough to how the eye actually sees a scene that I don't have to think about framing before I raise the camera. For anything wider and more environmental, the Z 28mm f/2.8 fills a similar compact role with a bit more context in the frame, useful for interiors and tighter market alleys.
The Z 35mm f/1.8 S earns its weight when light drops, which for documentary work covering interiors or evening events is often. It's heavier and more front-loaded than the SE primes, and after eight or nine hours on a strap you feel the difference, but the extra stop matters when you're not using flash. For versatility on assignments where I don't know what I'll encounter, the Z 24-70mm f/4 S stays on the body; it's not glamorous glass, but for a single-lens documentary day it removes the guesswork.
Getting Through a Day's Take Without Losing the Evening
A single afternoon of street shooting at 20fps produces more frames than anyone can meaningfully review one by one, and documentary trips compound that problem across days. This is where the shooting side of the camera and the editing side of the workflow have to work together, and it's the part that changed the most for me this year.
I run imagic over the day's card before I touch anything in an editor. Its local sharpness and focus scoring flags which frame in a ten-shot burst actually landed critical focus on the eye rather than the shoulder, which matters a lot more with a fast prime wide open than it did with a stopped-down kit lens. The duplicate and burst clustering groups near-identical frames from continuous bursts automatically, so instead of scrolling through forty frames of the same handshake or the same street crossing, I'm looking at four or five clusters with the sharpest frame from each already surfaced. Since everything runs locally with no upload step, that matters for documentary subjects in particular, interview footage or sensitive locations where I'm not comfortable sending files to a cloud service before I've even reviewed them myself.
For consistency across a documentary essay shot over several sessions, I trained imagic's apply_my_style preset on a set of edits I'd already finished and liked, and now new imports get a first pass that's already close to my usual grade rather than starting from a flat baseline every time. It's a starting point, not a replacement for actually looking at the work, but it cuts a meaningful amount of time out of a process that used to eat entire evenings after a shoot day. If you're trying to figure out where a similar culling pass fits into your own process, how AI photo culling actually works covers the mechanics in more depth, and these workflow tips cover the rest of the pipeline around it.
Where It Falls Short for This Kind of Work
None of this is a case for the Z6 III being the obvious choice for every street shooter. It's larger and heavier than dedicated compacts built for this genre, and if discretion is your primary requirement rather than a secondary benefit, a fixed-lens camera will serve you better. Battery life is solid for a mirrorless body but not limitless; a full day of documentary shooting with image review between sequences will get you through one battery with margin, not two full days on a single charge. And at this price point, a used Z6 II with the money saved put toward lenses is a genuinely reasonable alternative if you don't specifically need the buffer depth or the low-light AF gains, both of which matter more for fast-paced street work than for slower documentary portraiture.
The articulating rear screen, useful for waist-level candid shots, is also a point some street shooters dislike compared to a fixed screen, since the extra hinge is one more thing that can catch on a strap or a bag closure over months of daily carry. Mine has held up fine, but it's worth knowing before you commit to a shooting style built around it.
Frequently Asked Questions
Is the Z6 III fast enough for genuine photojournalism and breaking street moments?
For most documentary and street work, yes. The combination of 20fps electronic shutter, reduced rolling shutter compared to the Z6 II, and low-light AF sensitivity down to roughly -9 to -10 EV covers the situations this genre actually produces: fast gestures, dim interiors, unpredictable subject motion. It's not built for sports-level tracking at 400mm, but that's not the job here.
Should I shoot 12-bit or 14-bit RAW for street and documentary work?
It depends on how much you push shadows in the edit and how fast the situation is moving. I default to 14-bit High Efficiency* for most street shooting because the buffer depth lets me hold a burst without worrying about the counter, and the quality loss against full Lossless Compressed is minor. For slower, more deliberate documentary portraits or anything headed to print, I switch to full 14-bit Lossless Compressed for the extra dynamic range.
How much of a real upgrade is the Z6 III over the Z6 II for this specific genre?
The autofocus in low light and the reduced rolling shutter are the two changes that actually show up in daily street and documentary shooting, more than the resolution or the video specs that dominate most reviews. If your Z6 II's AF has been missing faces in dim interiors or you've seen skew on panning shots with the electronic shutter, those are the specific problems the Z6 III solves. If neither of those has been an issue for you, the upgrade is less urgent than it looks on a spec sheet.
What's a reasonable single-lens setup for a full day of street shooting with this camera?
The Z 40mm f/2 SE is the lens I'd recommend starting with. It keeps the body's total weight manageable across a full day, the field of view suits observational street work without forcing you into a wide-angle style, and it's inexpensive enough that losing or damaging it on a chaotic shoot day isn't a financial disaster. Move to the 35mm f/1.8 S once low light becomes a regular part of your work rather than an occasional condition.