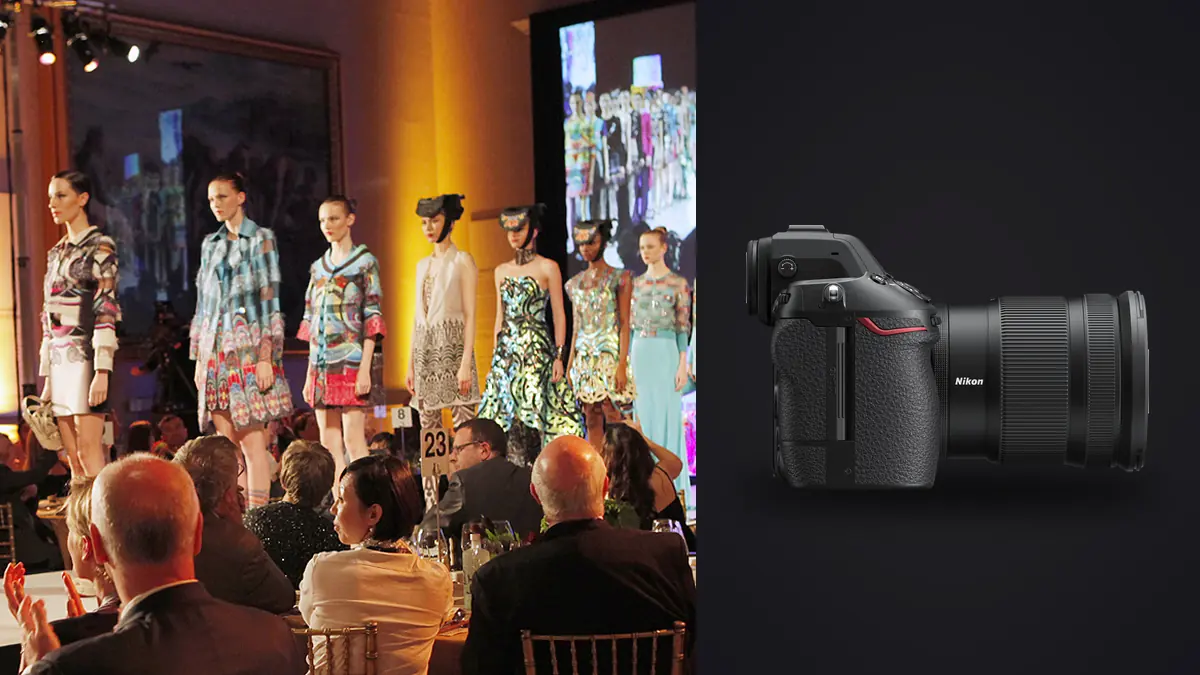
A commercial lookbook asks for technical consistency across many variations. The garment must remain readable, the model's face must stay in focus, repeated poses need comparable framing, and color cannot drift every time the set or light changes. The Nikon Z8 provides detailed files and sophisticated subject detection, but those features can also make a simple problem harder to identify when the camera picks the wrong eye, an LED source pulses, or reflective fabric clips unexpectedly.
Troubleshooting works best when failures are separated by cause. Focus selection, subject movement, depth of field, shutter behavior, flash timing, metering, and color are related but not identical. Change one variable, reproduce the pose, and compare the resulting RAW files. This guide begins with visible symptoms and leads back to a controlled lookbook setup.
When the camera chooses the wrong face or eye
Full-area subject detection is convenient with one model against a clean background. It becomes less predictable when an assistant enters the edge, a printed face appears on a garment, a mirror reflects the model, or two models overlap. The Z8 may identify all available faces but select one that is not central to the brief. That is target selection, not necessarily poor autofocus accuracy.
Limit the search with a wide-area custom pattern or smaller AF area placed over the intended model. Begin tracking on the correct face before movement starts. If a second model crosses in front, keep the area on the priority subject or release and reacquire. For static paired poses, use a controlled point and enough depth of field to cover both faces rather than expecting eye detection to make two different distances sharp.
Set eye preference only when the pose and layout demand it, such as maintaining the eye nearest the camera. If the model turns and the far eye becomes more visible, a rigid preference can work against composition. Review which iris holds detail, not merely which eye received a viewfinder box.
When eyelashes are sharp but the iris is not
At close portrait distance and a wide aperture, eyelashes, the iris, and the far eyelid can occupy different focus planes. The Z8 may acquire the eye region correctly while the selected depth is too narrow for the intended result. Confirm by looking for the sharpest fine texture around the eye. If lashes lead and the iris trails softly, stop down, change angle, or increase camera distance.
High-resolution files make slight focus-plane differences obvious at high magnification. Judge them at the intended output size as well as at pixel view. A full-length e-commerce frame does not need the same iris detail as a beauty crop, but repeated misses in the same direction still deserve correction.
Shutter speed can imitate a focus miss. If both eyes and garment edges smear in the direction of movement, use a faster exposure or stronger flash contribution. If the face is sharp and a swinging sleeve blurs, autofocus probably succeeded and the shutter rendered motion. Decide whether that motion supports or conflicts with the brief.
When focus jumps to fabric or foreground props
Sequins, jewelry, patterned textiles, and hard prop edges may offer stronger contrast than a partially obscured eye. A large AF area gives the camera permission to choose them. Narrow the area, start it on the face, and reduce the time the subject remains hidden behind foreground styling.
For a fixed mark on the floor, pre-focus on the model at that mark and use AF-C only when the movement requires it. A walking sequence benefits from continuous tracking; a static product pose may be more consistent with single autofocus followed by a confirmation check. Avoid switching between the two without telling the model, because the pacing and number of exposures will change.
Mirrors need an explicit choice. Focus on the real model when the body is the subject, or on the reflected face when the reflection is the intended image. The distances are not the same. A subject-detection box can appear convincing in either location, so magnified review must verify the chosen plane.
When electronic shutter and LEDs create bands
The Z8 relies on an electronic shutter rather than a conventional mechanical shutter. Its stacked-sensor readout is fast, but pulsing LEDs can still interact with exposure timing. The symptom may be a broad brightness band, a partial color shift, or inconsistent brightness from one frame to the next. It can appear at one shutter speed and disappear at another.
Test the actual fixtures before the lookbook begins. Photograph a neutral wall or gray target across the frame at the planned shutter speeds, then compare consecutive images. Use the camera's flicker-reduction or high-frequency flicker functions where appropriate and supported. If the source remains inconsistent, change shutter speed, use non-pulsing continuous light, or move to compatible flash.
Do not assume the rear screen will reveal subtle banding. A smooth background and pale garment make better diagnostic surfaces than a dark textured set. If different parts of the frame show different color, check each fixture separately because two LED models can pulse at unrelated frequencies.
When flash exposure varies across a sequence
Start by separating camera timing from flash recycling. If the first frame is correct and later burst frames become dark, the flash may not have recovered. Lower flash output by moving the source closer or opening the aperture, slow the shooting pace, or use equipment designed for the required sequence. A ready indicator is more informative than firing repeatedly and blaming metering.
Confirm that the selected shutter speed, flash mode, trigger, and firmware are mutually compatible. High-speed sync changes output behavior and is not automatically useful in a studio. When the background and ambient light are controlled, a normal compatible synchronization setting is generally simpler. Follow Nikon and lighting-manufacturer guidance for the exact equipment.
Use manual flash for a fixed set and fixed subject distance. TTL can be useful when distance changes, but reflective clothing, a white jacket, or a black dress can shift its decision. If TTL is chosen, lock or compensate it deliberately and monitor a reference frame after each styling change.
When white or reflective garments lose texture
Lookbooks sell shape, material, and finish. A white fabric that appears bright but textureless has failed even if skin exposure looks pleasing. Check the individual color channels and highlight warning on the brightest garment area. Specular reflections may clip by design, but broad woven or stitched regions should retain separation when the brief needs them.
Change the light angle before reducing exposure across the whole frame. Moving a large source to the side can reveal texture while keeping skin luminous. A polarizer may reduce some reflections, but it can affect different materials unevenly, cost light, and create inconsistent results as the model turns. Test it through the full pose range.
Black fabric presents the opposite issue. Raising exposure until every fold is visible may wash out skin or change the intended garment tone. Use edge light, side light, or a controlled background separation to describe shape. Exposure should preserve useful shadow texture, while lighting defines the silhouette.
When skin color changes from outfit to outfit
Colored clothing and seamless paper can bounce light onto skin. Automatic white balance may also react to a frame filled by a red coat or blue background. Establish a neutral reference under each lighting setup with a gray target placed at the model position. Keep a fixed white balance for that setup, then make creative changes non-destructively in post.
Mixed daylight and artificial light create gradients that one global temperature slider cannot fix. Block the unwanted source, match fixture color, or decide which source will appear neutral. A corrected face beside a strongly shifted hand is usually a capture problem rather than a RAW-processing failure.
Monitor makeup, reflective accessories, and translucent fabrics under the final lights. A neutral reference does not remove the deliberate color of the set; it provides a known point from which that color can be managed consistently.
When framing drifts across repeated looks
Technical consistency includes camera position. Mark tripod feet, camera height, focal length, and model position for catalog-style views. Use the Z8 grid and level as alignment aids, then check the actual background edges because a level camera can still be off-center. A zoom ring can creep between looks, so record focal length or tape it when a fixed framing is required.
For handheld editorial variations, keep a reference frame for headroom, foot placement, and background margins. Do not force identical framing when the garment shape needs a different crop, but make changes intentional. A simple shot list can distinguish full length, three-quarter, detail, reverse, and movement views.
Compare a contact sheet before dismantling the set. A missing reverse view or a gradually rising camera angle is easier to correct while the clothing and light are still available. This review is a production safeguard, not a claim that every frame must look mechanical.
A symptom-based reset sequence
- Wrong person selected: restrict the AF area and start tracking on the priority model.
- Lashes sharp, iris soft: add depth, change the face angle, or increase distance.
- Whole subject smeared: raise shutter speed or increase flash contribution.
- Frame bands under LEDs: test flicker controls and alternative shutter timings.
- Later burst frames dark: allow flash recycling or reduce required output.
- White fabric clips: change light angle before lowering every tone.
- Skin color drifts: fix white balance per setup and control reflected color.
- Framing drifts: restore marked camera, focal length, and subject positions.
Once capture is stable, review the NEF files locally and non-destructively. imagic can group repeated sequences and assess sharpness, exposure, closed eyes, and composition without uploading the shoot. It is useful for surfacing candidates, while garment accuracy and campaign requirements remain human decisions. More equipment context is available in the camera hardware guides, and the single-photo web editor can be used for a quick non-RAW edit when local privacy requirements do not prohibit a web workflow.
Frequently asked questions
Why does the Nikon Z8 focus on fabric instead of the eye?
The AF area may include a higher-contrast textile or prop, especially when the face is partly hidden. Restrict the search area, begin tracking on the intended eye, and verify the actual plane at magnified view.
Can the Nikon Z8 show banding under studio LEDs?
Yes. Its fast electronic readout helps, but a pulsing fixture can still vary during an exposure or between frames. Test the exact lights and use suitable flicker settings or shutter timing.
Should lookbook flash be manual or TTL?
Manual flash is repeatable when the set and distance are fixed. TTL can accommodate movement, but reflective and very light or dark garments may change its decision, so monitor and compensate it deliberately.