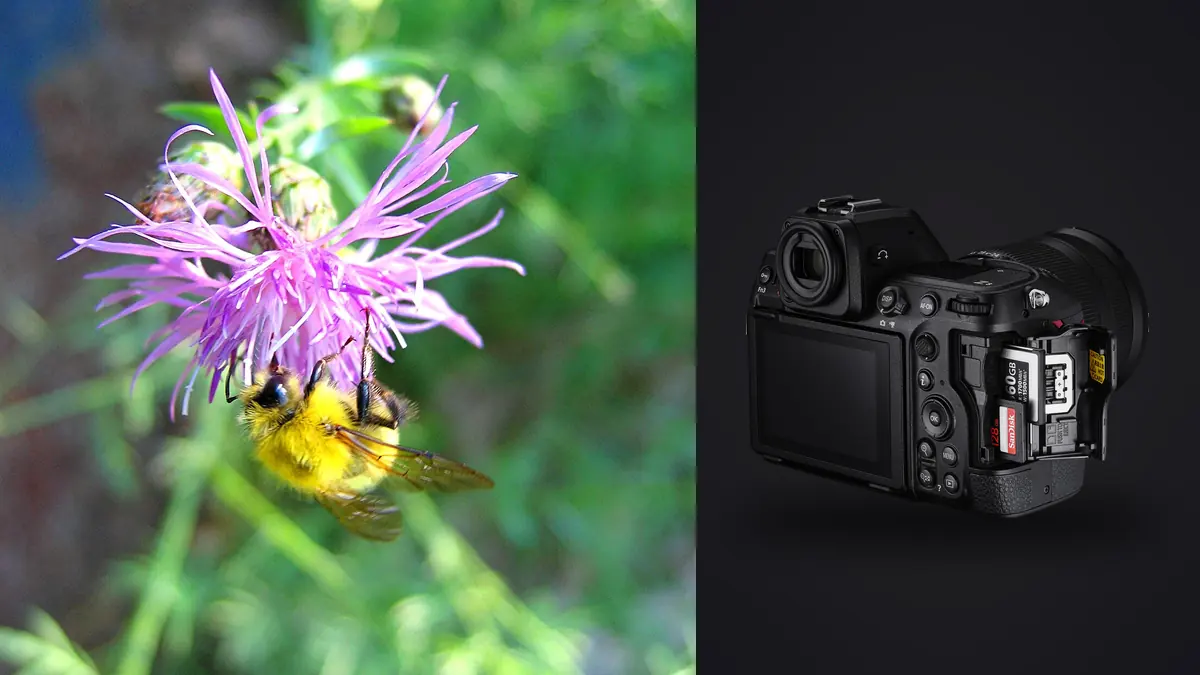
The Nikon Z8 combines a 45.7-megapixel stacked full-frame sensor with an all-electronic shutter, in-body stabilization, high-resolution viewing, and flexible autofocus areas. In insect macro, that resolution makes diagnosis easier and less forgiving: a focus plane a few millimeters behind the eye, a leaf moving in wind, or a flash that did not fully recycle becomes obvious.
When a frame fails, identify the visible symptom before changing settings. "Soft" can mean missed focus, camera movement, subject movement, insufficient depth, diffraction, atmospheric motion, or excessive crop. "Wrong exposure" can mean clipped reflective wings, a dark subject against a bright leaf, flash inconsistency, or electronic-shutter interaction with continuous light. Each needs a different correction.
Use a repeatable macro troubleshooting order
Troubleshooting a Z8 insect frame should move from the subject outward. First locate the sharpest plane and decide whether focus landed ahead of or behind the intended eye. Next compare the insect with a stationary surface to separate subject movement from camera movement. Then inspect depth, aperture, and diffraction at the intended output size. Check flash recycle, highlight warnings, and continuous-light bands only after sharpness is understood. Finally examine the lens front, adapter, support, and atmospheric conditions. This order avoids treating every soft file as an autofocus failure and keeps a single controlled change connected to a visible symptom.
When the eye is soft but nearby texture is sharp
This pattern usually means focus placement, not camera shake. Autofocus may have selected wing veins, a bright leg, a flower edge, or the far eye. Reduce the focus area and place it over the nearest important eye. If the insect turns, reacquire rather than assuming subject detection will reinterpret the pose correctly.
At high magnification, tiny camera movement changes distance. Set approximate focus and move the camera gently forward or backward until the eye crosses the plane. A focusing rail can make this movement repeatable on a tripod. Handheld, support elbows and release a short sequence through the plane instead of holding a long burst.
Align the sensor with the important body plane. A side-on butterfly can place eye and wing within similar depth; a head-on beetle cannot. When alignment is impossible, choose the priority explicitly and let the rest recede or stop down enough to connect the necessary features.
When the whole insect looks smeared
Directional blur across both the eye and body points to movement. Compare the subject with a stationary object at the same distance. If both smear in the same direction, camera movement is likely. If the leaf is sharp and legs or antennae blur, the subject moved.
In-body stabilization addresses photographer movement, not a live insect or plant moving in wind. Raise shutter speed, add controlled light, shield the plant without touching it, or wait for a pause. A tripod does not help when the subject itself is moving, though it can make camera movement easier to exclude from the diagnosis.
Electronic shutter readout can alter very fast wing motion. The Z8's stacked sensor is fast, but no readout makes a wing stationary. If the wing shape looks skewed rather than simply blurred, change shutter speed and lighting strategy and compare a known shutter configuration.
When depth remains too thin after stopping down
Depth of field at macro distance is inherently small. Closing the aperture helps, but the smallest setting introduces diffraction and may force high ISO or long exposure. More frames do not create more depth unless they are deliberately captured at different focus distances and later combined in suitable software.
Increase camera distance slightly, align planes, and decide whether every body part truly needs to be sharp. A moderate crop from the 45.7-megapixel file may preserve more useful detail than an extremely close frame made at a diffraction-heavy aperture. Crop latitude is support, not permission for careless distance.
The Z8 can automate focus-shift capture for a stationary setup. That creates a sequence; merging it into a depth composite requires a compatible external workflow. imagic does not merge focus stacks, HDR sets, or panoramas. Moving insects, wind, and changing highlights can make stack alignment unreliable, so use the technique for genuinely still subjects.
When flash exposures alternate bright and dark
Inconsistent flash frames often indicate recycle or communication, not changing ambient exposure. If every second or third frame is dark, slow the drive, reduce flash output, move the diffuser closer, raise ISO modestly, or use a power source that supports the required pace. Wait for a ready indicator before releasing another sequence.
Confirm the shutter and flash mode supported by the Z8, trigger, and flash combination. The camera's shutter is electronic, but normal flash synchronization is supported within defined conditions. High-speed synchronization, wireless triggering, and third-party equipment can impose separate limits. Test the exact setup away from a live subject.
A bare flash close to reflective shells produces tiny clipped highlights and a dark background. Enlarge the apparent source with diffusion, angle it across the subject, and allow some ambient or reflected fill. Do not solve harsh light merely by reducing exposure; the specular-to-shadow ratio remains harsh.
When pale wings or flowers clip unexpectedly
The overall histogram can look safe while a small white wing patch is overexposed. Enable highlight warnings and inspect the feature that matters. Reflective scales and wet shells may contain point highlights that can reach white, but broad patterned areas should retain structure.
Spot or highlight-weighted metering can help, yet manual exposure is more consistent when the light on the insect is stable and the background changes. Set exposure for the subject, then alter composition without allowing a dark or bright background to move the reading.
With flash, lower flash contribution or change its angle while maintaining ambient separately. With daylight, add diffusion or rotate around the subject so reflection changes. RAW recovery is useful for near-limit tones, not for a channel that has been fully clipped.
When the background is bright, sharp, or distracting
Macro backgrounds respond dramatically to small position changes. Move a few centimeters while preserving the focus distance. Seek a distant dark patch, an even leaf, or a color that separates the insect. Avoid breaking vegetation or moving the animal to manufacture a clean setting.
A wider aperture can blur the background but may remove needed subject depth. Increase subject-to-background distance where the natural scene allows, use a longer macro lens for more working distance, or frame more context intentionally. A clean habitat image is better than a shallow close-up with the eye outside the plane.
Check the corners for bright gaps and partial stems. High magnification narrows attention to the eye, making edge problems easy to miss. Use the Z8's articulated screen to examine a low composition without leaning into the habitat, but keep physical awareness of plants and escape paths.
Diagnose artificial-light bands and color shifts
Continuous LEDs may pulse, particularly when dimmed. An electronic shutter can record that pulse as bands or uneven color. Make several frames at the intended shutter speed, since the pattern may move between exposures. Try a nearby shutter speed or a different light-output setting.
Mixed daylight and LED can create separate color zones across an iridescent subject. Set a fixed white balance, turn off the unnecessary source, gel the added light, or accept a deliberate separation. Auto white balance may change as the subject fills more of the frame, making a sequence difficult to match.
Flash duration can freeze motion more effectively than weak continuous light when ambient is controlled. However, repeated close flashing can disturb wildlife. Minimize attempts, diffuse responsibly, and stop if behavior changes.
Use a symptom table in the field
| Visible symptom | Most likely category | First correction |
|---|---|---|
| Wing sharp, eye soft | Focus placement | Use a smaller area on the nearest eye. |
| Leaf sharp, legs blurred | Subject motion | Raise shutter speed or wait for a pause. |
| Everything has double edges | Camera movement | Improve support and release technique. |
| Alternate flash frames dark | Recycle time | Slow the sequence or reduce flash power. |
| Horizontal brightness bands | Pulsing continuous light | Change shutter speed or the light. |
| More depth but less fine detail | Diffraction | Open slightly and align the subject plane. |
Review locally without discarding intentional softness
Copy and verify RAW files before culling. Group each approach or focus sequence. Compare the nearest eye, body plane, behavior, background, and complete antennae or legs. Avoid evaluating every file at full magnification before obvious failures are removed.
imagic can assess sharpness, exposure, composition, and near-duplicate groups locally, but an intentional shallow plane or motion study may score differently from its artistic value. Status decisions are reversible and originals remain untouched. Use non-destructive edits before JPEG or TIFF export.
The single-photo editor can preview a quick treatment, and Guides includes related macro and workflow material.
Check optical and accessory causes of softness
If focus placement and motion look correct but detail remains weak, simplify the optical path. Remove a questionable protective filter or close-up attachment, clean the front and rear elements safely, and inspect the diffuser or hood for intrusion. A flexible diffuser touching the lens can transmit movement during release.
With an adapted macro lens, confirm that the adapter seats fully and has no rotational play. With a long macro lens on support, use the tripod collar when provided so the camera mount is not carrying an unbalanced lever. Tighten only the intended controls; overtightening a head can make fine repositioning abrupt.
Compare the lens at a moderate aperture against its widest and smallest settings on a stationary textured subject at the same distance. If the center improves but one side remains consistently poor, check alignment and lens condition. If all fine detail falls as the aperture closes, diffraction is the likely tradeoff. This controlled diagnosis keeps optical weakness from being mistaken for autofocus failure.
Also inspect RAW processing. Excessive noise reduction can smear scales and hairs, while oversharpening creates bright halos that look like detail in a thumbnail. Reset one file to a neutral conversion before blaming the camera or lens.
Wind can imitate an optical problem by moving the subject through several planes during one exposure. Watch a live magnified view before releasing. If the eye oscillates in and out of focus while the camera remains steady, wait for a lull, change to a more sheltered angle, or photograph a sturdier perch. Do not clamp living stems or restrain the insect merely to stabilize the frame.
After any lens or adapter change, make one static reference frame before returning to the insect. That reference confirms communication, aperture, stabilization, and basic alignment without spending the subject's tolerance on equipment diagnosis.
Frequently asked questions
Why is the insect eye soft when the wing is sharp?
The autofocus target or focus plane probably landed behind the eye. Use a smaller area, align the body plane, or set focus manually and move the camera through the sharp point.
Does Z8 stabilization replace a tripod for macro?
It can reduce camera shake, but it does not control subject movement, wind, or precise camera-to-subject distance. A tripod or rail remains useful for repeatable static work.
Can this workflow combine a focus-shift sequence?
No. It does not merge focus stacks, HDR brackets, or panoramas. Use suitable external stacking software, then manage or edit the resulting still according to the workflow.
Why does flash exposure vary during a burst?
The flash may not have recycled fully, especially at high output. Slow the pace, reduce power, move the source closer, or adjust ISO while staying within the equipment's supported operation.