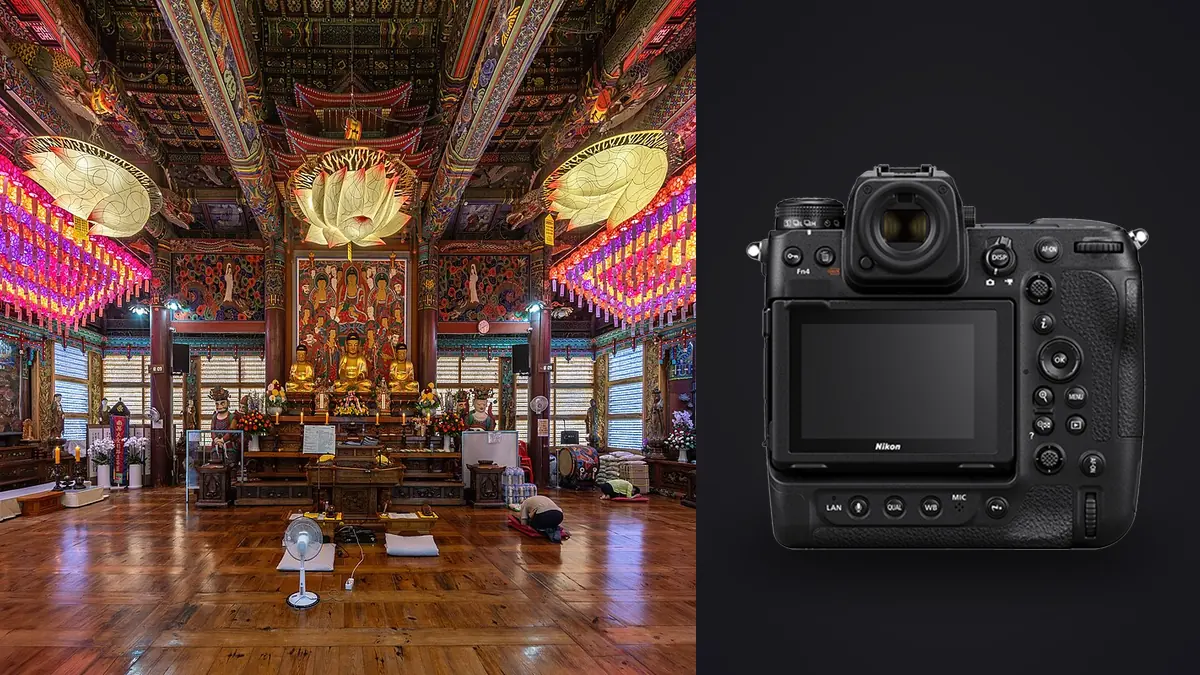
I picked up the Z9 for sports and wildlife first, and for the better part of a year it lived in a bag with a 400mm f/2.8 more often than anything wide. It wasn't until a friend's architecture firm asked me to cover a finished renovation, eleven rooms plus the exterior, that I found out the camera I bought for autofocus speed turned out to be an unusually good tool for standing still on a tripod in someone's kitchen. This isn't a spec sheet rewrite. It's what actually changed about my process once the Z9 became the body I reach for on interior and architectural work, and where it still falls short.
Why the Z9 ended up as my interior camera
Architectural and interior shoots reward a slightly different set of camera traits than most other genres. Autofocus speed barely matters, since half the time you're focusing manually with a loupe or focus peaking anyway. What matters is dynamic range in a room with a bright window and a dark corner, a clean electronic level so verticals don't drift over an eight-hour day, a shutter that won't shake the camera during a two-second exposure, and files that hold up when a client wants a two-meter print for a lobby wall.
The Z9 checks those boxes almost by accident, because Nikon built it for photojournalists and sports shooters who needed a completely silent, blackout-free body with a fast readout sensor. Interior photographers get the same silence and the same sensor, just pointed at a staged living room instead of a football pitch. The dual-axis virtual horizon in the viewfinder is the feature I lean on hardest. On a tripod with a leveling base, I can dial a room dead level in about ten seconds and trust it, which matters more than it sounds like it should when you're correcting converging verticals later.
What the sensor actually gives you on a shoot
The 45.7-megapixel stacked sensor has a base ISO of 64, and that's the number I try to shoot at for anything with a tripod under it. At ISO 64 the shadow recovery on this sensor is genuinely useful, I've pulled two stops out of a shadowed stairwell without banding showing up in a print. Above ISO 800 the files start to lose that elasticity, which is fine for handheld walkthrough shots but not something I'd lean on for a hero image going to print.
Nikon added Pixel Shift shooting to the Z9 in a firmware update, and it's more useful for this kind of work than I expected going in. The camera fires a burst of aligned frames (4, 8, 16, or 32 depending on the mode you pick) and NX Studio merges them into a single composite with less demosaic noise and, in the 32-shot mode, a much higher effective resolution. On a static interior with nothing moving, no curtains stirring, no ceiling fan running, it produces noticeably cleaner tile grout lines and fabric weave than a single 45.7MP frame. I don't use it for every room. I use it for the two or three images per project that are actually going to be printed large or sold as a cover shot.
Here's roughly how I split capture methods across a typical room, and why:
| Capture method | Frames captured | Approx. capture time | Best use on a shoot |
|---|---|---|---|
| Single RAW frame | 1 | under 1 second | Fast walkthrough coverage, hallways, real estate listing shots |
| 3-frame bracket (±2EV) | 3 | ~1.5 seconds | Rooms with a bright window against a darker interior, manual blend later |
| 5-frame bracket (±1EV) | 5 | ~2.5 seconds | High-contrast rooms where a 3-frame blend still clips or crushes tones |
| Pixel Shift, 4-shot | 4 | ~2 seconds + merge | Standard hero shots needing extra detail without a huge file |
| Pixel Shift, 32-shot | 32 | ~18 seconds + merge in NX Studio | Cover images, large-format prints, catalog-quality millwork detail |
The tradeoff nobody mentions when they talk about Pixel Shift is card space and time on site. Thirty-two frames at roughly 55MB each in lossless compressed RAW adds up fast across a dozen rooms, and the merge itself has to happen at the desk, not in the field, since NX Studio needs to process the stack. I keep it to a handful of shots per job rather than defaulting to it everywhere.
The lens problem nobody mentions before you buy
This is the part that surprised me most. Nikon still doesn't make a native Z-mount tilt-shift lens. If you're coming from Canon's TS-E line or you've used a Cambo or Cambo-style view camera setup, that's a real gap. The workaround is running Nikon's older F-mount PC-E lenses through the FTZ II adapter: the 19mm f/4E ED, 24mm f/3.5D ED, 45mm f/2.8D ED, and 85mm f/2.8D all mount and shift fine, though you lose autofocus (they're manual focus lenses anyway) and you're carrying an adapter's worth of extra bulk on the front of the body.
In practice I use the adapted 19mm f/4E for maybe a third of an interior job, mostly on tight rooms where I need to keep a wall perfectly vertical without shifting the whole horizon in the frame the way a rectilinear ultra-wide does. For everything else, I've found the native NIKKOR Z 14-24mm f/2.8 S and the lighter 14-30mm f/4 S do the job without a shift movement, because the Z9's files have enough resolution that I can crop and correct perspective in post without the print quality falling apart. That wasn't true on lower-resolution bodies I used to shoot, where a heavy perspective crop left visibly softer files.
There's also a growing third-party option worth knowing about: Laowa makes a 15mm f/4.5 Zero-D Shift in Z mount, and it's meaningfully cheaper than hunting down a used PC-E lens and an adapter. I haven't fully replaced my adapted 19mm with it, but for anyone building a Z-mount architecture kit from scratch, it's worth pricing out before you go the adapter route.
Electronic shutter and the flicker problem in real interiors
The Z9 has no mechanical shutter at all, which is a genuine advantage on a shoot where a client or building staff are walking through while you work. There's no shutter slap to draw attention, no clack echoing down a stone hallway. The tradeoff is that a fully electronic shutter reads the sensor line by line, and under flickering light sources, the LED downlights and fluorescent troffers that show up in almost every commercial interior, you can get banding across the frame at certain shutter speeds.
Nikon built in an anti-flicker setting that scans the light source and times the exposure to avoid the worst of it, and it works more often than not, but I still test a frame in every new room before I commit to a bracket sequence. If banding shows up and the anti-flicker mode doesn't clear it, dropping to a shutter speed of 1/60s or slower usually solves it, since that's typically slow enough to average out a full flicker cycle from mains-frequency lighting. It's a five-second check per room, but skipping it once cost me a reshoot on a boutique hotel job where half the corridor lighting was on dimmers.
A typical walkthrough, room by room
On a residential job I usually work room by room rather than shooting a full lap and coming back. For each space: level the tripod, set a wide 3-frame bracket as the safety shot, check for flicker, then decide if the room earns a 5-frame bracket or a Pixel Shift pass based on how much contrast is fighting me between the window and the interior. Detail shots, a light fixture, a tile pattern, a stair rail, get handheld frames at a faster shutter speed since they don't need the tripod precision.
By the end of a full house or a mid-size commercial space, I'm regularly walking away with 400 to 700 frames once brackets and detail shots are counted. That number used to be the part of the job I dreaded most, not the shooting, the sitting down afterward and picking through six near-identical exposures per room to find the sharpest one at the right brightness.
Getting from a full card to a finished set
This is where imagic actually changed how I work, not the shoot itself. I run the card through imagic before I open anything in an editor. Its local sharpness scoring catches the frames where a slight tripod bump or a gust through an open door softened the shot, which matters more than usual on architecture work because a slightly soft brick wall or window frame is much more obvious at print size than a slightly soft face in a portrait. The bracket sets and Pixel Shift bursts also get grouped through its duplicate and burst clustering, so instead of scrolling past five nearly identical exposures of the same living room corner, I see them as one cluster with the sharpest, best-exposed frame surfaced first.
Everything runs locally on your laptop, no upload queue, no waiting on a cloud service while a client is standing in the room asking when the shots will be ready. For a firm that has confidentiality concerns about unreleased renovation photos going anywhere near a server, that offline processing can be a reason they feel comfortable handing over the files.
The other piece that's saved real time is imagic's apply_my_style feature. I trained it on a folder of my previously finished interior edits, the white balance corrections I make for mixed daylight and tungsten, the slight lift in shadows I always add, the way I pull down warm highlights near windows, and now it applies that learned look automatically across a fresh batch before I go in and do the room-specific tweaks by hand. It doesn't replace judgment on individual images, but it means I'm not starting every one of 400 frames from a flat baseline. If you haven't looked at how AI-driven culling tools handle this kind of volume, this breakdown of how AI photo culling works covers the mechanics in more depth than I can here, and it's a reasonable starting point if you're still doing this by hand in a DAM.
Where the Z9 falls short for this work
It's not a perfect fit and I don't want to oversell it. The body alone is close to 1,340 grams, and with the FTZ II adapter and a PC-E lens hanging off the front, it's a genuinely heavy setup to carry between rooms all day, especially compared to the smaller mirrorless bodies some interior photographers prefer specifically for that reason. The lack of a fully articulating screen (the Z9's rear display tilts but doesn't flip to the side) makes low, waist-level compositions more awkward than they need to be when you're trying to check a shot without crouching under the tripod. And the cost of entry, body plus a couple of adapted or native wide lenses, is a hard sell if your business is small residential listings rather than commercial or high-end architectural work where the print quality actually gets used.
Where it earns its keep is on jobs where the files matter after the shoot ends, big prints, magazine features, portfolio pieces for the architecture firm itself. For quick turnaround real estate listings shot and delivered same day, I'd honestly recommend most photographers save the money and the weight.
For context beyond the mastering nikon z9 for architectural interior design guide focus in entry 102, continue with photography guide library. These resources connect the subject to a practical local review process.
Frequently Asked Questions
Do I need a tilt-shift lens for the Z9 to shoot architecture properly?
Not strictly. Nikon doesn't make a native Z-mount tilt-shift lens as of this writing, so most Z9 architecture photographers either adapt older F-mount PC-E lenses through the FTZ II or correct perspective in post using the extra resolution the 45.7MP sensor gives you to crop into. A shift lens is still the cleaner solution for tight interiors with close foreground walls, but it's not mandatory the way it would be on a lower-resolution body.
Does the Z9's electronic shutter cause problems under interior lighting?
It can. Because the Z9 has no mechanical shutter option, its rolling readout is more exposed to banding under flickering LED and fluorescent fixtures than a camera with a mechanical shutter fallback. Nikon's built-in anti-flicker mode handles most cases, and dropping to a slower shutter speed clears the rest, but it's worth test-firing a frame in each new room before committing to a full bracket sequence.
Is 45.7 megapixels enough for large architectural prints?
For most gallery and lobby-scale prints, yes, a single 45.7MP frame holds up well past two meters wide when the file is properly exposed and in focus. For anything larger, or for catalog work where fine texture in tile, fabric, or millwork needs to survive heavy cropping, the Z9's Pixel Shift mode gives you a meaningfully higher-resolution composite without switching to a different camera system.
How do you manage hundreds of near-duplicate bracket frames from a full building shoot?
Bracketing and Pixel Shift both multiply your frame count fast, and sorting that manually room by room is the slowest part of the job if you do it by eye. I run the card through imagic first, which clusters bracket and burst sets together and surfaces the sharpest, best-exposed frame per cluster, so I'm reviewing maybe a fifth of the raw frame count before I ever open an editor.