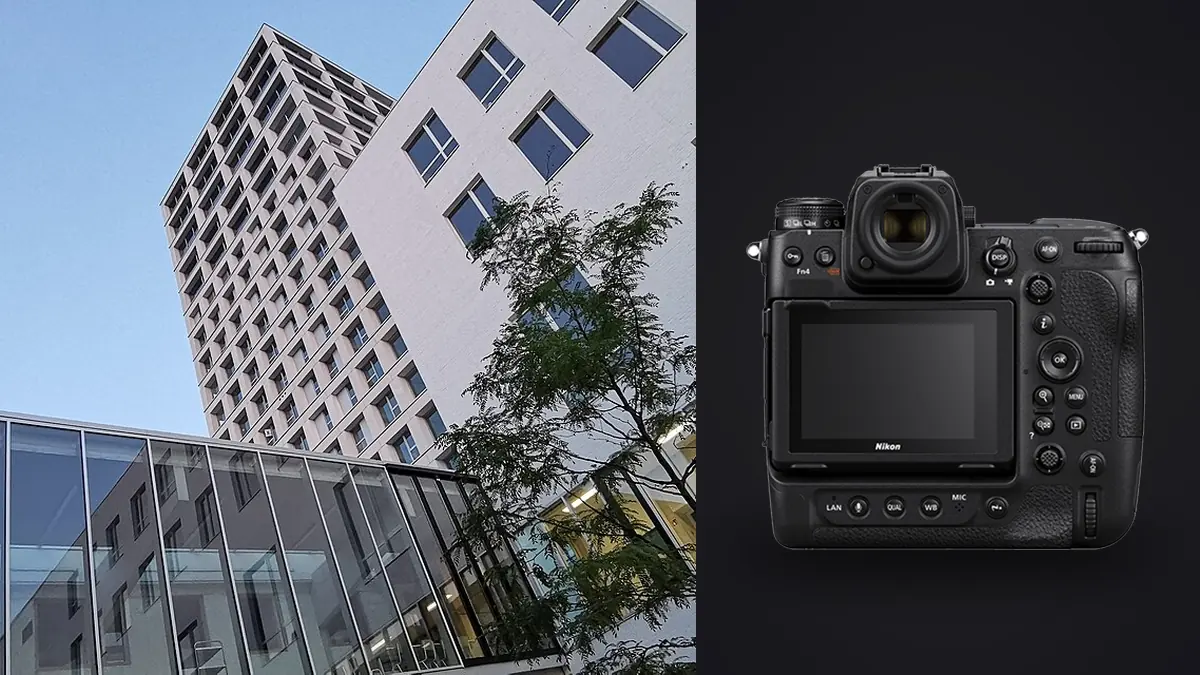
Interior and architectural photography has almost nothing in common with the sports and wildlife work Nikon built the Z9 to sell. There's no 20fps burst chasing a striker down the wing, no subject-detection autofocus locking onto a bird moving through branches. A dining room doesn't move. And yet I've been shooting real estate interiors and a handful of design-firm portfolios with a Z9 for a little over a year now, after switching over from a D850, and several of the specs that get marketed hardest at wildlife and sports shooters turn out to be exactly what makes a twelve-hour interior day less miserable.
This isn't a spec sheet run-through. It's what actually changes in practice when you point this body at a kitchen instead of a kestrel.
The fully electronic shutter matters more indoors than anyone tells you
Nikon dropped the mechanical shutter from the Z9 entirely, which got framed at launch as a sports feature: no blackout, no mirror slap, cleaner tracking. For interiors, the more relevant benefit is silence. When you're shooting an occupied office suite during business hours, or a staged home where the owners are still moving furniture around the corner, a completely silent shutter means you're not the person everyone stops to look at every time you trip the shutter. I've shot dental practices between patient appointments this way, firing off bracket sequences without a single person in the waiting room noticing.
The second, less advertised benefit is that there's zero shutter shock to worry about at the slow speeds interior work lives at. On a tripod at f/8 and half a second, any mechanical vibration from the shutter mechanism itself can soften a shot just enough that you don't notice until you're at 100% back at the desk. With no shutter to move, that variable disappears.
The one thing to watch for is flicker under certain LED and fluorescent fixtures, since an electronic-only shutter reads the sensor differently than a mechanical one and can pick up banding that a mechanical shutter would have masked. The Z9's anti-flicker shooting mode catches most of it, but on a couple of retrofitted office ceilings I've still had to nudge shutter speed by fractions of a stop to find a clean read. Worth a test frame before you commit to a full bracket set under unfamiliar lighting.
Base ISO 64 and the window-pull problem
Every interior with a window throws the same problem at you: the room behind you is three or four stops darker than the daylight coming through the glass. Single exposure isn't going to hold detail in both unless you're comfortable losing the view outside to a white blob, which clients generally aren't.
The Z9's dual-gain sensor gives you a genuinely low ISO 64 base, and the read noise at that setting is low enough that ambient interior frames stay clean even after you push shadows in post. That doesn't remove the need to bracket for a proper window pull, but it does mean the ambient frame in your stack has more headroom to work with before you start compositing, which matters if you're blending manually rather than relying on an automated HDR merge that sometimes leaves halos around window frames.
Here's roughly how I set up brackets for the scenarios that come up most on a typical residential or commercial interior shoot:
| Scenario | Bracket count | ISO | Aperture | Notes |
|---|---|---|---|---|
| Standard room, window visible | 3 frames, 2 stops apart | 64 | f/8 | Middle frame exposed for ambient, brightest and darkest handle the window pull |
| Bright window wall, strong contrast | 5 frames, 1.5 stops apart | 64 | f/9 | Extra frames needed when the sky outside is genuinely bright, not overcast |
| Twilight exterior, interior lights on | 3 frames, timed off a tripod | 200-400 | f/8 | Base ISO too slow for the fading light window, small ISO bump keeps shutter under a minute |
| Small detail or vignette shots | 1 frame, occasionally 2 | 100 | f/4-5.6 | Shallower depth of field, no window contrast problem, faster to shoot and cull |
The twilight row is the one people underestimate. Once the sky goes past a certain point of darkness, ISO 64 asks for shutter speeds that get impractical fast, and I'd rather accept a small amount of extra noise at ISO 200 or 400 than sit on a tripod for ninety seconds per frame while the light keeps dropping between exposures.
Lenses that actually change the outcome
Body specs get you clean files. Lens choice is what determines whether your verticals look correct without twenty minutes of perspective correction in post. The NIKKOR Z 19mm f/4 PC is the one lens in the Z-mount lineup built specifically for this kind of work, a manual-focus perspective control lens with 12mm of shift and rotation, and it's the closest thing to a cheat code for keeping wall lines parallel straight out of camera. Shifting the lens instead of tilting the camera body up avoids the keystoning that would otherwise need correcting later, and unlike a digital correction, you're not throwing away resolution at the edges of the frame to square things up.
It's a specialist tool though, manual focus, no autofocus at all, and at f/4 it's not what you reach for in a dim stairwell. For the bulk of a shoot I'm still on the 14-24mm f/2.8 S for tight rooms and the 24-70mm f/2.8 S for anything with more breathing room, both of which resolve plenty of detail for the Z9's 45.7 megapixels and handle the corner sharpness that architectural clients notice even when they can't articulate why a shot looks "off." The 20mm f/1.8 S gets occasional use for detail and lifestyle-adjacent shots where a wider aperture and some falloff actually helps the image rather than working against it.
Focus shift shooting for near-far interior compositions
A lot of interior shots want something sharp in the immediate foreground (a chair, a countertop edge, a rug pattern) while also holding focus through to a window or hallway well behind it. Stopping down to f/16 gets you there sometimes, but diffraction softens the whole frame and you're fighting longer shutter speeds again.
The Z9's focus shift shooting mode captures a sequence of frames at incrementing focus distances across the scene, which you then blend manually in Photoshop or a dedicated stacking tool afterward, the camera doesn't merge them in camera. It's slower to set up than just stopping down and calling it done, and it only makes sense for hero shots rather than every angle of every room, but for the handful of frames a listing or portfolio actually leans on, the extra sharpness from front to back is noticeable, especially at print size or on a large monitor where a client is zooming in on material finishes.
The unglamorous logistics that eat your day
Dual CFexpress Type B slots sound like a spec sheet checkbox until you're three hours into a shoot and a card starts throwing write errors. Overflow and backup recording means a bad card doesn't cost you the morning's work, which matters more on architecture shoots than most genres because you generally can't come back and reshoot a staged home once the stager has packed up the props.
The built-in Ethernet port gets used more than I expected. Tethering to a laptop in another room lets a designer or listing agent review framing on a bigger screen while I'm still adjusting the shot, which catches composition issues (a light switch in frame, a reflection in a mirror) before they become a problem in the edit rather than after. The built-in vertical grip is a smaller thing but a real one: rotating into portrait orientation for a tall stairwell or a narrow hallway shot doesn't add bulk or introduce a wobbly third-party grip attachment, the body just works the same either way.
The trade-off is weight. At roughly 1,340 grams body-only, the Z9 is heavier than most of its mirrorless competitors, and on a genre built around handheld wildlife bursts that's a real complaint. On a tripod-based interior shoot it barely registers, since the camera sits on sticks for the vast majority of the day anyway.
What a 400-frame bracket day does to your evening
A single interior shoot with five to seven rooms, each bracketed three to five times, plus a handful of detail shots and a twilight sequence, adds up to several hundred frames that are visually near-identical in bursts. Sorting that manually after a long day on site is the least enjoyable part of the job, and it's where I've leaned hardest on AI-assisted culling rather than clicking through folders one thumbnail at a time.
I run the day's card through imagic before I open Lightroom. Its duplicate and burst clustering groups each bracket sequence together automatically, so instead of scrolling past three or five nearly identical exposures of the same room I'm looking at one cluster per shot setup, and I can pick the sharpest ambient frame or flag the whole set for HDR blending in one pass. The local sharpness scoring also catches something I'd otherwise miss late in the day: a frame that looks fine at thumbnail size but has a trace of motion blur from someone walking past a doorway during a slow shutter exposure. It flags those low, which saves me from grading a soft frame and only noticing at delivery.
Because imagic processes everything locally rather than uploading to a cloud service, it's also a non-issue for pre-listing shoots where the property isn't public yet, or design-firm work under an NDA. Nobody's files leave the laptop. Once a shoot's culled, I lean on the apply_my_style feature to carry a consistent grade across a batch of interiors, since I trained it on a set of my own edited real estate work and it holds that look across a new property without me manually matching white balance and contrast room by room, which used to be the slowest part of a delivery night. For anyone building out a repeatable grading approach across a portfolio, it's worth pairing with a broader look at color grading fundamentals so the AI has a consistent baseline to learn from in the first place.
Frequently Asked Questions
Is the Nikon Z9 overkill for interior and architectural photography?
In terms of burst speed and autofocus tracking, yes, most of that goes unused on a tripod-based shoot. But the parts that do carry over (a genuinely low base ISO, a silent electronic shutter for occupied spaces, dual card slots, and a body that tethers cleanly over Ethernet) are all things that make an interior day easier, even if they weren't designed with this genre in mind.
Do I need the NIKKOR Z 19mm f/4 PC shift lens to shoot architecture well?
No. It's the fastest way to get correct verticals straight out of camera, but a wide zoom like the 14-24mm f/2.8 S with careful leveling and a modest post-production perspective correction will get you most of the way there. The shift lens earns its keep once you're shooting architecture often enough that the time saved in post adds up, or when a client wants minimal cropping on final files.
How many exposures should I bracket for a typical room?
Three frames two stops apart covers most rooms with a moderate window. Bright, high-contrast window walls or scenes with direct sun sometimes need five frames closer together to avoid banding artifacts where the exposures overlap during blending. Rooms without a bright window rarely need more than one or two frames.
Does the electronic-only shutter cause problems with LED lighting in older buildings?
Occasionally. Some retrofitted LED fixtures flicker at a rate the sensor's readout can pick up as banding, more noticeable with an electronic shutter than it would have been with a mechanical one. The Z9's anti-flicker mode resolves most cases, but it's worth shooting a test frame under unfamiliar fixtures before committing to a full bracket sequence, since re-shooting after the light's changed isn't always an option on location.