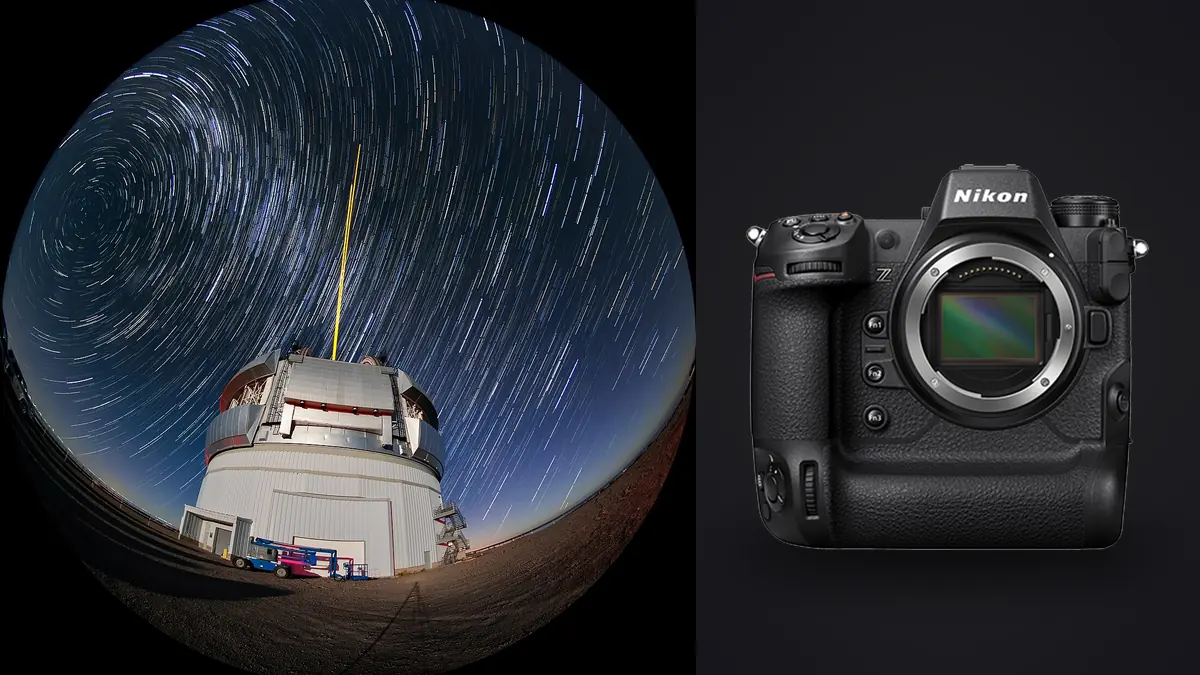
The first time I put a Nikon Z9 on a star tracker, I wasn't testing it for astro work at all. I'd borrowed it for a trip and had two spare nights at a rental east of Joshua Tree, so I bolted a Move Shoot Move tracker to a cheap ball head and pointed the camera at the core of the Milky Way just to see what the sensor could hold onto at ISO 3200. What surprised me wasn't the noise floor, which is genuinely good, it was how little babysitting the camera needed across four hours of unattended interval shooting. That's the part nobody puts on a spec sheet, and it's the part that decides whether you come home with two hundred usable subs or forty.
What the Z9's Sensor Actually Buys You After Dark
Nikon built the Z9 around a 45.7 megapixel stacked, backside-illuminated sensor, and the "stacked" part matters more for astro work than most people realize. A stacked sensor reads out fast enough that Nikon dropped the mechanical shutter entirely, so every exposure on this camera is fully electronic. For tracked long exposures that means zero shutter shock transmitted into a tracker mount that's already fighting to hold a star field steady. On a DSLR or an older mirrorless body with a mechanical curtain, that little thump at the start of a 20 second exposure can show up as a barely there double image on bright stars. On the Z9 it simply isn't there.
The sensor also runs dual gain, switching its base conversion gain somewhere around ISO 400. Below that switch point, at ISO 64 to 200, dynamic range is excellent, and that's the range I use for blue hour foreground exposures. Above the switch point, read noise drops sharply, which is why ISO 1600 to 3200 star subs off this camera look cleaner than the math of "just a smaller pixel pitch" would suggest. A 45.7 megapixel sensor packs more, smaller photosites than a 24 or 26 megapixel body, and smaller photosites usually mean earlier noise problems at high ISO. The Z9 mostly dodges that thanks to the readout architecture, not because Nikon found a way to cheat physics.
Dialing In Exposure Before the Sky Gets Fully Dark
My baseline for a moonless night away from serious light pollution is f/1.8 to f/2.8, ISO 1600 to 3200, and an exposure time set by focal length rather than a fixed number (more on that below). I meter almost nothing in the field. I take one test frame, check the histogram on the rear screen with highlights clipping turned on, and nudge ISO until the sky background sits about a third of the way up the histogram without any stars clipping. Underexposing to protect highlights is a mistake with star fields, since there's nothing bright enough to protect and you're just throwing away signal you'll need in the stack.
One setting trips people up switching to the Z9 from an older Nikon body: Starlight view. It's a menu option that boosts EVF gain and drops the viewfinder frame rate so you can actually compose and manually focus under skies dark enough that the regular live view just shows black. I leave it off for daylight shooting and switch it on specifically for astro sessions, because forgetting it's off means fumbling with focus peaking against a viewfinder that shows nothing useful.
Turn off long exposure noise reduction (and do this instead)
Long exposure NR is on by default in a lot of Nikon setups, and for star stacking it's actively harmful. What it does is take a second, equal length dark frame after every light frame and subtract it in camera, which sounds useful until you realize it doubles the time between subs. On a 20 second exposure, that's 20 seconds of dead time where the camera isn't collecting light, which over a four hour session can cost you dozens of frames you didn't need to lose.
Turn it off in the menu, shoot your full sequence of light frames back to back, then shoot ten to twenty dark frames at the very end with the lens cap on, same ISO, same shutter speed, same ambient temperature as the session. Feed those into your stacking software as a calibration set instead of letting the camera do it one frame at a time. You get the same noise benefit applied once across the whole stack, without burning half your session on redundant dark frames.
Lenses and Knowing Your Actual Exposure Ceiling
A 45.7 megapixel sensor is unforgiving about trailing. The old "rule of 500" (500 divided by focal length equals your max shutter speed before stars trail) was worked out on lower resolution full frame sensors, and it's too generous for a camera packing this many photosites into the same 36 by 24mm area. At this resolution, trailing shows up in a 100% crop well before it would on a 24 megapixel body shooting the same lens at the same shutter speed. I use the NPF rule instead, which factors in the lens's aperture and the sensor's pixel pitch (roughly 4.3 microns on the Z9), and even then I usually shave another 10 to 15 percent off the result for a safety margin, because a slightly imperfect tripod head or a breeze moving a lightweight tracker eats into your margin fast.
| Lens / focal length | Rule of 500 estimate | NPF rule (Z9 pixel pitch) | What I actually shoot |
|---|---|---|---|
| Nikkor Z 14-24mm f/2.8 S at 14mm | ~35.7s | ~16.2s | 13s |
| Nikkor Z 20mm f/1.8 S | ~25.0s | ~9.6s | 8s |
| Nikkor Z 24mm f/1.8 S | ~20.8s | ~8.0s | 6.5s |
| Sigma 14mm f/1.4 DG DN (Z mount) | ~35.7s | ~17.3s | 14s |
| Nikkor Z 35mm f/1.8 S | ~14.3s | ~5.5s | 4.5s |
That gap between the old rule and reality is exactly why so many people upgrade to a 45.7 megapixel body and then wonder why their star field images look softer than what they got off an older, lower resolution camera at the same settings on the same lens. It's not the camera underperforming, it's the exposure math not keeping up with the resolution. If you're tracking with a motorized mount instead of shooting untracked wide fields, none of this table matters nearly as much, and you can push subs out to 60 or 120 seconds, limited by tracking accuracy rather than pixel scale.
Running the Interval Timer for a Real Stack
The Z9's built in interval timer shooting menu handles the mechanics of a long unattended session better than any external intervalometer I've used, mostly because it's aware of buffer state and card write speed in a way a cheap remote trigger isn't. Set your number of shots high (I usually plan for more subs than I need and just stop the camera early if clouds roll in), set the interval to match your exposure time plus a second or two of buffer, and let it run.
Card choice matters here more than people expect. I shoot dual CFexpress Type B cards in the Z9 for astro sessions specifically because a 45.7 megapixel, 14 bit lossless compressed NEF runs 55 to 90MB depending on scene complexity, and a slow card creates write bottlenecks that show up as inconsistent gaps between subs, which then shows up as slightly different star positions than your interval setting would suggest. Over 200-plus frames that's usually not a dealbreaker for stacking software, since most alignment algorithms register on the stars themselves rather than trusting frame timing, but it's one less variable to manage on a night when you're also fighting dew and cold hands. It's the same instinct behind a lot of the habits in our faster photo workflow tips, remove the variable before it costs you a session.
Battery life on the EN-EL18d is genuinely long enough that I've run six hour sessions on a single charge with Starlight view on and Wi-Fi off. I still bring a spare, because a dead battery at 2am in the desert with nobody around isn't a risk worth the weight of one extra cell.
Stacking the Subs Once You're Home
I shoot my sequence, come home with somewhere between 150 and 300 NEFs plus the calibration darks, and the stacking step is where a lot of people either give up or get discouraged by how mediocre their first attempt looks. Sequator is free, Windows only, and honestly good enough for most wide field Milky Way work if you're not chasing deep sky targets through a telephoto lens. DeepSkyStacker is the longer running free option and handles bias and flat frames in a way Sequator doesn't, which matters if you're seeing vignetting or dust spots in your stack. On a Mac, Starry Landscape Stacker is the one I reach for, since it's built specifically around the untracked landscape astro workflow rather than deep sky imaging through a telescope. PixInsight is the serious option if you're willing to spend a weekend learning it, and it handles the Z9's NEFs natively without a TIFF conversion step first.
Whatever you use, don't skip flat frames if you're seeing a dark vignette or dust shadows creep into the stack, which happens more with fast wide primes shot near their maximum aperture. A flat is just a frame of an evenly lit, out of focus surface (a white t-shirt over the lens, lit evenly, works fine) shot at the same aperture and focal length as your lights. It's a two minute step that fixes a problem that otherwise looks like a processing error and sends people down the wrong troubleshooting path entirely.
The Foreground Is Its Own Problem
Nobody wants a stacked sky sitting on top of a black silhouette of a foreground, so most nights I shoot a separate blue hour or ambient light exposure of the landscape, sometimes bracketed three or five frames wide for a blend later. That's a completely different exposure discipline than the star subs (ISO 64 to 400, aperture stopped down for foreground depth of field, shutter speeds measured in whole seconds rather than fractions), and it means I'm coming home from one night out with two entirely different batches of files that need different treatment before they ever touch a blend.
This is where I actually use imagic rather than just Lightroom. After a long night, I don't want to sit there clicking through 40 nearly identical foreground brackets and 250 sky subs trying to spot the ones where the lens drifted out of focus as the temperature dropped, which happens more than people admit, especially with manual focus lenses that aren't mechanically locked down. imagic's local sharpness and focus scoring runs against the actual files on the drive and flags the soft ones before they get anywhere near a stack, and its duplicate and burst clustering groups the redundant bracket sets so I'm reviewing five clusters instead of forty individual frames. Everything runs locally on the laptop, no upload queue, which matters at a rental with no signal at 1am when you just want to check your work and go to bed. If you haven't used AI assisted culling before, it's worth understanding how AI photo culling actually works before you trust it with a once a year dark sky trip.
Once the foreground is picked and blended, I lean on the apply_my_style preset, trained on my own past edits, to carry my usual color and contrast treatment across a batch of night landscapes shot on different trips, so a foreground from Utah and one from three months earlier in the Eastern Sierra don't look like two different people edited them.
Weather Sealing, Dew, and Cold Nights
Desert nights get cold fast once the sun's down, and dew forms on lens glass well before it forms on the ground if humidity is up even slightly. The Z9's magnesium alloy body and sealing are rated for the kind of dust and light moisture you'll actually encounter on a shooting trip, but sealing doesn't stop dew forming on the front element, which is a lens problem, not a body problem. I run a battery powered lens heater band around the front barrel of whatever wide prime I'm using anytime dew point and ambient temperature are within a few degrees of each other, which a basic weather app will tell you before you leave the house.
The body handles cold better than most cameras I've used for this. The EN-EL18d doesn't fall off a cliff in performance the way smaller batteries do below freezing, and I've run sessions at 28°F without the drastic capacity drop I remember from years on a D850 with the older EN-EL15 series. That's not a small thing when your interval timer session is only as good as the battery lasting until sunrise twilight starts washing out the sky anyway.
Frequently Asked Questions
Do I actually need a star tracker, or is untracked stacking good enough?
Untracked stacking on the Z9 gets you a genuinely good Milky Way image, especially with a fast wide lens and the exposure ceiling from the table above. What you lose without a tracker is total integration time. Untracked, you're capped at somewhere around 10 to 16 seconds per sub depending on lens, so getting to 40 or 50 minutes of total exposure across a stack means shooting 150 to 300 individual frames. Tracked, you can shoot 60 to 120 second subs and hit the same total integration time in 30 to 40 frames, with less read noise accumulated across fewer subs. I'd start untracked since the Z9's high ISO performance genuinely makes it viable, then add a tracker once you're chasing fainter detail than a wide Milky Way core.
Why do my star subs look fine individually but soft after stacking?
Almost always it's a focus or alignment problem, not a stacking software problem. Manual focus on a bright star through a magnified live view can drift by the time you've locked it down with gaffer tape and shot 200 frames over four hours as the lens barrel contracts in dropping temperatures. Check a handful of subs from the start, middle, and end of the session at 100% before you stack the whole set. If the early frames are tack sharp and the late ones aren't, it's temperature related focus drift, not the camera or the stacking algorithm.
Is 45.7 megapixels overkill for star stacking, or does the resolution actually help?
It helps, but only if your exposure discipline keeps up with it, which is the whole point of the NPF table above. More photosites mean finer resolved detail in the final stack, dust lanes and star color separation that a lower resolution sensor smooths over. The tradeoff is file size (55 to 90MB NEFs) and processing time, since most stacking software scales roughly linearly with megapixel count. On a laptop rather than a desktop, stacking 250 full resolution NEFs can genuinely take a while, so budget an hour of processing time you weren't expecting.
Can I use the Z9 for both wide star fields and deep sky targets through a telescope?
Technically yes if you've got a way to mount it, but it's not really what this body is built for. Deep sky work through a telescope usually wants a dedicated cooled astro camera or a full spectrum modified body, since the Z9's stock IR-cut filter blocks a meaningful chunk of the hydrogen alpha wavelength that gives emission nebulae their color. For wide field Milky Way and landscape astro, none of that matters, and the Z9 is one of the better bodies I've shot with for it. For narrowband nebula work, it's the wrong tool even though it'll technically take the photo.