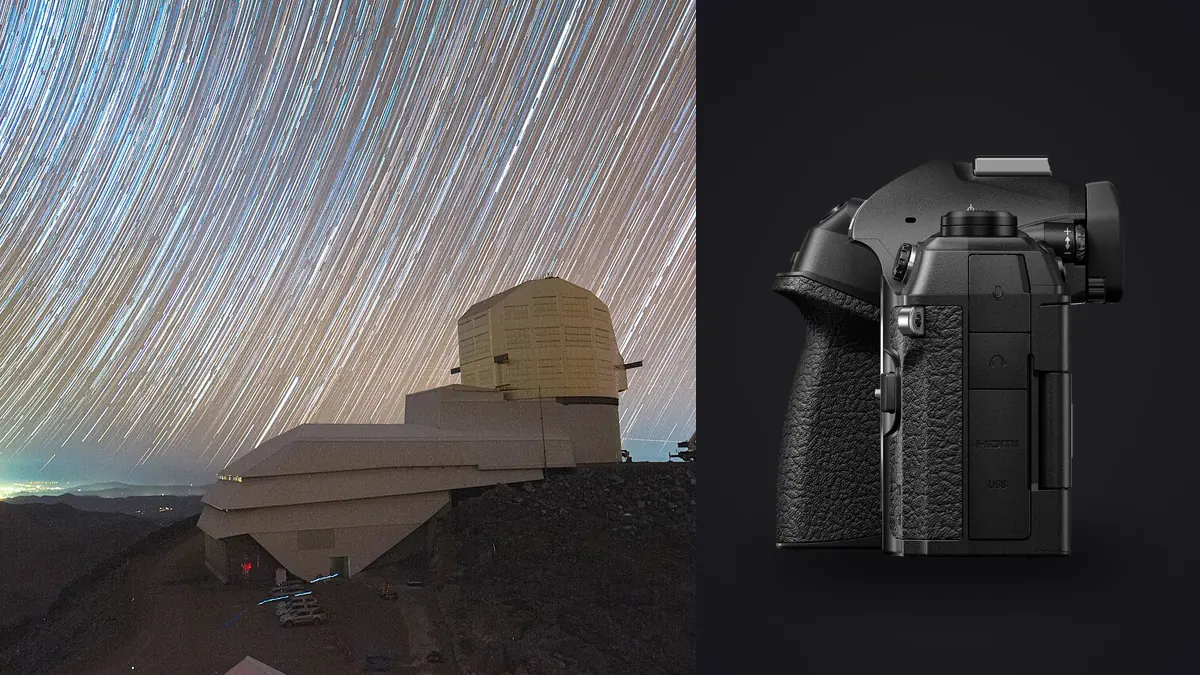
I've hauled the OM-1 Mark II up two different mountain passes specifically to shoot stars, and I still get asked the same question by people considering the switch from a full-frame body: does a Four Thirds sensor actually hold up once you're stacking exposures at 2 a.m. in the cold. Short answer, yes, but only if you stop treating it like a scaled-down full-frame camera and start working with what it actually does well. This is the workflow I've settled into after a few seasons with it, including the parts that didn't work the way the marketing copy implied they would.
Live Composite is not the same thing as stacking
People conflate these constantly, so it's worth separating them before anything else. Live Composite, which OM System (formerly Olympus) has had in one form or another since the original OM-D bodies, takes a base exposure and then keeps adding new exposures on top of it, but only keeps the brighter pixels from each new frame. Point it at a static foreground with stars moving overhead and you get a single in-camera image with trailing star streaks, built up over however long you let it run, without ever touching a laptop. It's genuinely useful for star trail work and it's one of the few things I'll say the OM-1 Mark II does better than most full-frame competitors, because the live preview updates on the rear screen as it builds, so you can see the trails forming and stop the exposure when the composition looks right instead of guessing. What Live Composite does not do is give you a clean, high-signal, low-noise image of a static night sky. For that you need traditional stacking: a series of individual sub-exposures, each one freezing the stars as points rather than trails, later aligned and averaged in dedicated software on a computer. The camera captures the subs. It does not do the stacking math for point-source noise reduction. I've seen people buy this camera expecting some in-camera equivalent of what Sequator or DeepSkyStacker does, and it isn't there. Budget for a stacking pass on a computer as part of the workflow, not as an afterthought.
Getting focus locked before your eyes adjust
Starry Sky AF is the feature that actually changes how I shoot compared to older bodies where I'd manually rack focus to infinity and hope. It works by analyzing point-source contrast rather than the usual phase or contrast detection tuned for daylight subjects, and on a clear night with a reasonably dark sky, it locks onto stars in under a second on most of my lenses. The catch: it gets unreliable near the horizon where atmospheric haze softens star points, and it can hunt if there's any moisture on the front element, which happens more than I'd like on humid nights even with the body's IP53 sealing doing its job everywhere else. My actual routine is to use Starry Sky AF as the first pass, then confirm with manual focus and the 5x or 10x digital magnification on the EVF before locking the focus ring with a strip of gaffer tape. That last step matters more than it sounds. Four Thirds lenses have shorter focus throw than most full-frame glass, so a stray hand or a gust catching the lens hood can shift focus enough to soften an entire stack of subs without anyone noticing until they're home reviewing files.
Exposure length actually depends on your equivalent focal length, not your Four Thirds focal length
This trips up people coming from crop-sensor Canon or Nikon bodies because they're used to a 1.5x or 1.6x multiplier, and Four Thirds runs a full 2x. A lens marked 12mm behaves like a 24mm field of view, but more importantly for star trailing, the math for how long you can expose before pinpoint stars start to smear also needs to use that doubled number. I still lean on the old "300 rule" (divide 300 by the full-frame-equivalent focal length) as a starting point, then check actual frames at 100% before committing to an all-night sequence, because at 20 megapixels on a smaller sensor, pixel-level trailing shows up sooner than the rule of thumb suggests. Here's what that actually looks like across the lenses I use most for this:
| Lens (Four Thirds focal length) | Full-frame equivalent | Max single exposure (300 rule) | Recommended ISO | Frames for ~15 min stacked integration |
|---|---|---|---|---|
| OM 20mm f/1.4 PRO | 40mm | ~7 sec | ISO 1250 | ~130 frames |
| OM 7-14mm f/2.8 PRO @ 14mm | 28mm | ~10 sec | ISO 3200 | ~90 frames |
| OM 12mm f/2.0 | 24mm | ~12 sec | ISO 2000 | ~75 frames |
| OM 7-14mm f/2.8 PRO @ 7mm | 14mm | ~20 sec | ISO 3200 | ~45 frames |
| OM 8mm f/1.8 Fisheye PRO | 16mm | ~18 sec | ISO 1600 | ~50 frames |
Those frame counts assume you want roughly a quarter hour of total stacked signal, which in my experience is the point where stacked noise on the OM-1 Mark II starts looking genuinely comparable to what a full-frame body produces from a much smaller number of longer subs. It takes more frames to get there, which is the trade-off you're accepting for a lighter kit, not a flaw exactly, just a different set of math.
Running the intervalometer through a whole session
A couple of settings decisions matter more than people expect once you're committed to 50 to 130 frames per composition. First, turn off in-camera long exposure noise reduction entirely. It doubles the time between each frame (the camera shoots a matching dark frame after every exposure and subtracts it), which on a 20-second exposure means you're only actually capturing usable light half the time, and stacking software handles noise reduction across the whole set far more effectively anyway. Second, shoot a small batch of true dark frames yourself, lens cap on, same ISO and shutter speed, at the start or end of the session, so your stacking software has real dark calibration data rather than relying on the camera's built-in guess. Battery life is the other practical constraint nobody mentions in spec sheets. Starry Sky AF and a lit rear screen between shots will chew through a battery faster than daylight shooting, and I've had sessions get cut short around frame 80 of a planned 120. The USB-C port on the Mark II will take a top-up from a power bank mid-session without interrupting the shot in progress, which has saved more than one composition for me, and it's worth carrying a cable specifically for that rather than assuming you'll remember at 1 a.m.
From memory card to a finished stack
A full night's session on a single composition can leave you with well over a hundred nearly identical frames, plus whatever test shots, framing checks, and accidental double-presses happened along the way, and sorting through that by eye is where most of the actual time gets lost. This is the part of the workflow where I run everything through imagic before it goes anywhere near stacking software. Its local sharpness scoring catches the handful of subs that got softened by a gust hitting the tripod or a stray bump to the focus ring, which matter more here than in normal shooting because a handful of soft frames dragged into a 100-frame stack will measurably degrade the final result. The duplicate and burst clustering also groups the near-identical intervalometer frames so I'm reviewing clusters instead of scrolling through them one at a time, which on a big session is the difference between a ten-minute review and an hour of it. Everything runs locally on the laptop, which matters more out at a dark site than it would at home, since there's usually no signal to speak of and nothing should depend on a cloud upload finishing before you can move on. Once the keepers are sorted, the actual stack happens in dedicated astro software, Sequator and DeepSkyStacker are the free options I've used most, Starry Landscape Stacker if foreground alignment across a rotating sky is giving you trouble. That output comes back as a single flattened file that still needs color grading, and this is the second place imagic earns its spot in the workflow: I built an apply_my_style preset from a handful of stacked astro images I'd already graded by hand, and now new stacks from the same location or season pick up a consistent look without me re-deriving white balance and contrast curves from scratch every time. It's trained on my own edits rather than a generic look, which matters for astro work specifically because sky color shifts are one of the fastest ways to make a set of images from the same trip look inconsistent with each other. If you want the mechanics of how that kind of local AI culling actually scores and sorts frames, we've gone into more depth on that in How AI Photo Culling Works.
Frequently Asked Questions
Does the smaller Four Thirds sensor make star stacking pointless compared to full frame?
No, but it changes the approach. You'll generally want more sub-exposures at a given ISO to reach the same stacked signal-to-noise ratio a full-frame sensor gets from fewer, longer exposures. The stacking process itself compensates for a lot of that gap. What you're really trading is convenience (fewer, longer subs on full frame) for weight and reach (Four Thirds bodies and lenses pack down smaller for a given field of view).
Should I use RAW or the in-camera JPEG for star stacking?
RAW, without exception, for anything you plan to stack. The 12-bit RAW files from the OM-1 Mark II hold enough shadow detail to recover faint sky gradients and dust lanes that in-camera JPEG processing will have already crushed or smoothed away. It also gives your stacking software (and later grading) actual latitude to work with rather than baked-in decisions.
Can I combine Live Composite frames with a separate point-star stack in the same image?
Yes, and it's a common approach for star trail compositions that still want a sharp, detailed foreground. Shoot the trail sequence with Live Composite, then separately shoot and stack a set of short exposures for a noise-reduced foreground or a static sky element, and blend the two in post. They're captured as separate operations on the camera, so plan for the extra time on location.
Is the IP53 weather sealing actually enough for cold, dewy night sessions?
For rain and light dust, yes, it's held up fine for me. Dew is a different problem entirely since it's condensation forming directly on the front element, not water intrusion into the body, and no amount of sealing rating prevents that. A basic lens heater band solves it far more reliably than the camera's sealing spec ever will, and it's worth adding to the kit before it costs you a night's worth of frames to a fogged lens.