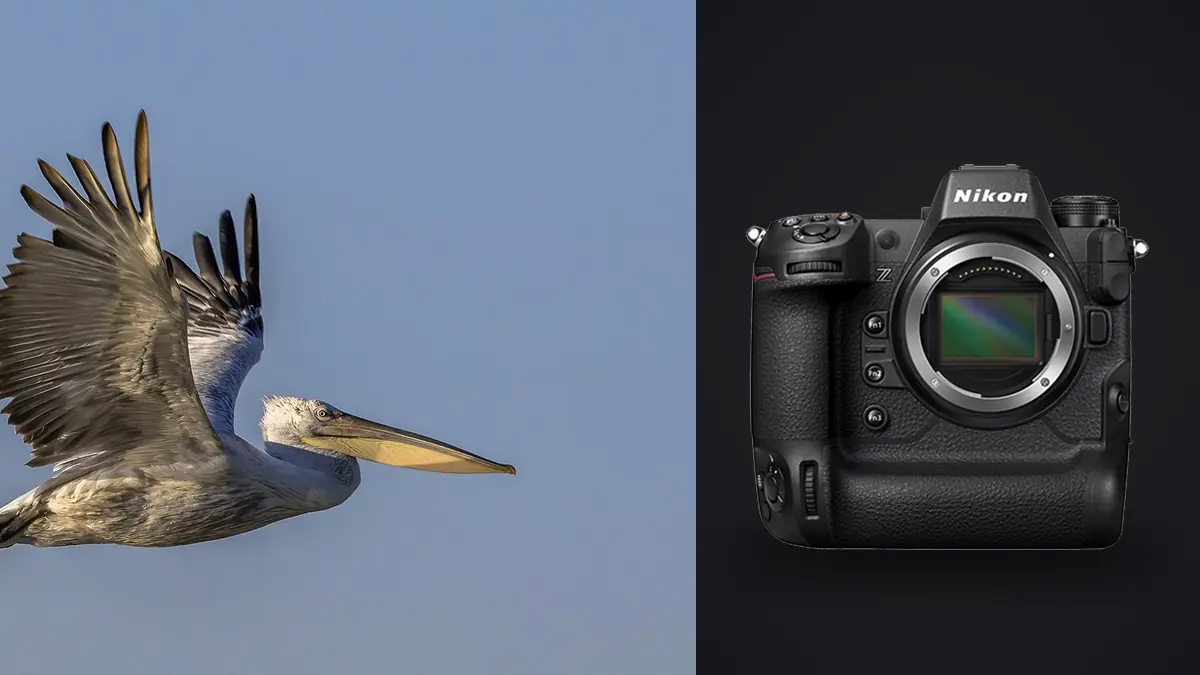
A dependable Nikon Z9 bird-in-flight setup is not a single autofocus mode copied into every habitat. A gull crossing clean sky, a tern dropping behind waves, and a small bird weaving through reeds present different target-selection problems. The most useful setup gives the photographer a stable default plus immediate access to a second AF pattern when the background changes.
The Z9 has a high-resolution stacked sensor, an integrated vertical grip, customizable controls, and subject-detection options that suit demanding wildlife work. Those capabilities become effective only when the control map can be operated without looking away from the bird. This field routine builds that control map, then connects it to exposure, drive mode, support, and review.
Create one baseline bank before adding alternatives
Begin with a dedicated still-photo bank for flight rather than modifying a general-purpose setup in the field. Set RAW type, card recording, color reference, metering, shutter behavior, and file naming deliberately. Give the bank an unmistakable name. Confirm whether changes are saved automatically in the chosen bank behavior so an experiment does not silently become the next session's default.
Use AF-C as the baseline because distance usually changes throughout a flight. Enable bird or animal subject detection in the area mode where the camera offers it, but keep a way to override selection. Choose a drive rate that the card and review workflow can support. The maximum rate is not required for every pass; wing position and behavior change at different speeds.
Save the starting configuration in a written note or phone screenshot. Nikon's customization is deep enough that two apparently identical bodies can behave differently. A record of the AF area, tracking response, release priority, Auto ISO limits, button assignments, and viewfinder options makes troubleshooting possible after the session.
Map controls by urgency
The shutter button, AF-ON button, nearby function buttons, and lens function controls should be assigned according to how quickly a change is needed. Keep the normal AF behavior on the control used most naturally. Assign a second control to recall an alternate AF area or shooting function for sudden background changes. A third reachable control can handle subject-detection choice or exposure compensation if those adjustments occur often.
For example, a wider dynamic-area or wide-area pattern can acquire a bird against open sky, while a smaller area can hold it when branches or other birds enter the frame. Three-dimensional tracking may work well after the intended bird is acquired, especially when it moves unpredictably across the frame. No area is universally superior; the control advantage comes from switching without entering a menu.
Lens buttons can duplicate AF activation or recall a chosen mode, but assign them consistently across long lenses when possible. Avoid mapping every available control. Under pressure, a short vocabulary of reliable actions is better than a body full of functions whose locations are forgotten.
Choose an AF area from the background
Against an uncluttered sky, a larger acquisition area gives the system room to find the bird. Once acquired, tracking can follow its path while the photographer maintains framing. If several birds cross, the camera may change subjects. Start tracking on the intended bird and be ready to release and reacquire rather than dragging a mistaken selection across the frame.
Against water, cliffs, woodland, or reeds, reduce the active area so high-contrast background detail has less opportunity to compete. Keep the selected zone ahead of the bird's motion while panning. Subject detection helps identify a body or eye, but the initial area still communicates where to look.
For a bird approaching head-on, a modest central area can be easier to hold than a tiny point. For a perched bird launching through gaps, pre-position the area where the head will enter open space. The appropriate pattern follows the geometry of the scene, not the photographer's loyalty to a particular menu item.
Set tracking response for obstruction, not abstract speed
Tracking sensitivity governs how readily the camera abandons the current subject when something interrupts it. A slower response can help when a bird passes briefly behind reeds, another wing, or a goalpost-like branch. A quicker response can help when the subject exits and a new target must be acquired. The correct choice depends on obstruction frequency as much as bird speed.
Test with repeatable local subjects. Follow birds crossing a line of trees, then inspect whether focus jumps to the background during brief gaps. Change one tracking parameter and repeat. Do not tune AF behavior, shutter speed, and technique at the same time because the result will not identify which change mattered.
Release priority can increase the number of frames captured before focus is fully confirmed; focus priority can delay capture during difficult acquisition. For erratic flight, a balanced setting is often a practical starting point. The important step is understanding the tradeoff and reviewing actual sequences rather than assuming the icon guarantees sharpness.
Build exposure around wing motion and plumage
Manual shutter and aperture with Auto ISO is a flexible flight setup. Shutter speed controls wing and panning motion, aperture provides the needed depth and lens performance, and Auto ISO responds as the bird crosses different backgrounds. Exposure compensation then shifts the automatic ISO decision when bright sky or dark woodland would mislead the meter.
White birds in sun need highlight protection. Dark birds against a bright sky often need positive compensation if feather detail matters, but increasing exposure can clip the sky. Watch the subject, not only the background histogram. The Z9's highlight display and RAW headroom are aids, not permission to ignore blinking detail on pale feathers.
Choose shutter speed according to the rendering goal. A short exposure freezes wing structure and droplets. A slower pan can keep the head recognizable while streaking the habitat, but it lowers consistency and demands smoother movement. Save the creative slow-pan setup separately so it cannot remain active when a sudden rare flight appears.
Use the viewfinder to support tracking
Set a display that keeps the bird visible without covering it in icons. Use a frame rate and brightness that are comfortable for the light, then retain essential exposure and AF indicators. A level can help for distant water horizons but may clutter fast tracking. Assign display cycling so it can be removed quickly.
Keep both eyes open when practical. The non-viewfinder eye can find an approaching bird and help maintain awareness of other people, water, or uneven ground. Bring the camera to the eye only after the body has turned into a stable stance. Trying to locate a small bird through a long lens from the start wastes time and narrows situational awareness.
Practice finding a stationary object at flight distance. Look at it directly, raise the camera without moving the gaze, and adjust the viewfinder until the object appears. This simple alignment drill improves acquisition more reliably than another layer of menu customization.
Coordinate stabilization, stance, and support
For handheld flight, keep the elbows relaxed, rotate from the hips, and continue the pan after the burst. Optical or in-body stabilization can reduce camera shake, but the correct mode depends on the lens and whether it detects panning. Follow Nikon and lens instructions for tripod use and mode selection rather than assuming one switch position covers every support.
A monopod reduces load with a heavy lens while preserving horizontal movement. Set its height so the viewfinder reaches the eye without raising the shoulders. A gimbal on a tripod can support long waits and predictable flight paths, but it needs proper balance. An unbalanced lens that falls forward creates more effort and risk than a well-managed handheld setup.
Attach the strap so it cannot snag the tripod head, controls, or nearby vegetation. Check lens-foot and plate screws before walking. The Z9 body is substantial, and a long lens multiplies leverage on every connection.
Control bursts by behavior
Begin the burst just before the expected change: takeoff, landing flare, prey transfer, turn, wing stretch, or interaction. Release once the movement resolves. Continuous maximum-rate capture through a long straight flight produces storage without much visual variety and can hide the photographer's timing weaknesses.
Watch buffer and card indicators during a lull, not while the bird is active. The Z9 uses two card slots compatible with CFexpress Type B and XQD media, subject to supported specifications. Match cards to the intended RAW format and drive rate, and test them in the body after firmware changes. Use simultaneous recording when redundancy is required and supported at the chosen performance.
Pre-release options can help with reactions in certain formats and settings, but confirm their current limitations in Nikon documentation before relying on them for RAW delivery. A feature that changes file type or resolution may not fit the assignment even when it captures an earlier moment.
Run a field check after the first real sequence
- Focus plane: magnify the eye or head, then locate where detail actually peaks.
- Motion: inspect wing tips and head separately to distinguish movement from focus error.
- Exposure: check pale feathers and specular water for clipping, plus dark plumage for usable detail.
- AF behavior: note whether focus moved to background during obstruction or selected another bird.
- Framing: confirm space ahead of flight and enough room for unpredictable wing positions.
- Cards: verify both recording indicators and remaining capacity during a quiet interval.
Change only the setting linked to the observed failure. If the eye is sharp but wings blur, autofocus did its job. If the background is crisp, adjust acquisition or tracking. If the whole frame drifts diagonally, work on shutter speed and pan stability before rebuilding the AF menu.
Review sequences without losing the field lesson
At the computer, group frames by flight rather than treating the folder as one stream. Compare acquisition, peak behavior, wing position, and background. imagic can process NEF files locally, group duplicate or burst-like frames, and assess sharpness, exposure, and composition. Use that assistance to find candidates, then make the wildlife and ethical judgment yourself.
Keep notes on misses for the next bank revision. A repeated background jump suggests a smaller area or different tracking response. Consistently clipped white feathers suggest a compensation change. The camera hardware section provides related setup context, while the local desktop workflow explains one route from ingest to non-destructive review and JPEG or TIFF export.
Frequently asked questions
Which Nikon Z9 AF area is best for birds in flight?
Use a larger acquisition area for a lone bird against open sky and a smaller controlled area against clutter. Map both to reachable controls so the background, not habit, decides the choice.
Should bird photography use Auto ISO?
Manual shutter and aperture with Auto ISO is practical when light and backgrounds change. Set sensible ISO limits, monitor pale plumage, and use exposure compensation to direct the automatic choice.
Why does focus jump from the bird to the background?
The active AF area may include stronger background detail, or tracking may abandon the subject too quickly during obstruction. Reduce the area, adjust response carefully, and practice releasing and reacquiring the bird.