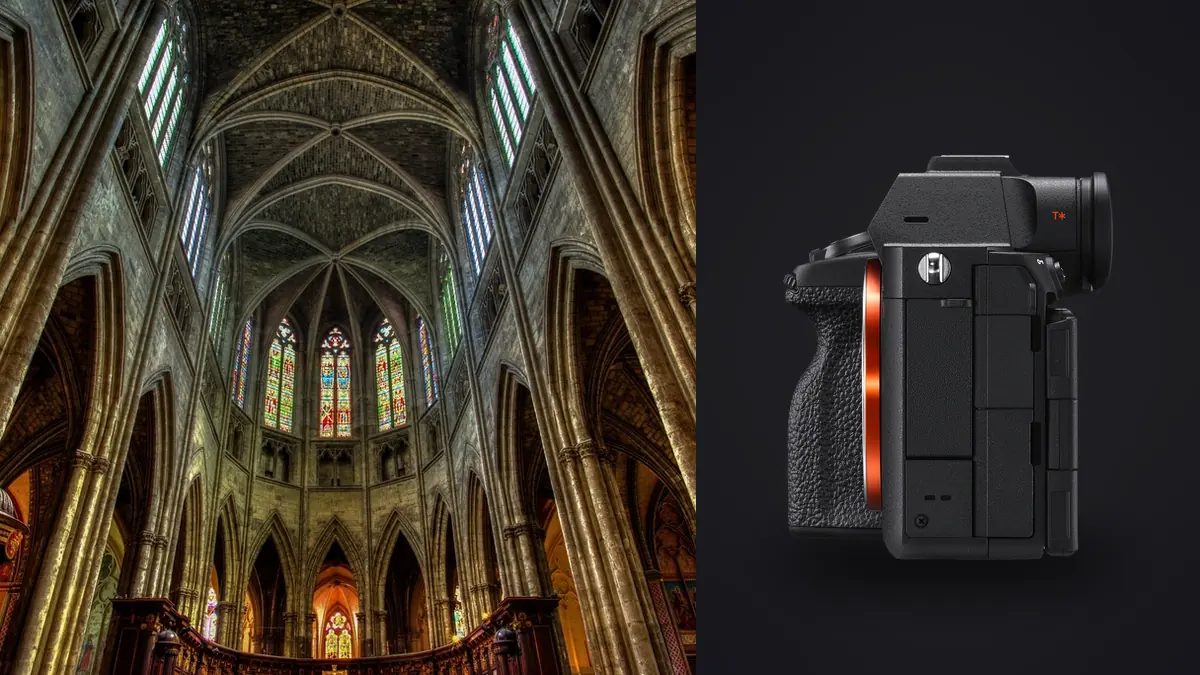
The Sony A7R V is an obvious architecture candidate: a 61-megapixel full-frame sensor, effective stabilization, a flexible multi-angle screen, broad E-mount lens access, and detailed RAW files. For static subjects, its headline autofocus intelligence matters less than precise support, lens performance, and perspective, but the complete body remains highly capable.
The purchase is justified when clients use the resolution and the workflow can carry it. Large files, demanding corners, perspective-correction losses, storage, and the lack of a Sony-branded native tilt-shift lens are real constraints. A buyer should compare a complete system rather than treating megapixels as the whole result.
Start with final output and correction losses
Large commercial prints, design books, high-end hospitality campaigns, and archival documentation can use 61-megapixel detail. Property websites and ordinary brochures may not. Ask for final pixel dimensions, print size, crop variants, and expected viewing distance before assigning value to the sensor.
Architecture files often lose pixels during rotation and perspective correction. High resolution provides a useful margin when the camera cannot be placed perfectly, but severe correction stretches corners and changes texture. A shift lens or better camera position preserves quality more effectively than relying on surplus pixels.
Estimate the corrected, cropped result rather than the untouched file. Process a representative room and facade, then measure the final dimensions. This reveals whether 61 megapixels solve a real delivery problem or merely increase every storage stage.
Demand more from wide-angle lenses
A high-resolution sensor records lens weakness clearly. Evaluate wide lenses for corner sharpness, field curvature, distortion, flare, decentering, and correction crop at working apertures. A fast maximum aperture is less important from a tripod than consistent detail across the frame.
A wide zoom offers flexibility in confined interiors. An ultra-wide prime may provide lower distortion or better corners at one focal length. A standard zoom or normal prime often produces more natural room relationships when space allows. Build the kit around recurring locations, not the widest specification.
Test the individual lens on flat detailed subjects and real rooms. Inspect all four corners after software correction. If one side consistently differs, rule out focus plane and support before accepting the sample for paid architecture.
Plan around the tilt-shift lens gap
Sony does not provide a straightforward Sony-branded native E-mount tilt-shift lineup. Third-party and adapted lenses can provide shift, but they add manual operation, adapter tolerances, and variable image-circle performance. The body purchase should include this lens path when perspective control is central.
Rent the shift lens and adapter together. Check mechanical clearance, secure locking, infinity focus, corner detail at maximum planned shift, and whether the tripod plate allows movement. A 61-megapixel sensor will reveal a small alignment problem.
Software correction remains useful for moderate convergence. Level the camera, compose with extra space, and avoid placing important objects at stretched edges. If every job requires major correction, the lens strategy needs to change before the camera body.
Use the screen and body controls on location
The multi-angle rear screen supports low, high, vertical, and wall-adjacent tripod positions. Test it with the intended L-bracket, release cable, and port covers because accessories can block movement. A screen feature has value only when the working rig preserves it.
Create a custom architecture mode with RAW capture, manual exposure, low ISO when practical, fixed white balance baseline, self-timer or remote method, and exposure aids. Save a second mode for handheld scouting or occupied spaces. This prevents event or video settings from following the camera into a room.
Keep the electronic level visible while composing, then verify verticals against real structure. Old buildings may not be square, and a level camera does not guarantee every line is parallel. Decide which architectural plane is the visual reference.
Decide whether stabilization replaces support
Stabilization expands handheld capability and helps when tripods are prohibited. It cannot preserve identical framing through lighting changes, remove moving people, or provide precise micro-adjustment. For controlled architecture, a stable tripod remains the primary support.
Test stabilization behavior on the chosen tripod and lens. Use a remote release or timer and allow the setup to settle. A long lens, extended center column, wooden floor, or wind can introduce vibration independent of the camera's stabilization rating.
When working handheld, choose a shutter speed that accounts for posture, output resolution, and repeated success, not only the camera's claimed compensation. Make a short sequence and inspect at final size. High resolution makes small movement visible.
Understand Pixel Shift Multi Shooting
The A7R V can record a series of sensor-shifted source frames for later combination in Sony software. It can improve detail or color sampling under controlled conditions, but it is not a universal high-resolution button. The camera, subject, light, and focus must remain stable.
Moving curtains, leaves, water, people, screens, and changing LEDs can create artifacts. Even sunlight shifting through clouds may change the set. Use the mode for genuinely static scenes and inspect the combined result before promising it as the main deliverable.
Keep all source files together and label the sequence. The merge happens in the appropriate Sony workflow, not in the local culling stage. Compare the completed file with a strong single exposure at client size; the additional process should earn its complexity.
Control dynamic range at the scene
Bright windows and dark interiors can exceed one exposure. First choose time of day, curtain position, fixture state, and added light. Decide whether the exterior view is required. Scene control produces cleaner relationships than relying entirely on shadow lifting.
Exposure bracketing records alternatives for a separate combination workflow, but moving elements can create ghosting. Keep the tripod fixed and label the bracket. Local review does not merge HDR frames. Use suitable dedicated software and inspect transitions around windows and moving foliage.
Protect important highlights while giving shadows enough exposure. A histogram dominated by dark furniture may tempt overexposure. Check window trim, pale walls, lamps, and reflective surfaces directly. RAW latitude is useful, not unlimited.
Plan color under mixed sources
Capture a neutral reference in each lighting zone and set a fixed white balance baseline. Warm practical lamps, daylight, green LEDs, and colored walls can overlap. One global adjustment cannot neutralize every source on the same surface.
Turn off unwanted fixtures, gel or replace sources, block daylight, or let different colors occupy intentional areas. Preserve material accuracy where the client needs it. A warm atmosphere should not make a neutral product finish incorrect.
Use a calibrated display and controlled viewing environment for final decisions. The camera screen is a field check, not a grading monitor. Export with an embedded profile suited to the recipient.
Price the file workflow
Large RAW files consume card capacity, copy time, active storage, preview generation, backups, and archives. A full property or multi-day commercial assignment multiplies the cost. Test the workstation with a complete folder and the actual editing software.
Use a RAW compression choice that passes quality tests for the hardest scene. Do not select the largest format merely because it exists. Record the default in a custom mode and verify it after firmware or configuration changes.
A local Windows or macOS app such as imagic can score sharpness, exposure, closed eyes, and composition while grouping duplicates. It keeps files local, but human review must compare reflections, geometry, lighting states, and bracket roles.
Compare it with lower-resolution alternatives
A lower-resolution body may deliver the required web and print files with faster processing and smaller archives. It can free budget for a better wide lens, shift solution, geared head, lighting, or calibrated display. Those upgrades often improve every frame.
The A7R V gains value when heavy but reasonable crops, large publication, detailed materials, and multiple ratios occur often. Its autofocus also supports a mixed business that includes people, although that is secondary for static architecture. Existing E-mount equipment strengthens the fit.
Rent both candidates with the same lens. Photograph a bright-window interior, detailed facade, reflective room, and low tripod angle. Process the whole set and compare final exports, handling, and storage. The complete trial should decide the purchase.
Use a buying-fit matrix
| Need | A7R V fit | Reason |
|---|---|---|
| Large detailed output | Strong | High resolution supports careful capture and moderate correction. |
| High-volume web listings | Mixed | Files may exceed delivery needs and increase throughput costs. |
| Native shift-lens simplicity | Limited | Third-party or adapted solutions require testing. |
| Hybrid portrait business | Strong | Resolution and autofocus serve work beyond static rooms. |
| Lightweight archive | Limited | Large files increase active and long-term storage. |
Buy the body when the client's output and the system workflow use its strengths. More detailed comparisons are available in the camera hardware guides.
Audit reflections and moving elements before buying
High resolution is useful only when the scene is controlled enough to record it. Mirrors, polished stone, windows, metal, screens, and glossy cabinetry can reveal the photographer, tripod, lights, and adjoining rooms. A rental test should include reflective interiors, not only a flat brick facade.
Inspect reflections at the camera position before choosing a lens. A small lateral or height change can remove equipment without heavy retouching, but it may alter perspective and required focal length. The flexible screen helps place the body in awkward positions, while a geared head makes the correction repeatable.
Moving elements also determine whether the A7R V's special high-detail modes are useful. Curtains, leaves, water, people, traffic, display refresh, and dimmed LEDs can change between source frames. Photograph a realistic occupied room and exterior rather than assuming every architectural subject is static.
Compare three outputs: a normal single RAW, a carefully corrected single RAW, and any multi-frame result the workflow intends to use. Inspect edges around movement, reflections, fine repetitive texture, and final dimensions. The additional capture earns its place only when it improves the client file without fragile cleanup.
Include retouching time in the buying comparison. More pixels can make dust, surface damage, moire, and imperfect blends easier to see. That detail is valuable for documentation but may create extra work in a polished hospitality image. The brief should decide whether accuracy or idealization takes priority.
During the trial, record how long reflection cleanup takes at both normal and 61-megapixel delivery sizes. That timing converts an abstract detail advantage into a real production cost and helps determine whether the larger source improves or burdens the service.
Frequently asked questions
Is 61 megapixels always better for interiors?
No. It helps with large output and moderate crops, but also increases storage and processing. Lens quality, perspective, light, and final use determine whether it adds value.
Does the A7R V create a finished Pixel Shift file in camera?
It records source frames that are combined later in Sony's appropriate software. Static subjects and stable light are required for a clean result.
Can the local review workflow merge architectural HDR brackets?
No. It can assist local review and grouping, but HDR merging requires dedicated software. Keep bracket sources organized and inspect the combined result carefully.