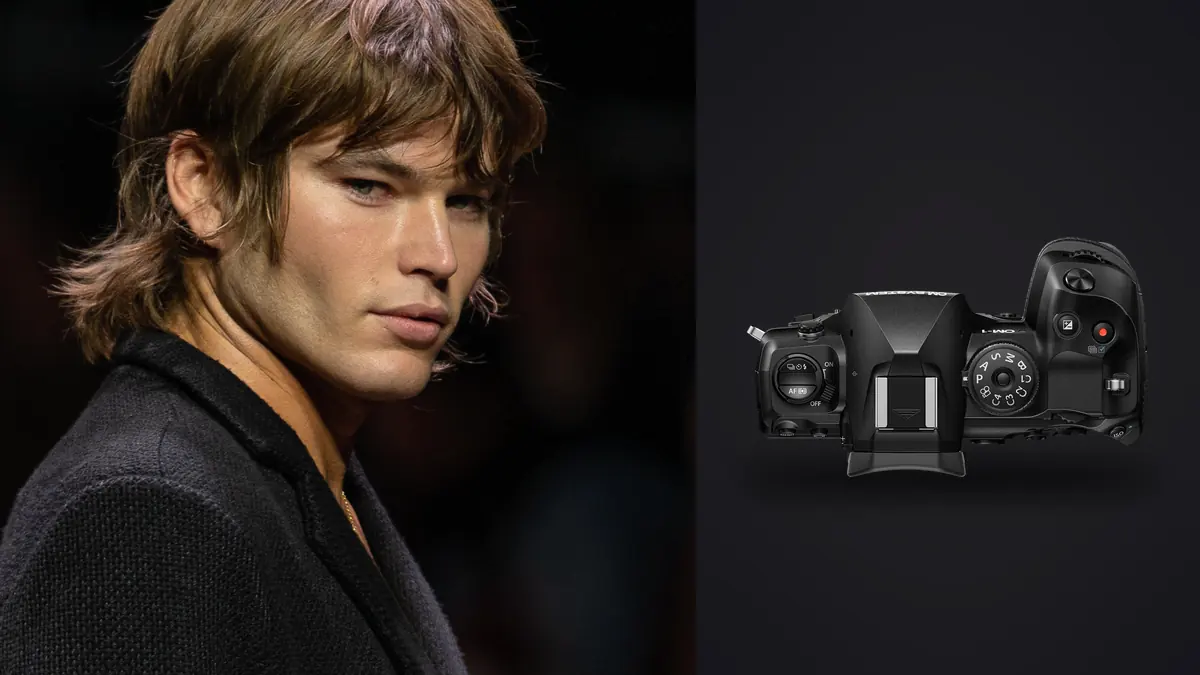
Picture a 46-look pre-season lookbook for a small swim and resort-wear label, the kind of job where the client has a trade show deadline and zero patience for a three-day retouch queue. The default body for that work might be a full-frame mirrorless kit, but hauling two bodies and four L-glass lenses around a beach location for eight hours can be a genuinely bad idea, especially with a bad shoulder. So say you rent an OM System OM-1 Mark II with three Pro lenses instead. This isn't a spec sheet regurgitation, it's a look at how that camera holds up on a commercial shoot.
The Unconventional Choice, and Why It Wasn't Actually Crazy
Booking a Micro Four Thirds body for a commercial fashion job raises eyebrows, and a label's creative director may well raise one too. The OM-1 Mark II's 20.4-megapixel stacked sensor is a quarter the physical area of a full-frame chip, which everyone assumes is a straight downgrade. For editorial work chasing razor-thin subject separation, it is a real limitation. But lookbook photography isn't editorial. A lookbook's entire job is to show the garment clearly, head to toe, in focus, so a buyer can see the drape and the stitching and the color from a thumbnail. That's a genre where I actually want more depth of field at a given framing, not less, and the smaller sensor gets you there without stopping down into diffraction territory or pushing ISO to compensate.
The other factor was weight. Body plus the 12-40mm f/2.8 Pro II, the 45mm f/1.2 Pro, and the 40-150mm f/2.8 Pro all fit into a single shoulder bag with room left for two flash triggers, spare batteries, and a collapsible reflector. That's the kit that used to take a rolling case and a second pair of hands. On a beach location with soft sand and no cart access, that difference was not trivial.
What Actually Won Me Over on a Live Set
Pro Capture turned out to be the single most useful feature for this specific genre, and I didn't expect that going in. Set to the SH2 electronic mode at 20fps with a 35-frame pre-shutter buffer, it meant that when a model hit the exact moment a wrap skirt settled at the bottom of a turn, or resort trousers caught a gust just right, the frame already existed by the time my finger finished pressing the shutter. Full-press lag has cost me the best frame of a walk-and-turn sequence more times than I want to admit on other bodies. Pro Capture just removes that problem.
Subject detection autofocus was the second surprise. With human detection active, the camera held onto a model's eye through wide-brimmed sun hats and mirrored sunglasses on a resort-wear shoot where half the looks included both. I didn't have to babysit a focus point across a boardwalk background that kept giving the AF something more contrasty to grab onto.
In-body stabilization mattered more for the in-between shots than the hero shots. Between formal setups we shot handheld behind-the-scenes stills and accessory detail cutaways under continuous LED panels, and being able to hand-hold at 1/60 without a tripod kept that part of the day moving without a second camera operator.
Weather sealing rated to IP53 also earned its keep. Wind-blown sand on a beach location is exactly the scenario that makes me nervous about lens swaps, and I changed glass a dozen times that day without wrapping the body in a rain cover first.
High-Resolution Shot Mode for the Fabric Detail Pages
Every lookbook I've delivered in the last two years includes three or four detail spreads: button placement, seam construction, a fabric print close enough to read the weave. Those pages get shown at or near 100% crop in the client's PDF, and 20 megapixels starts to feel thin at that scale. The handheld high-res shot mode, which composites a burst of sensor-shifted frames into a 50-megapixel file, covered that gap for a table of folded garments and laid-out accessories. I didn't bring a tripod that day and regretted it, because the tripod-based mode goes to 80 megapixels and would have given even more room to crop into stitching. Lesson noted for next time: throw a lightweight travel tripod in the bag specifically for the detail table, even on a day built around a handheld outfit shoot.
Settings by Shot Type
Here's roughly what to dial in for each category of shot across a beach lookbook day. This isn't a generic exposure chart, it's a starting point for this specific body on a job like this.
| Shot type | Drive mode | Shutter | Aperture | Why |
|---|---|---|---|---|
| Full-outfit walking shots | Pro Capture SH2, 20fps, 35-frame buffer | 1/1000 electronic | f/4.5 to f/5.6 | Freezes fabric mid-step and the pre-shutter buffer catches the beat before my finger does |
| Static hero shots | Single shot | 1/200 mechanical, flash sync | f/7.1 to f/8 | Needed head-to-toe sharpness at a tight working distance without stacking ISO |
| Movement and fabric flow (turns, jumps, splash) | Pro Capture SH2, 40fps | 1/2000 electronic | f/4 to f/5 | Freezes motion cleanly, the stacked sensor keeps rolling shutter skew off fast turns |
| Flat-lay and fabric detail crops | High Res Shot, handheld, 50MP | 1/125 | f/5.6 | Extra resolution for crops shown near 100% in the client PDF |
| Multi-model group shots | Single shot, silent | 1/160 mechanical, flash sync | f/9 to f/10 | Depth across three models at staggered distances without the ISO climb a full-frame body would need |
Lenses That Actually Earned Their Space in the Bag
The 12-40mm f/2.8 Pro II did most of the day's work. It's the lens I reach for on full-outfit shots and anything where the background location needed to read clearly behind the model. The 45mm f/1.2 Pro came out for close half-body shots and accessory details where I wanted some separation from a busy background, and it's genuinely one of the best portrait lenses I've used on any mount, full stop. The 40-150mm f/2.8 Pro handled the hero shots where I wanted to compress a cluttered boardwalk into something closer to a clean backdrop, roughly an 80-300mm field of view on this sensor. Leave the 17mm f/1.2 at home and you may miss it once, for a wider environmental shot the art director asks for on the spot, which you end up faking with a stitched pair of frames instead.
Where the Smaller Sensor Actually Cost Us
None of this is a pure win. Shooting at solid noon on white sand against white swim fabric, I blew highlights on a handful of frames that a full-frame body would likely have held onto, maybe a stop and a half more recoverable range on the brightest garments. I ended up exposure bracketing three of the harshest setups and blending in post, which is an extra step I don't normally need.
Shadow noise also showed up sooner than I'm used to. Past roughly ISO 1600, pushing shadow recovery hard on skin tones during retouch brought up visible noise that a full-frame file at the same ISO handles more gracefully. It's not a dealbreaker, it just means I underexpose less aggressively with this body than I would with a larger sensor, and I plan my lighting around that.
There's also a perception problem that has nothing to do with the files. An art director may ask outright whether the images were shot on a "real" full-frame body, not because anything looked wrong, but because Micro Four Thirds still carries a stigma in fashion circles that the sensor itself doesn't really justify anymore. Sending a couple of test frames ahead of the shoot day on any new client relationship is a cheap way to head that conversation off before it happens on set.
Battery and card math changed too. Pro Capture and high-res shot mode both burn through storage faster than a normal day's shooting, and I went through two extra batteries and filled a card sooner than expected because Pro Capture accumulates near-duplicate frames in bulk every time you half-press and release.
From Memory Card to Delivery
That last point is the real workflow story. A Pro Capture-heavy lookbook day like this one produced somewhere around 3,800 frames for a final delivery of about 300 images. Sorting that manually, especially the 35-frame buffer stacks from every walking and movement shot, is exactly the kind of task that eats an entire evening if you do it by eye in a standard browser.
I run the full card dump through imagic before I open anything in a retouching app. Its local sharpness and focus scoring flags which frame in each Pro Capture burst actually landed critical focus on the model's eye, and the duplicate and burst clustering groups those 35-frame stacks together automatically instead of leaving me to scrub through them one at a time. If you haven't seen how that scoring actually works under the hood, this breakdown of how AI photo culling works covers the mechanics better than I can in a paragraph here.
The offline part can matter contractually on a job like this. A label's PR team may require an NDA on a collection that hasn't been announced yet, and imagic processes everything locally with no cloud upload, so you can run the entire cull on a laptop with wifi off during the shoot week without violating anything in that agreement.
For the color pass, you can build an apply_my_style preset trained on a previous edited set for the same client, tuned to how they like skin tones and fabric whites handled. Running the shortlist through that preset gives you a fast base grade that can be close enough to final that the manual pass afterward is mostly fine-tuning rather than starting from a flat RAW every time. Between the culling pass and that preset, the gap between "card full" and "first client proof" can shrink by roughly a day compared to running this kind of job entirely by hand, and if turnaround speed on a shoot like this is something you're trying to solve generally rather than camera-specific, these workflow tips cover more of that ground.
Frequently Asked Questions
Can a 20-megapixel Micro Four Thirds file actually hold up for a printed lookbook?
For standard lookbook use, yes. At 300dpi, a 20MP file comfortably covers a full-bleed page up to roughly 11x14 inches, which is larger than almost any printed lookbook spread or PDF page you'll deliver. Where it gets tight is close-up fabric or stitching crops meant to be viewed near 100%, which is exactly why the in-camera high-res shot modes exist and why I lean on the 50MP handheld mode for detail pages.
Do fashion clients or agencies push back on Micro Four Thirds files?
Sometimes, and it's almost always about perception rather than anything in the actual files. An art director might ask directly whether a shoot was "real" full-frame. Sending a couple of comparison frames ahead of the shoot day, before anyone's looking at a deadline, tends to resolve that before it becomes an issue.
Is Pro Capture actually useful for lookbook work, or is that just a sports feature?
It's useful, but only for a subset of shots. Any lookbook that includes movement, a walk-and-turn, a jump, fabric caught mid-swing, benefits from it directly. For static hero shots where the model is holding a pose, it doesn't add much over a normal single-shot release.
What's the actual bottleneck shooting a lookbook on this camera?
It's not the shooting, it's the volume of frames the burst modes generate. A day built around Pro Capture and high-res shot mode can easily produce ten times the frame count of a slower, more deliberate full-frame shoot for the same number of final looks. Culling that volume by hand is the part that actually threatens your delivery deadline, which is the whole reason I run the card through a local cull before touching a retouching app rather than after.