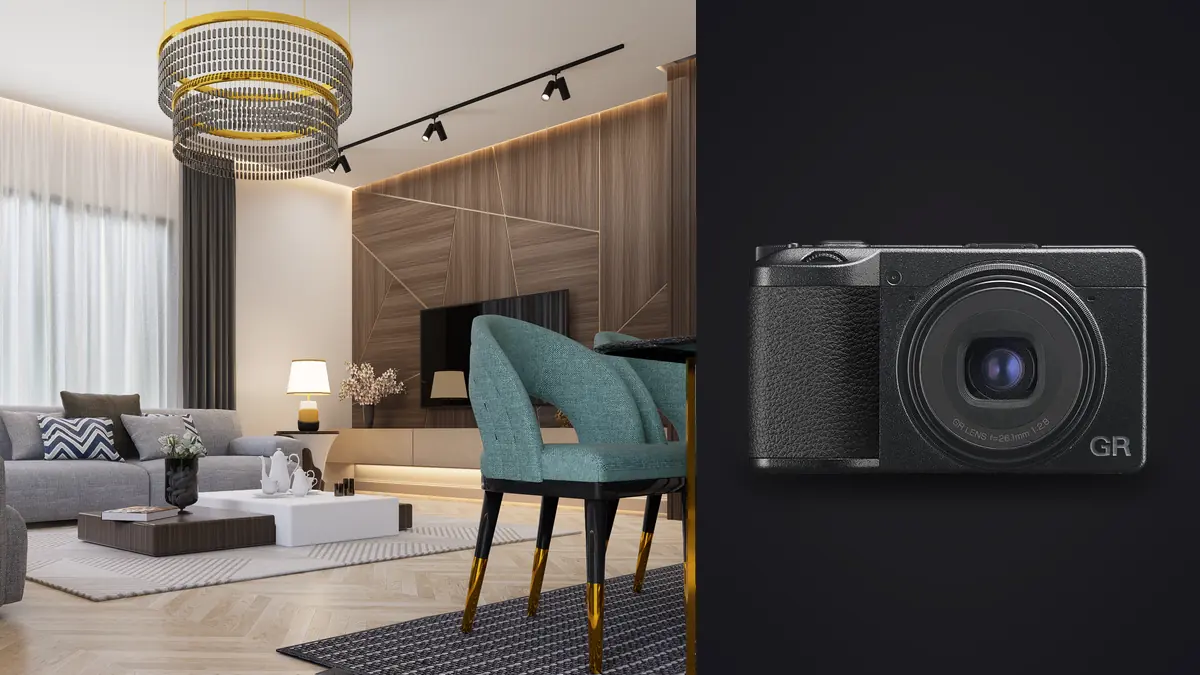
For photographers documenting finished interiors for design studios, the Ricoh GR IIIx is a camera worth reaching for during install week, not the one for the hero shots that end up on the studio's website. That distinction matters, because most of what gets written about this camera treats it as a street photography tool that happens to also take nice pictures of rooms. It's a different job. Interior design documentation asks for something a wide real estate zoom doesn't give you, and the GR IIIx fills a specific gap in that kit rather than replacing the wide lens entirely.
The 40mm Problem, and Why It's Not Actually a Problem
The GR IIIx carries a 26.1mm f/2.8 lens, which works out to roughly 40mm in full-frame terms. Ricoh's standard GR III uses an 18.3mm lens, a 28mm equivalent, and that's the one most architecture and real estate photographers already know from experience: wide enough to get most of a room in one frame from a doorway, forgiving of a cramped hallway. The IIIx deliberately gives that up. Forty millimeters is close to what your eye actually resolves as "normal," with none of the corner stretch or line divergence you get from anything wider once you're within a couple of meters of a wall.
On a design shoot that turns out to be the point rather than the limitation. Wide lenses flatter square footage, they make a room look bigger and grander than it is, which is exactly what a real estate listing wants. A design studio's portfolio wants something different: it wants the curve of a chair leg to read as a curve, not a slight bow introduced by lens geometry near the frame edge. It wants a shelf of ceramics photographed the way a person actually perceives that shelf while standing in the room. Clients can specifically dislike wide hero shots of their own work because the perspective distortion makes proportions look off to them, even though they can't articulate why. Forty millimeters mostly avoids that conversation.
What the Camera Is Actually For on a Design Shoot
I don't use the GR IIIx to cover a whole room. That's still a 16-24mm zoom's job, usually on a heavier body with a tripod and a spirit level. The GR IIIx handles everything that happens between the wide establishing shots: styled vignettes on a console table, the join between two materials on a kitchen island, a reading corner, the way light falls across a textured plaster wall at 4pm. These are the images a studio actually uses on Instagram and in pitch decks far more often than the wide room shot, and a 40mm-equivalent compact is a genuinely better tool for them than a zoom that has to be racked out to its long end and stopped down every time.
Snap Focus and the Speed of a Working Room
Install week is chaotic. There are contractors moving through the space, furniture still has plastic wrap on it, and you often get a five-minute window before someone needs to move a sofa. The GR IIIx's snap focus mode, where you preset a fixed distance (I usually run 1.5m for tight vignettes, 2.5m for wider corners) and the shutter fires instantly without hunting for autofocus lock, has saved more shots than any other single feature on this camera. Regular contrast/phase-detect autofocus on the GR IIIx is fine but not fast in dim rooms, and snap focus sidesteps that entirely when you already know roughly how far away your subject is.
Macro Mode for Materials and Samples
Design studios live and die by material selection, and part of documenting a project properly means photographing the actual swatches, tile samples, and hardware finishes that got specified. The GR IIIx's macro mode focuses down to around 12cm from the lens, close enough to fill the frame with a piece of brass hardware or the weave of a linen sample. It's not a true macro lens and you won't get 1:1 reproduction, but for cataloging finishes at a resolution a client can actually zoom into, it's more than adequate, and it's a lot less setup than pulling out a dedicated macro lens on a separate body.
Crop Modes as a Practical Workaround
Because the base focal length is already 40mm, Ricoh's in-camera crop modes on the IIIx step longer rather than wider, simulating roughly 50mm and 71mm equivalents by cropping into the 24.2-megapixel APS-C sensor. That's useful for tightening in on a single object, a lamp on a side table or the detail of a stair rail, without physically moving closer and disturbing a staged scene. The tradeoff is resolution: the 71mm crop leaves you with a file well under half the native pixel count, fine for social posts and web galleries, thinner if the studio wants to print anything large from that frame. I treat the crop modes as a composing aid on location, not as a substitute for actually walking closer when I have the room to do it.
| Camera | Equivalent Focal Length | Where It Wins on a Design Shoot | Weight (body + battery) | Shots per Charge (CIPA) | Approx. Launch Price |
|---|---|---|---|---|---|
| Ricoh GR IIIx | 40mm | Vignettes, styled details, natural room perspective | ~262g | ~200 | $999 |
| Ricoh GR III | 28mm | Full-room coverage in tight spaces, hallway shots | ~257g | ~200 | $899 |
| Fujifilm X100VI | 35mm | Hybrid viewfinder for bright, glass-heavy rooms | ~478g | ~450 | $1,599 |
| Flagship smartphone (main lens) | ~24-26mm | Quick reference shots, client texting during walkthrough | negligible | full day | varies |
The battery numbers on both Ricoh bodies look thin on paper, and they are: the DB-110 pack is small because the body is small. In practice I get closer to 300-350 frames per charge on a design shoot because I'm not chimping every image on the LCD the way street shooters tend to, but I still carry three spare batteries in a jacket pocket on any full-day install. It's the single biggest operational annoyance of owning this camera, full stop.
Handling Light in Occupied and Half-Finished Spaces
Interiors mid-install are rarely lit the way they will be for the final photography package. Temporary work lights, missing fixtures, blackout paper still taped over half the windows. The GR IIIx's sensor holds up reasonably well up through ISO 3200 for documentation purposes (not for anything a client will print large, but plenty clean for a working reference set), and the three-axis in-body shake reduction lets me hand-hold detail shots down to around 1/8s without the wall texture turning to mush. There's no flash on this camera at all, no hot shoe either, which is a deliberate design choice that keeps it small but means you're fully committed to whatever light the room gives you. For documentation work that's fine. It isn't the way to shoot a client's finished hero images.
One color detail worth mentioning: Ricoh's in-camera JPEG profiles, particularly the Positive Film and Standard settings, get close enough to a usable client preview straight off the card that you can AirDrop a few frames to a designer on-site before touching a laptop. That's a small thing but it changes the on-site conversation, because a designer can point at a shot on their phone and say "more of that corner" while you're still standing in the room.
Getting the Files Home: Culling, Consistency, and Confidentiality
A single install-week visit routinely produces 400 to 700 frames once you count every angle of every vignette, plus the inevitable near-duplicates from shifting two inches left or right to dodge a reflection. Sorting that by eye is the least enjoyable part of this work, and it's where I actually run the take through imagic before anything goes near an editing pass. The local sharpness and focus scoring catches the frames where snap focus guessed wrong on distance, and the burst and duplicate clustering groups the six near-identical shots of the same console table into one set instead of making me scroll past all of them individually.
The other piece that matters more than I expected going in is the apply_my_style preset, trained on my own past edits rather than some generic look. Design studios want a consistent color and contrast treatment across a project, not twelve frames that each got hand-tuned slightly differently at 11pm. Having a preset that already reflects how I actually edit, applied automatically across a set, means the batch coming out of a shoot looks like one coherent job rather than a pile of individually adjusted files.
There's a confidentiality angle too that's easy to overlook until it bites you. A lot of this work happens under NDA, projects that haven't been announced, client homes that aren't public yet, commercial spaces ahead of a launch date. Running the culling and initial editing pass entirely on your own machine, with nothing uploaded to a cloud service in the process, isn't a nice-to-have for this kind of client, it's close to a contractual requirement. If you're curious how the culling side of that actually works, the breakdown of how AI photo culling works covers the mechanics in more detail, and the general workflow habits in tips for a faster photo workflow apply just as well to a design shoot's file count as they do to a wedding.
Where the Camera Falls Short for This Work
I don't want to write around the real limitations, because they're the reason this stays a secondary body rather than the only camera in the bag. Battery life is the constant background annoyance already mentioned. There's no viewfinder at all, and composing on the rear LCD in a south-facing room with floor-to-ceiling glass at midday is genuinely difficult; I've resorted to cupping a hand over the screen more than once. Video tops out at 1080p60, no 4K, so if a studio wants a walkthrough reel of the finished space this camera simply isn't the tool, and you would bring a phone or a second body for that. There's a single SD slot rated UHS-I, no in-camera backup redundancy, which is a real risk-management concern on any shoot you can't repeat, where a corrupted card means a lost visit. And while Ricoh sells an adapter ring that adds a filter thread and some splash resistance, the body out of the box isn't sealed the way you'd want on a construction-adjacent site with plaster dust in the air. I keep a rocket blower in the bag specifically because of this camera.
Frequently Asked Questions
Is the GR IIIx wide enough to photograph a full room for a portfolio?
Not comfortably in most residential spaces. At a 40mm equivalent you'll usually need to back into a hallway or doorway to get an entire room, and in a lot of real homes that space doesn't exist. If full-room coverage is the primary need, the standard GR III at 28mm or a proper wide zoom will serve better. The IIIx is built for the shots that happen inside the room, not the establishing shot of it.
How does it compare to just using a phone for documentation?
A modern phone's main camera sits closer to 24-26mm equivalent, wider than the IIIx and closer to the GR III's range, and computational processing can make phone shots look impressively clean at a glance. Where the GR IIIx pulls ahead is in a real aperture and sensor size giving actual depth control, the physical macro mode for close material shots, and RAW files that hold up to real post-processing rather than an already-baked JPEG. For a quick reference shot to text a client, the phone wins on convenience. For anything that ends up in a portfolio, the Ricoh's files have more to work with.
Does the macro mode really work for shooting fabric and material swatches?
Yes, within reason. Focusing down to roughly 12cm is close enough to fill the frame with a single tile sample or a swatch of upholstery fabric, and the detail is sufficient for a client to judge texture and weave on screen. It's not a true 1:1 macro lens, so if a studio needs product-catalog-grade close-ups of tiny hardware for print, a dedicated macro setup will still outperform it.
Is it durable enough for an active construction or install site?
I'd treat it as durable but not rugged. The body feels solid and the controls haven't loosened after two years of regular use, but there's no meaningful weather sealing out of the box, and dust ingress around the lens barrel is a real concern on a site with active drywall or sanding work. I keep it in a small pouch when I'm not actively shooting and give it a blower-clean at the end of every install day.