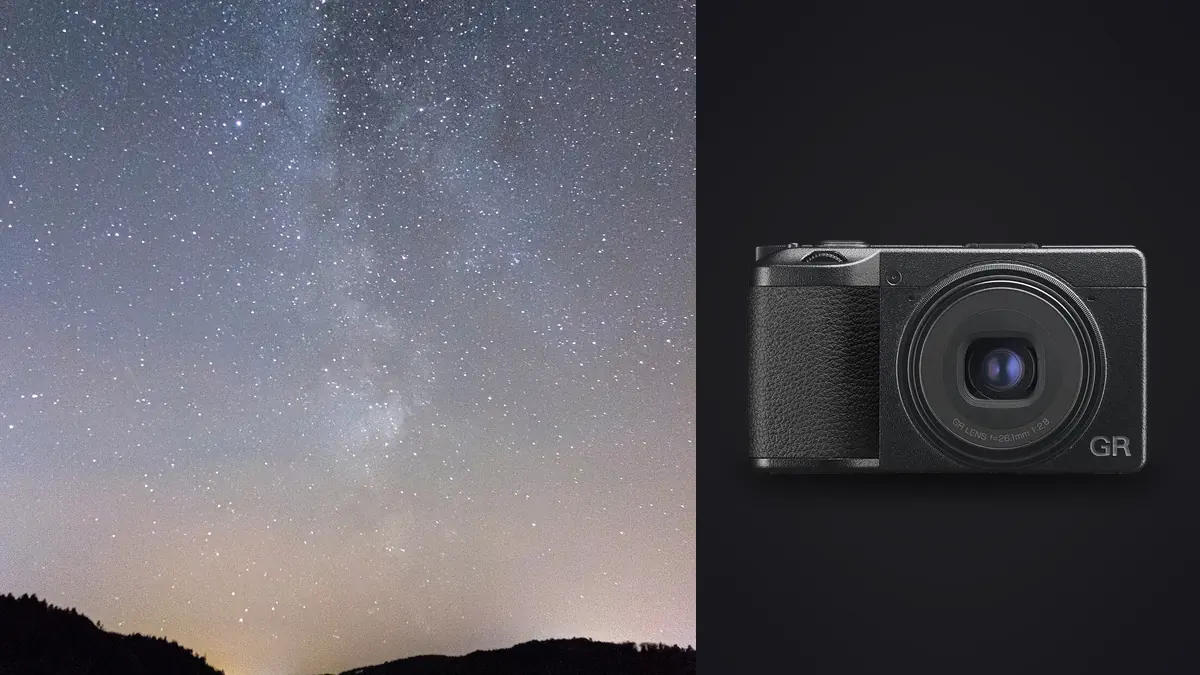
I did not buy a Ricoh GR IIIx to shoot stars. Nobody does. It's a street camera, a 40mm-equivalent f/2.8 lens welded to an APS-C body the size of a bar of soap, designed for people who want one prime lens and nothing else in their pocket. But I ended up on a ridge above a reservoir in October with exactly that camera and nothing else, and a clear moonless sky, and I was not about to waste the trip. What follows is what I learned from three separate nights of trying to make star stacking work on a camera that was never designed for it, plus the mistakes that cost me two of those nights before I got a usable frame.
Why you'd even try this
The honest answer is that most of us don't carry a wide fast prime and a tracker everywhere we go, but a lot of us carry a GR. It's the camera that's already in your jacket at 11pm when the sky clears unexpectedly. The question isn't whether the GR IIIx is a good astro camera (it isn't, not in the way a mirrorless body with a 14mm f/1.8 is), it's whether you can get something worth keeping out of it when it's the only camera you have. The answer is yes, with real caveats, and the biggest one is the lens itself.
40mm equivalent is a long, narrow field of view for night sky work. Almost every Milky Way shot you've seen was taken at 14-24mm equivalent because that focal length lets you keep shutter speeds long enough to gather light without visible star trailing, and it captures enough sky to make the galactic core feel immersive against a landscape. At 40mm you're cropped in tight. You won't get a sweeping arch of the Milky Way over a horizon. What you can get is a tighter, more graphic composition: a dense star field behind a single tree, a ridge line, a lit tent. Treat the constraint as the point rather than fighting it, and the lens stops being a liability.
The battery is the real obstacle, not the lens
Nobody warns you about this loudly enough. The GR IIIx runs on Ricoh's small DB-110 pack, rated for roughly 200 shots under normal daytime conditions, and that number falls off a cliff in the cold with the screen lit for long stretches while you check focus and histogram between frames. Star stacking needs 30 to 60 exposures minimum for the sky alone, plus test shots while you dial in focus and framing, plus however many extra frames you burn re-checking composition once your eyes adjust to the dark and you realize your first attempt was crooked. I went through two batteries in under ninety minutes on a 4°C night, and that was being careful about screen timeout settings.
Bring at least three spares if you're serious about a full stacking session, and keep them in an inside pocket, not your bag, because cold drains the cells even when they're not in the camera. This sounds like overkill until you're forty minutes into a stack, the sky finally settles, and the camera dies with half your frames on the card and half still in the queue.
Dialing in exposure without a tracker
With no star tracker and no interchangeable lens, you're working the same rule everyone without a tracker uses: keep the shutter short enough that stars stay points rather than streaks, given your effective focal length. At 40mm equivalent, that number lands around 8 to 10 seconds if you want genuinely tight points at full resolution, or up to about 13 seconds if you're comfortable with slight elongation that mostly disappears once you downsize the final export. Going past 15 seconds at this focal length starts to show visibly in a 100% crop, even on a stationary tripod.
That's a short exposure to fill with light, so you lean on ISO. I settled on ISO 3200 to 6400 with the aperture wide open at f/2.8, which is as fast as this lens goes. That's noisier than I'd like for a single frame, but noise is exactly what stacking is for, since averaging many frames cancels out the random noise while the actual star field stays consistent from shot to shot. Shoot in DNG, not JPEG. The GR IIIx's raw files hold up far better under the aggressive brightness and noise adjustments a night sky edit demands, and you'll want that latitude once you're stacking and grading afterward.
One setting people forget to turn off: the in-body shake reduction. It's genuinely good on this camera for handheld daytime shooting, but on a locked-down tripod it can introduce tiny frame-to-frame shifts as the sensor unit settles, which then fights your stacking software's alignment step. Switch SR off any time the camera is on sticks, not just for astro.
Manual focus in the dark is where most people fail
The GR IIIx's autofocus has no interest in a black sky. It'll hunt and give up, every time, no exceptions. You need manual focus, and the touch interface makes this fiddlier than it should be. My method: find the brightest star or planet in the frame, or failing that a distant streetlight or headlamp on a hillside a few hundred meters out, switch to manual focus, and use the focus assist magnification to zoom into that point on the rear screen. Rack the focus ring until the point is as small and tight as it'll get, not just roughly sharp looking on the small preview, because "roughly sharp" on a 3-inch screen at night is not sharp at 100%. Take a test shot, zoom into playback, and adjust again. I usually need two or three rounds before I trust it, and I re-check focus if the temperature drops significantly partway through a session, since the barrel can creep slightly as materials contract.
Also worth knowing: there's no dedicated infinity focus lock you can just set and forget with total confidence on this lens the way you can on some manual astro primes. Treat every session as a fresh focus check.
In-camera compositing versus stacking it yourself
The GR IIIx has an interval shooting mode and a separate interval composite mode buried in the menu, and they solve different problems. Interval composite has the camera itself blend a sequence of frames using a brightest-pixel comparison, which is exactly how you'd build a star trail image, all done on the device with no laptop required. It's genuinely useful if star trails (not stacked-for-noise pinpoint stars) are the goal, and it means you can walk away from the tripod with a finished JPEG already in hand. But you give up control: you can't easily go back and re-stack with different frames, you're locked into whatever the camera decided, and the output resolution and file type are more limited than working from your own raw sequence.
For a noise-reduced, pinpoint-star nightscape, shooting a raw interval sequence yourself and stacking it afterward in dedicated software gives a noticeably cleaner result, especially in the deep shadow areas where the GR IIIx's small sensor pixels start to show their limits at high ISO.
| Method | What it actually does | Foreground handling | Best use on the GR IIIx |
|---|---|---|---|
| In-camera Interval Composite | Blends a live sequence using brightest-pixel comparison, no laptop needed | Locked into the first frame's exposure, limited control | Star trails when you want a finished file on location |
| Sequator (free, Windows) | Aligns and averages a raw sequence, separates sky from ground automatically | Decent automatic masking, sometimes needs manual touch-up on foliage edges | Fastest free option for a 40-60 frame DNG stack |
| Starry Landscape Stacker (paid, Mac) | Same core idea, more manual control over the sky/ground mask | Best foreground masking of the three, worth it for busy tree lines | When the composition has a complicated silhouette against the sky |
| Manual median stack (Photoshop or similar) | You align and blend layers yourself with a median stack mode | Full manual control, but slow and fiddly | One-off frames where the dedicated tools mangle the mask |
Blending a lit foreground into a fixed 40mm frame
Because you can't zoom out to fit a wide landscape and a big sky in one frame, foreground and sky usually need separate exposure treatment even more than usual. My routine on the ridge: shoot the 40-frame sky sequence first while there's still enough residual light to see what I'm doing, then once the stack is done, shoot two or three foreground frames at a much longer shutter speed (30 seconds to a couple of minutes, whatever the scene needs), either lit by a hand torch swept across the subject during the exposure or left to gather what little ambient light is available. Blend the stacked sky with the best foreground frame in post. Don't try to get it all in one exposure. At f/2.8 and ISO 6400 for 10 seconds, your foreground will be underexposed and mostly noise unless it's lit separately.
Getting from sixty raw files to a finished folder
A single stacking session on this camera leaves you with 40 to 70 DNG files that all look nearly identical in a thumbnail grid, plus whatever test shots and foreground attempts you took alongside them, plus the frames from the two nights that didn't work. After three nights out I had over 400 files and no appetite to scroll through them one by one on a laptop with patchy signal at a campsite. This is where I stopped doing it manually and started running the folder through imagic before touching anything else. It scores sharpness locally on the actual pixel data rather than relying on a thumbnail, which matters here because a star field frame can look identical to its neighbor at a glance but have meaningfully softer stars if focus crept between shots, and it does the whole pass offline, which is the only way it was ever going to happen at a site with no signal anyway. It also clusters the near-duplicate test shots and failed framing attempts together so I'm not manually comparing forty visually similar frames of the same tree against the same stars.
To be clear, you still want to keep the full sky sequence intact for stacking, imagic isn't deciding which frames go into the stack for you. What it's good for is triaging everything around the stack: picking the sharpest foreground frame out of several torch-lit attempts, flagging the session where focus visibly drifted partway through so you know not to bother stacking it, and clearing out the accidental test shots before they clutter the library you're archiving from. If you've read our piece on how AI photo culling actually works, the local sharpness scoring described there is the same mechanism doing the heavy lifting here, just pointed at star points instead of portraits.
Consistency across more than one night out
Once I had a stacked frame I liked, from the reservoir shoot in particular, I wanted every later night session graded to match it rather than starting the color work from zero each time. I ran that first edit through imagic's apply_my_style feature, which builds a preset from your own finished edit rather than a generic film-look filter, and applied it as a starting point on the next two sessions before doing scene-specific touch-ups. It's not perfect on the first pass, night skies vary enough in color temperature and airglow that some manual correction is always needed, but it saved a good twenty minutes per session of re-deriving the same shadow lift and blue-channel balance from scratch. If color grading generally is new territory for you, our guide to photo color grading covers the fundamentals this preset approach builds on.
Frequently Asked Questions
Is the Ricoh GR IIIx actually capable of good astrophotography, or is this a novelty?
It's genuinely capable of a specific kind of shot: tight, graphic night compositions where the 40mm framing works in your favor, with clean stacked stars once you fight through the battery and focus issues. It is not capable of the wide immersive Milky Way panoramas you'd get from a dedicated wide-angle setup, and pretending otherwise sets you up for disappointment. Know which shot you're going for before you set up the tripod.
Do I need a star tracker for this to work?
No, and honestly a tracker would be overkill for a fixed 40mm lens at these shutter speeds since the star elongation from Earth's rotation only becomes a serious problem past about 13-15 seconds at this focal length. Stationary stacking with a solid tripod is enough. A tracker matters more on longer lenses and longer exposures than this setup uses.
Why do my stacked stars look slightly smeared even after using stacking software?
Almost always one of three things: shake reduction was left on during the sequence and introduced tiny frame shifts, focus drifted from temperature change partway through the sequence, or the shutter speed crept past what the 40mm equivalent field of view can handle before trailing becomes visible. Check all three before blaming the stacking software.
How many raw frames should I actually keep from a night like this?
Keep the entire sky sequence you intend to stack, don't cull that set at all since stacking software wants every frame it can get. Cull aggressively everywhere else: test shots, framing attempts, and any foreground exposures you didn't end up using. That's usually the bulk of the file count and the part actually worth running through a culling pass.