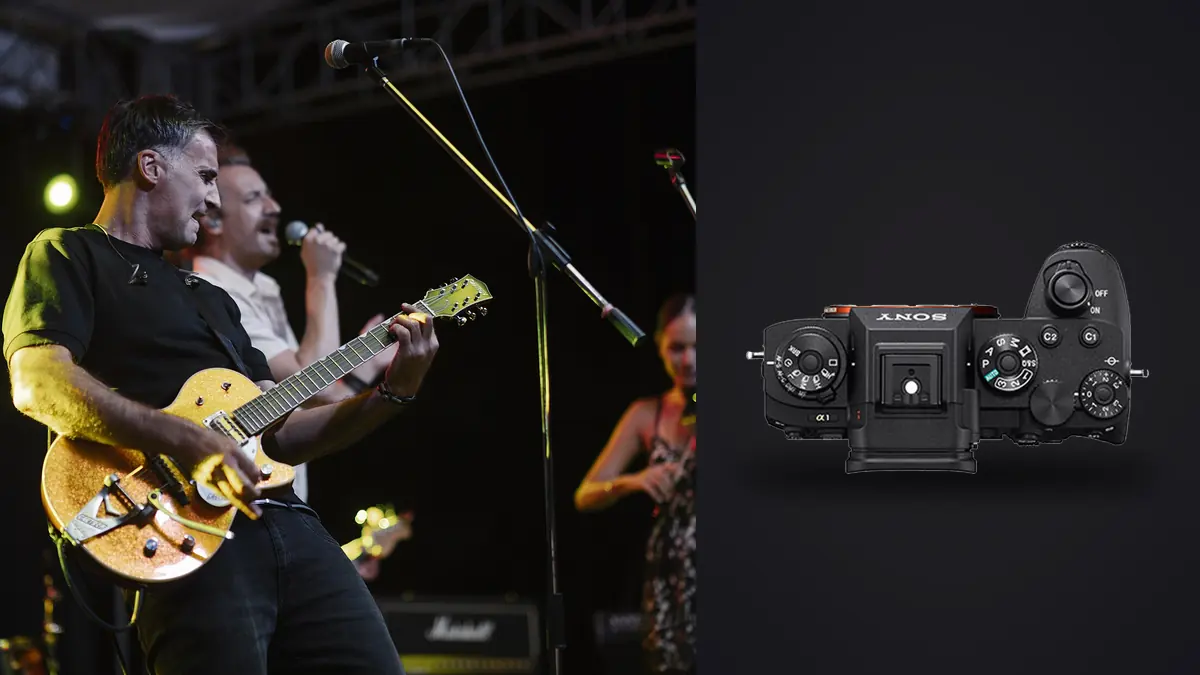
The Sony A1 combines a 50.1-megapixel stacked full-frame sensor with fast autofocus and continuous shooting up to 30 frames per second under supported conditions. That capability can cover a split-second stage gesture, but a concert kit succeeds or fails earlier: at lens choice, permitted position, hearing protection, media setup, and the ability to work without blocking the audience or other photographers.
This guide builds the kit from the venue outward. The goal is not to carry every focal length. It is to give each lens and accessory a clear job, then select positions that make those tools useful. A stacked sensor reduces some electronic-shutter distortion, but concert LEDs, haze, lasers, and restricted access still require judgment.
Troubleshoot concert frames by failure category
Troubleshooting an A1 concert sequence begins with the contact sheet, not an assumption that speed should have solved it. If focus jumps from a face to a microphone or high-contrast screen, reduce the active area or choose the subject more deliberately. If gestures blur while fixed stage details stay sharp, increase shutter speed. If bands repeat at a stable spacing, test shutter mode against the LEDs. If every frame has distracting foreground hands, cables, or stands, move within the permitted zone or wait for a cleaner alignment. A sequence that fills the buffer without adding expressions calls for shorter bursts and better anticipation, not a faster card alone.
Start with access, not a favorite lens
A photographer at the front barrier has a different problem from one placed at the sound desk. Ask where entry is permitted, whether coverage is limited to certain songs, whether movement between aisles is allowed, and whether the stage has a thrust or elevated deck. Also confirm rules for bags, monopods, flash, and remote cameras.
At the barrier, a moderate wide zoom can show a performer within the production. A standard zoom handles full and three-quarter figures. A telephoto isolates faces from side positions and reaches drummers or keyboard players set farther back. From front of house, the telephoto becomes the baseline and a wider lens is mainly for full-stage cues.
Sketch two or three positions before the lights go down. Note sightlines that avoid microphone stands, video operators, and security staff. A position with a clear face during sound check may be blocked once audience hands rise, so identify an alternate.
Give every focal length a defined picture
A common two-lens plan pairs a standard zoom with a telephoto zoom. The standard range covers full-body work, small stages, groups, and environmental frames. The telephoto covers tight expressions, performers behind the front line, and angles that exclude clutter. Carrying both on separate bodies avoids changes in haze or rain, but it adds weight and collision risk in a crowded pit.
Fast primes earn a place when the venue is genuinely dark or when a specific rendering is central to the brief. A 35mm prime can establish context at close range. A 50mm or 85mm prime can isolate a performer while gathering more light than many zooms. The tradeoff is framing flexibility when the photographer cannot move.
Ultra-wide lenses should have a reason. They can make a low stage feel immense and can include audience, lighting, and architecture. Used too close to a face, they exaggerate near features and limbs. Keep the central performer away from extreme corners and inspect hands, guitar necks, and drum hardware for stretching.
Choose accessories for safety and continuity
- Hearing protection: use musician-grade plugs that reduce level while preserving enough clarity to follow cues.
- Secure strap: choose a short strap or harness that keeps the second body from swinging into barriers and people.
- Lens hoods: protect the front element from contact and reduce stray stage light, while avoiding oversized shapes in tight spaces.
- Rain covers: prepare them before an outdoor set rather than fitting them after weather begins.
- Cleaning kit: carry a blower and clean cloth for haze residue, spray, and fingerprints.
- Spare media and batteries: keep them in separate, clearly marked pockets so used and unused items cannot be confused.
A monopod can support a long lens from a distant fixed position, but it is often inappropriate in a compressed photo pit. It occupies floor space, can trip others, and slows changes in elevation. Use one only when the venue permits it and the working area supports it safely.
Flash is generally prohibited or visually destructive during a performance. Even when allowed, direct flash can erase the lighting design and distract artists. Treat available stage light as the subject. Reserve flash for separately permitted portraits or backstage work with clear consent.
Position for clean backgrounds and readable light
The closest position is not always the best. Moving a few meters sideways can place a dark curtain behind the singer instead of a bright amplifier. A side angle may separate the microphone from the face and reveal hands on an instrument. A slightly elevated position can clean the lower frame when monitor wedges dominate.
Watch lighting cues during the first song rather than reacting only to brightness. Many shows repeat colors, backlight, and spot positions at chorus or refrain. Once a useful cue is recognized, prepare the frame before it returns. Anticipation reduces indiscriminate bursting and leaves buffer capacity for genuinely unpredictable moments.
For drummers, seek an angle between cymbal stands and wait for a light that reaches the face. For keyboard players, move far enough sideways to show hands rather than only the instrument's front edge. For groups, align members at different depths without letting one head merge into another.
Use the A1 speed selectively
The maximum continuous rate depends on lens, shutter, file type, and exposure conditions. Lossless or uncompressed RAW can reduce the top rate. A supported lens and compressed RAW may unlock more speed, but the highest number is rarely needed for an entire song.
Use a fast burst for a jump, drumstick arc, hair movement, or confetti release. Use a lower drive or single frames for a singer holding a microphone. The difference between adjacent frames is meaningful only when gesture changes. A long static sequence produces storage and culling work without visual variety.
Set autofocus to continuous and choose a tracking start area that identifies the intended performer. Wide subject detection can jump between several faces at similar distance. Begin with a spot or zone over the performer, then let tracking follow. When haze or backlight hides the face, track the torso or a contrast edge rather than waiting for eye detection to recover.
Handle LED light and shutter mode deliberately
The stacked sensor supports a fast electronic readout and makes silent operation practical for much action. It does not make every LED fixture continuous. Pulse-width dimming can create bands or frame-to-frame brightness changes, especially at certain shutter speeds.
Photograph the stage lighting before the set if possible. Inspect several consecutive frames, because one clean image does not prove the cycle is safe. If banding appears, adjust shutter speed in small steps, try the camera's flicker-related settings where applicable, or switch shutter mode. Recheck after a major lighting cue changes.
Mechanical shutter is a useful fallback under difficult light, while electronic shutter is valuable for quiet sections and high-speed coverage. Store both configurations in custom memories so the change also restores the intended drive, autofocus, and exposure behavior.
Build a three-position concert plan
| Position | Primary lens role | Pictures to prioritize |
|---|---|---|
| Front barrier | Standard or moderate wide | Full figure, interaction, low-angle production context |
| Side aisle | Telephoto or fast portrait prime | Clean faces, hands, layered band members |
| Front of house or balcony | Long telephoto plus occasional wide | Tight stage action, full lighting design, audience scale |
If movement is restricted, choose the lens for the mandatory image first. A wide full-stage frame may be possible with a second compact body, but a distant close-up cannot be created without sufficient focal length. Do not build the kit around positions the credential does not allow.
Make media redundancy part of the kit
The A1's two slots accept CFexpress Type A and compatible SD media. Configure simultaneous recording for irreplaceable work when card speed and chosen file settings support it. Using unmatched cards can make the slower medium the practical limit. Test the exact pair with a realistic sequence.
Format cards in camera after verified backup, label each set, and separate exposed media from empty media. Start a new pair between major acts when the schedule allows. That limits the impact of a lost card and makes ingest easier to associate with performance order.
Fifty-megapixel RAW files and fast bursts require planned storage. Keep enough space on the ingest drive and its backup. Do not depend on venue internet or a cloud transfer for the only safety copy.
Cull for gesture and coverage, not only sharpness
Copy and verify all media before selection. Group by artist and set, then confirm the required coverage: each key performer, full stage, details, crowd, and an establishing frame. Only after coverage is secure should adjacent expressions compete.
imagic can score sharpness, exposure, closed eyes, and composition and group duplicate or burst sequences locally. That can narrow a fast A1 sequence without uploading it, but the photographer must judge gesture, lighting cue, and whether a partially closed eye belongs to an expressive singing moment.
Use non-destructive edits, apply a learned personal style only as a starting point, and export JPEG or TIFF after final checks. The desktop workflow explains local processing. The Lenses and Optics section offers more focal-length planning.
Treat lasers as a safety boundary, not a lighting effect
Show lasers can harm eyes and may damage an image sensor when a concentrated beam enters the lens. Do not seek a direct beam for visual drama, and never move into a restricted laser path. Follow venue and production guidance, since safe zones are designed around audience and crew positions, not around a photographer raising a telephoto above them.
If beams are part of the approved scene, photograph the visible atmosphere from outside their direct path. Haze can reveal the beam without aiming the lens into its source. A longer exposure does not make unsafe alignment acceptable, and a lens hood is not protection from concentrated laser energy.
Unexpected laser scanning is a reason to lower the camera and change position. Report concerns to the appropriate venue contact rather than improvising. Sensor replacement would be costly, but the primary issue is human vision and compliance with the production's safety design.
Venue kit checklist
- Confirm access, song limits, movement, flash, monopod, and bag rules.
- Assign each lens a required frame and remove options with no clear job.
- Fit hoods, secure straps, weather protection, and hearing protection before entry.
- Test both shutter modes under the actual LED cues.
- Verify subject acquisition when several performers share the frame.
- Confirm both card destinations, file type, remaining capacity, and battery state.
- Plan the first position and the safe path to the next before the room goes dark.
Frequently asked questions
Is a 24-70mm-style zoom enough for concert photography?
It can cover a small venue or close photo pit, including full figures and contextual frames. Restricted or distant positions usually require a longer lens for tight performer images.
Should the Sony A1 always use its fastest burst?
No. High speed is useful for brief peak actions, while lower drive settings suit sustained poses and reduce redundant files. The maximum rate also depends on lens and file settings.
Does the stacked sensor eliminate LED banding?
No. Its faster readout reduces some electronic-shutter artifacts, but pulsing fixtures can still create bands or uneven frames. Test the live lighting and adjust shutter behavior.
Is one high-resolution body safer than two lower-resolution bodies?
Resolution does not provide equipment redundancy or a missing focal length. For non-repeatable assignments, a backup body and a lens plan may matter more than maximum pixel count.