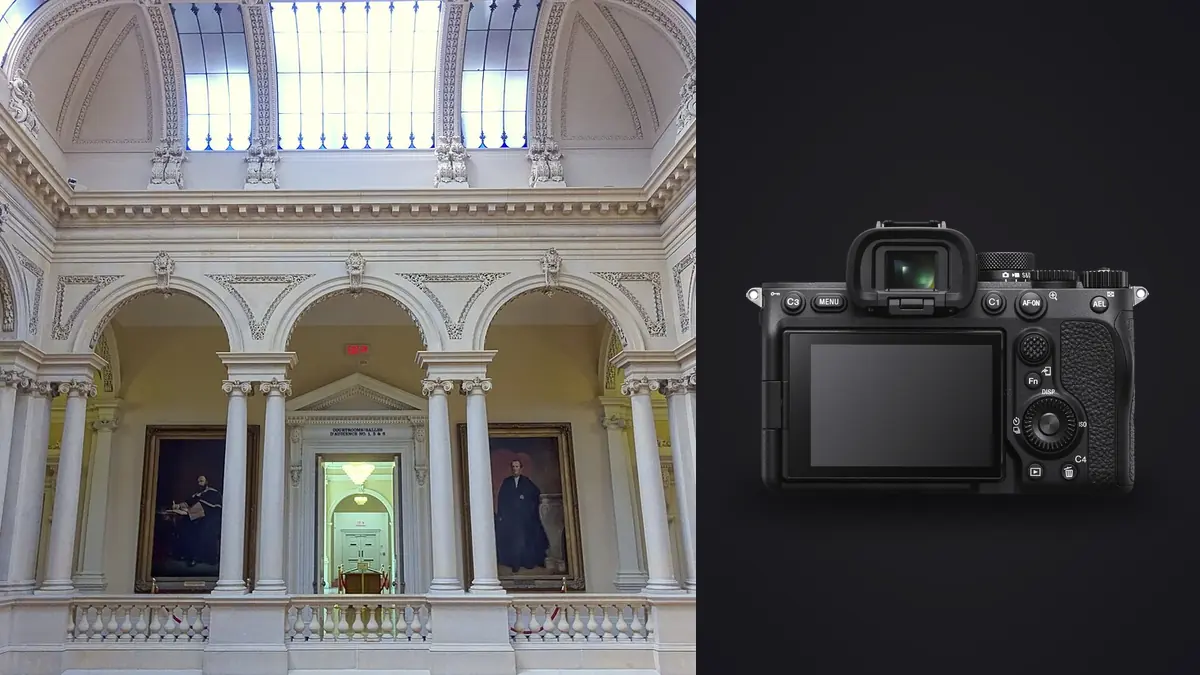
I've shot somewhere around forty interior and architecture jobs with a Sony A7 IV over the last two years, everything from a single-room Airbnb refresh to a six-story mixed-use building where the developer wanted every unit type documented before handover. Sony doesn't market the A7 IV as an architecture camera the way it positions the A7R V, and it's clearly built as a stills-and-video hybrid first. But the parts of the spec sheet that actually matter for this kind of work, the 33-megapixel sensor, the usable dynamic range, a genuinely silent electronic shutter, and a couple of modes most owners never touch (Pixel Shift Multi Shooting, focus bracketing), line up better with interiors than I expected when I switched over from an older A7 III body. This isn't a spec rundown. It's what changed in the actual workflow, and where the camera still makes me work around it.
Dynamic range and the window-pull problem
Every interior job eventually runs into the same fight: a room lit at maybe 200 lux next to a window showing a exterior that's several stops brighter. Expose for the room and the window blows out to a white rectangle. Expose for the window and the room goes muddy. At base ISO 100 the A7 IV's sensor gives me enough shadow recovery that a single well-exposed RAW gets me most of the way on a cloudy day, but on anything with direct sun through glass I still bracket. My default is three frames at 1.7 EV apart, sometimes five on a job with a lot of contrast, metered so the brightest frame just holds detail in the sky outside the window rather than trying to save it in post.
Sony rates the sensor around 15 stops. In practice, once I push shadows more than about 4 stops to match a highlight-protected exposure, banding and noise show up in flat wall areas, especially under LED panel lighting that isn't perfectly flicker-free. That's not a knock on the camera, it's just why I still bracket instead of trying to pull one exposure to cover everything. For a straightforward living room with even light, one frame is genuinely enough.
Lens choices, and living without a native tilt-shift
Sony has never shipped a native E-mount tilt-shift lens, which matters more for architecture than almost any other genre. My working setup is a 16-35mm f/2.8 GM on the body for most rooms, and a 12-24mm f/2.8 GM for tight kitchens, stairwells, and anything under about 10 feet of ceiling height. Both are sharp corner to corner stopped down to f/8 or f/11, which is where I shoot the vast majority of interior frames anyway.
For converging verticals, I lean on the electronic level in the EVF to keep the sensor plane parallel to the wall before I press the shutter, which avoids most of the correction I'd otherwise need. When I do need shift capability, usually on tighter exterior facades where I can't back up far enough, I carry a Laowa 15mm f/4.5 Zero-D Shift in native FE mount. It's manual everything, but it's the closest thing to a real perspective-control lens Sony shooters have without adapting a Canon TS-E, and it avoids the resolution loss you get from digitally stretching a wide-angle frame to fix bowed verticals after the fact.
Pixel Shift Multi Shooting for texture-heavy detail
This is the feature I didn't expect to use much and now use on nearly every commercial job. Pixel Shift Multi Shooting fires a 16-shot burst, moving the sensor by half-pixel and one-pixel increments between frames, and merges them in Imaging Edge Desktop into a single composite with roughly six times the resolution and far cleaner color detail than a standard RAW. For stone countertops, tile patterns, wood grain on millwork, anything a client wants blown up on a lobby wall or a marketing board, the difference is obvious at print size.
The catch is that it only works on a locked-off tripod with nothing moving in frame. A curtain shifting in an HVAC draft, a plant leaf, even a slow ceiling fan wrecks the composite with ghosting. I reserve it for detail shots specifically, never for full-room compositions where I can't control every element for the two or three seconds the burst takes. The resulting TIFF files also run well over 150MB each, so I shoot maybe six to ten of these per job rather than making it my default capture mode.
Focus bracketing for foreground-heavy compositions
A lot of interior work involves a strong foreground element (a dining table setting, a reading chair, a kitchen island) with the rest of the room falling away behind it. Shot wide open that foreground pops but the room goes soft, which reads more like a lifestyle shot than an architectural one. The A7 IV's focus bracketing mode lets me set a step width and frame count and it walks focus through the scene automatically, typically eight to twelve frames for me at f/4 to keep some background separation in the final blend rather than the flat everything-sharp look you get shooting at f/16 with a single frame. I stack these in Photoshop or Helicon Focus afterward. It adds maybe ninety seconds per composition on site, which is cheap compared to the difference it makes in the final image.
Staying invisible in occupied spaces
Real estate and interiors work often happens with the client, a stager, or office staff still in the building. The A7 IV's fully silent electronic shutter mode has changed how I shoot those jobs more than any lens has. No mirror slap, no shutter clack, which matters a lot when you're on your fourth take of a conference room and someone's on a call two doors down. The tradeoff is rolling shutter: anything moving through frame at speed, a door swinging, someone walking past a doorway in the background, can skew. For rooms with any motion I switch back to the mechanical shutter for those specific frames and stay electronic for everything static, which covers most of a typical shoot.
Matching RAW format to the shot
Sony gives three RAW compression options on the A7 IV, and which one I pick depends entirely on what the frame is for. Here's roughly how the buffer and file sizes play out in practice, shooting a CFexpress Type A card in slot one versus a UHS-II SD card:
| RAW setting | Approx. file size (33MP) | Buffer depth, CFexpress Type A | Buffer depth, SD UHS-II | When I actually use it |
|---|---|---|---|---|
| Compressed RAW (14-bit) | 35-40MB | 800+ frames | ~120 frames | General walkthroughs, single-frame rooms, anything not bracketed |
| Lossless Compressed RAW | 55-65MB | ~300 frames | ~45 frames | Exposure brackets for window-pull rooms, print-bound work |
| Uncompressed RAW | 65-75MB | ~90 frames | ~28 frames | Rarely, mostly when a retoucher on the client side specifically asks for it |
| Pixel Shift (16-shot composite) | 150-220MB TIFF after merge | n/a, burst then off-camera processing | n/a | Static texture detail: flooring, stone, tile, millwork for large-format print |
The SD-only buffer numbers are the reason I stopped shooting purely on SD cards for bracket-heavy jobs. Five-frame brackets across a dozen rooms with a slow card meant waiting on the buffer to clear between rooms, which adds up over a full-day commercial shoot.
Getting through the take without losing the afternoon
Bracketing multiple exposures per room across a large property adds up fast. A twelve-room house shot with three-frame brackets, a handful of focus-bracket stacks, and a few Pixel Shift detail sets easily lands at 500 to 700 files by the end of the day. Sorting that manually, matching bracket sets, checking which frame in each set is actually sharp, used to eat a couple of hours every night.
I now run the day's card through imagic before anything touches Lightroom. It scores sharpness locally on the RAW files themselves, which catches the one frame in a bracket set where a gust moved the curtain or a heavier truck rattled the floor enough to soften a slow shutter frame, something that's easy to miss scrubbing through thumbnails at the end of a twelve-hour day. It also clusters the bracket sequences and near-duplicate frames together instead of leaving me to eyeball which five files belong to which exposure blend, and because it runs entirely on the laptop rather than uploading anything, there's no version of an unlisted property's photos sitting on a server somewhere before anyone has seen them. For anyone building out a culling pass on a similarly bracket-heavy workflow, how AI photo culling actually works covers the sharpness scoring side of this in more depth than I can here.
The other piece that's saved real time is imagic's apply_my_style preset, trained on my own previously graded architecture files rather than a generic preset pack. It gets a full room set to roughly 80% of my finished look before I touch a slider, which matters when a job has forty final images due back to a designer in two days. I still hand-finish the hero shots, but the base pass on the rest of the set used to be the part of the night I dreaded most. If you're trying to shave time out of a similar RAW-heavy pipeline generally, these workflow adjustments pair well with tightening the culling step specifically.
Cards, battery, and site reliability
The dual slots (CFexpress Type A in one, SD UHS-II in the other) mean I run CFexpress as the working card for buffer speed during bracket bursts, with the SD card set to simultaneous RAW backup. Losing a card mid-shoot on a commercial job with a hard access window isn't a risk worth the savings of running a single card. Battery life on the NP-FZ100 is rated around 520 shots but I get noticeably less on interior jobs specifically, because I'm chimping the histogram on nearly every bracket set to confirm the highlight exposure before moving on. Three batteries gets me through a full day comfortably, or I tether a USB-C power bank when I know I'm shooting a large property with tight scheduling and no time to swap batteries between rooms. Weather sealing has mattered more than I expected on active renovation sites with dust and drywall debris in the air, less so on finished, staged interiors.
Color under mixed lighting
Most interiors mix daylight through windows with tungsten fixtures and LED can lights, sometimes three different color temperatures in one frame. Shooting RAW makes this non-destructive, but I still set a custom white balance off a grey card at the start of a job rather than trusting auto white balance across a whole property, because AWB drifts noticeably room to room and that inconsistency is obvious once a designer lines up twelve room shots side by side in a deck.
Frequently Asked Questions
Do I need a tilt-shift lens for the Sony A7 IV, or can I fix converging verticals in post?
For most interior work, keeping the sensor level with an electronic level and correcting mild convergence in post is fine, and it's what I do on the majority of rooms. For exterior facades or anywhere you can't back far enough away, a manual shift lens like the Laowa 15mm Zero-D Shift avoids the resolution loss that comes from stretching a wide frame digitally to straighten hard convergence.
Is 33 megapixels enough resolution for architectural prints?
For anything up to roughly a 24x36 inch print at standard viewing distance, yes, comfortably. Where I've needed more is large-format lobby prints or heavily cropped detail shots, and that's specifically where Pixel Shift Multi Shooting earns its place rather than switching to a higher-resolution body.
How many bracketed exposures does a typical room actually need?
Three frames at roughly 1.7 EV apart covers most rooms with a window in frame. I only go to five brackets on scenes with direct sun hitting the glass, where the gap between the darkest interior shadow and the brightest exterior highlight is too wide for three exposures to bridge cleanly.
Does the silent electronic shutter actually stay silent during occupied shoots?
Yes, fully, there's no audible click at all in full electronic shutter mode. The tradeoff is rolling shutter distortion on fast-moving subjects in frame, so I switch to the mechanical shutter for any composition with people or moving elements and keep electronic for static rooms, which is most of a typical shoot.