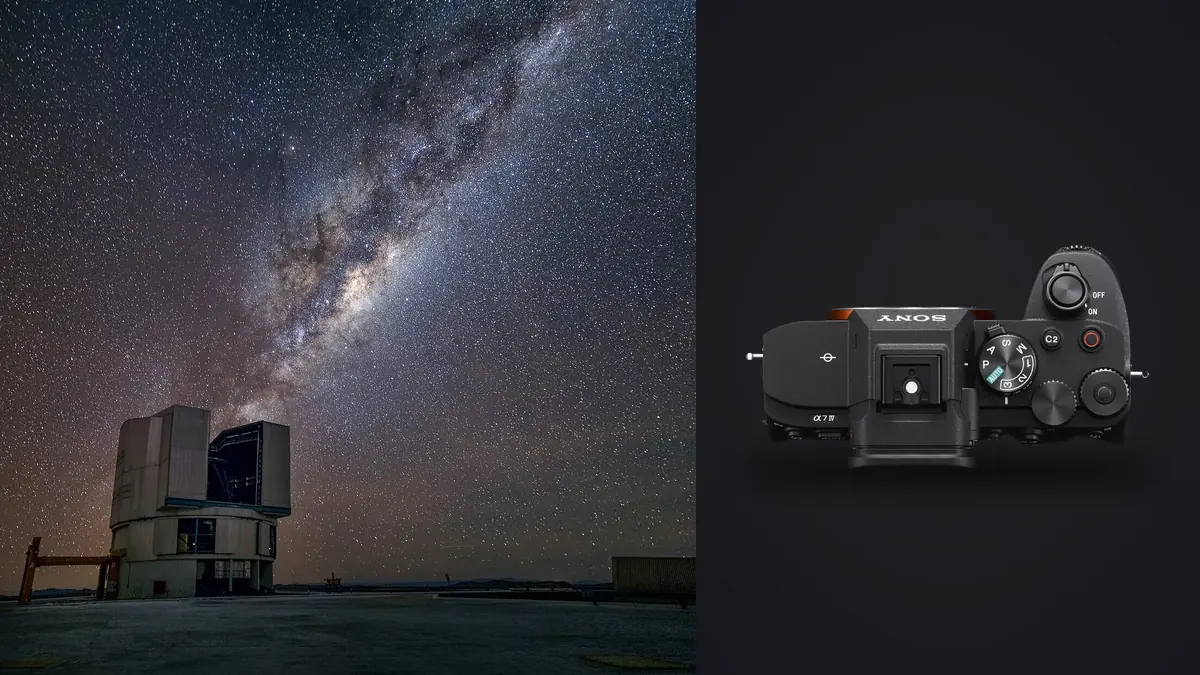
A productive Sony A7 IV night session is designed on a map before it is refined in a camera menu. The lens determines how much sky and foreground can coexist, the location determines darkness and safety, and the date determines whether the moon helps reveal the landscape or competes with faint stars. Exposure settings come after those constraints.
This Lens and Location Guide covers untracked nightscapes, tracked wide-field frames, star stacks, and foreground layers. It avoids one exposure formula because focal length, sky brightness, tracking, temperature, and desired star shape differ. Use current Sony and lens documentation for camera-specific limits, then test the entire capture and processing route close to home.
Match foreground scale to the planned camera position
Stand at the exact tripod point in daylight and compare how each lens changes the relationship between foreground and sky. An ultra-wide lens can make a nearby rock dominant while shrinking a distant ridge. A moderate wide can give the Milky Way more presence but may require more room behind the camera. A telephoto alignment needs precise distance and timing.
Check whether the ideal frame requires stepping into traffic, water, private land, unstable ground, or protected habitat. If it does, change the composition rather than the safety boundary. Record a lawful fallback position and the lens that serves it.
Use a simple daytime reference image and compass direction to rebuild the view after dark. Note headlamp spill, passing vehicles, visitor paths, and any foreground that can move in wind. Mark tripod leg positions only where removable markers are permitted, and leave no trace after departure. Carry those references offline. These details determine whether a stack remains coherent.
Write the sky subject before choosing a lens
Name the intended subject precisely: Milky Way core above a ridge, full arch over a valley, a constellation with a building, meteor shower radiant, star trails around a celestial pole, tracked nebula region, or moonlit landscape. Each has a different orientation, field of view, and timing. A general goal of photographing stars is too vague to guide equipment.
Use a reputable planning application or ephemeris to estimate sky position, astronomical darkness, moon phase, moon direction, and rise or set time for the date. Treat the simulation as a starting point. Terrain, buildings, trees, haze, and local light can block or alter the predicted view.
Plan a fallback facing another direction or emphasizing foreground. Thin cloud may hide faint structure but produce dramatic moonlight. A rising moon can end one sky sequence and begin a landscape session. The trip need not fail because one composition becomes unavailable.
Assign wide, normal, and telephoto lenses distinct roles
An ultra-wide lens includes a large sky region and makes foreground placement demanding. It suits arches, close rock shapes, and narrow viewpoints, but distant mountains shrink and edge stretching becomes visible. Check corner star shape, flare, filter compatibility, and whether the foreground can remain outside the most distorted edges.
A moderate wide or normal prime can give the Milky Way core, constellation, or foreground structure more presence. It may require a panorama for a broad scene and allows less untracked exposure time before star motion becomes visible. This range often balances portability with a clear subject.
A telephoto isolates sky detail, moon alignments, distant ridges, and small tracked targets. It magnifies tracking error, atmospheric shimmer, tripod vibration, and focus drift. Choose it only when the target scale and support justify the additional difficulty. Carrying one lens for every theoretical subject usually reduces attention to the planned one.
Scout darkness and access separately
A dark-sky map describes modeled sky brightness, not safe access or a clear horizon. Visit in daylight. Confirm parking, closing times, gates, permits, private boundaries, trail condition, livestock, cliffs, water, tide, and reliable landmarks. Download offline maps and tell a responsible person the route and return time.
Stand at the exact tripod position and check foreground scale with the intended focal length. Mark north and the target direction. A beautiful viewpoint can be unsuitable if a tree blocks the core or road headlights sweep the foreground. Note where other visitors may walk through the frame.
Use dim, considerate lighting and follow site restrictions. Do not illuminate wildlife, enter protected habitat, climb structures, or leave a path merely to match a planning overlay. Red light can also disturb people and animals; use only what is necessary.
Use moonlight as a design variable
A dark moonless period can reveal fainter stars but leave the foreground dependent on twilight, artificial light, or a separate long exposure. Moonlight can describe terrain naturally and reduce the tonal gap between sky and land, while also lowering contrast in the sky. Decide which part of the picture needs help.
Moon direction matters as much as phase. Side light reveals texture, backlight can outline a ridge, and front light can flatten shape. A low moon may introduce long shadows and flare. Include it in the planned camera orientation, not only as a calendar icon.
If combining sky and foreground made at different times, keep the result temporally and spatially plausible, and disclose composite methods where context requires it. Do not move a moon or sky feature into a position it never occupied if the image is presented as documentary.
Plan for cloud, wind, humidity, and dew
Compare several weather sources and observe trends rather than trusting one icon. High cloud can soften stars, low cloud can reflect urban light, and clear humid air can create rapid dew. Wind affects tripod stability and can turn foliage into a different foreground between stack frames.
Carry a hood, clean cloths, weather protection, and a tested dew heater when conditions warrant it. Route heater and power cables without pulling the lens or entering the frame. Check the front element periodically with a dim light; dew often appears gradually and ruins a sequence before it looks obvious on playback.
Allow cold equipment to acclimatize inside a closed bag when returning to warm humid air. Keep spare batteries protected and confirm any external power arrangement. Weather sealing is not permission to expose open ports, adapters, or power connections carelessly.
Choose tripod, head, and tracker as one system
A stable tripod should place the camera at the intended viewpoint without an extended center column or overloaded head. Use thicker leg sections first, hang nothing that swings in wind, and prevent straps from touching the support. Make sure adjustment controls can be operated with gloves.
A tracker follows the sky, so the land will move relative to the stars. Plan separate sky and foreground frames when both must be sharp. Check payload, balance, polar alignment visibility, mounting plate clearance, and whether the tripod remains stable at the planned camera angle.
Test alignment and a complete tracked sequence before traveling. A tracker adds setup time, batteries, and another failure point. It is valuable when it serves the target, not merely because it is advanced equipment.
Establish focus without trusting an infinity mark
Use manual focus and magnify a bright star near the intended composition. Adjust for the smallest, highest-contrast point, then check stars away from center. A lens can show field curvature or corner behavior that makes one focus position a compromise. Stop down only after comparing actual files.
Tape or a focus lock can guard against a loose ring but does not prevent temperature-related drift. Recheck after the lens cools and during long sequences. Avoid gripping the focus ring while changing composition or fitting a heater.
For foreground layers, choose a separate focus distance based on the nearest important object and desired depth. Do not assume a sky-focused frame will make a close rock sharp. Record the focus change and return carefully if another sky series follows.
Design the capture sequence before darkness
Set a consistent manual exposure and fixed white balance for frames intended to stack together. Choose shutter time by focal length, star-shape tolerance, and whether the mount tracks. Choose aperture from light gathering, corner rendering, and depth needs. Set sensitivity after those choices and inspect the histogram without expecting it to resemble a daylight frame.
Plan the number and cadence of sky frames according to the stacking method, then add foreground, dark, or calibration files only when the chosen process uses them. Disable long-exposure processing that would create unwanted gaps in a time-critical sequence, if appropriate to the method. Confirm current camera behavior in Sony's guide.
Make a slate or voice note when exposure, focus, lens, tracker, or composition changes. Test one complete group early and inspect magnified stars, foreground, corners, and dew. A long sequence should not begin until the short one is technically coherent.
Separate sky, foreground, and panorama decisions
A fixed tripod stack aligns the moving sky and may require masking against the stationary land. A tracked sky changes that relationship more strongly. A separately exposed foreground can solve depth and brightness but creates responsibility to preserve viewpoint and plausible timing.
Panoramas add overlap, parallax, horizon leveling, moving stars, and changing light. Rotate around a sensible point, lock exposure and focus for each row, and leave generous overlap. Make an additional single-frame composition in case the stitch fails.
Decide the ethical presentation before processing. A fine-art composite can combine layers openly, while scientific or documentary use may require a continuous exposure record. Capture notes make that distinction defensible later.
Prepare an ARW review and stacking route
The A7 IV records Sony ARW files, which imagic supports. After verified copies, scan before analysis. Local scoring can help remove obvious technical failures and group similar frames, but imagic does not align or merge star stacks. Its culling status does not delete originals.
Review every intended stack for aircraft, satellites, cloud, dew, bumped framing, hot pixels, and focus drift. A high technical rank cannot tell whether a frame aligns cleanly with its neighbors. If a saved score appears wrong, check freshness and reanalyze stale items because reselecting only ranks stored values.
Use the desktop overview for the local, non-destructive workflow and the camera hardware guides for related kit planning. Export applies stored edits, while alignment, stacking, and panorama assembly remain separate specialist stages.
Frequently Asked Questions
What lens should a Sony A7 IV use for the Milky Way?
Choose from the intended composition and location. Ultra-wide lenses include more sky, moderate wides give the core more presence, and longer lenses require tighter tracking and framing control.
Does a dark-sky map guarantee a clear night location?
No. It does not confirm access, horizon obstruction, weather, local lighting, tide, terrain, or safety. Scout the exact position in daylight and prepare a fallback.
Can imagic stack Sony ARW night frames?
No. It can assist local technical review of supported ARW files, but star alignment, compositing, and panorama stitching require dedicated tools and human inspection.