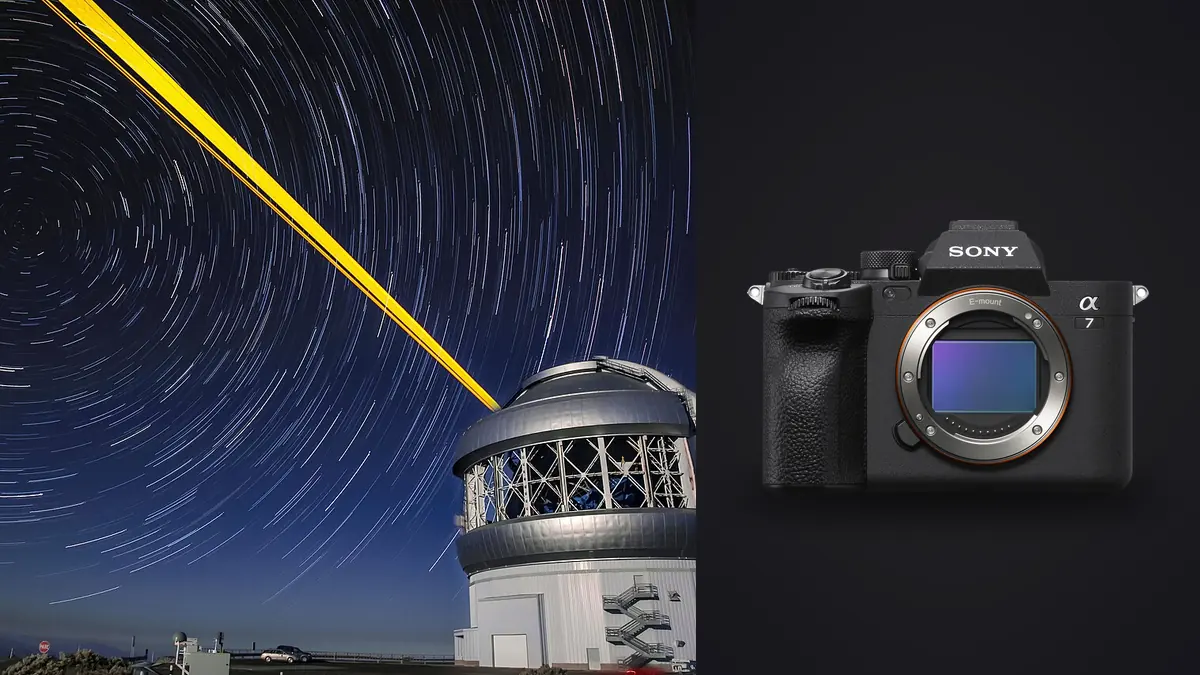
I've taken the A7 IV out for eleven separate night sessions over the past year, mostly chasing Milky Way core shots between April and September and a couple of winter star-trail attempts when the humidity cooperated. It is not a dedicated astro camera and Sony never marketed it as one, but the 33-megapixel sensor, the fully articulating screen, and the in-camera interval function make it a genuinely workable tool for star stacking once you understand where its limits actually sit.
This isn't a spec sheet regurgitation. It's what I've settled on after burning through a lot of wasted battery cycles and a few nights where I got home and found half my subs were unusably soft. If you already own an A7 IV and want to get into stacked Milky Way or star-trail work, or you're deciding whether to buy one for that purpose, this should save you some of that trial and error.
The 33-Megapixel Problem Nobody Tells You About
Every star photography guide on the internet quotes the "500 rule" (500 divided by your focal length equals your maximum shutter speed before trailing). That rule was worked out on cameras with much larger pixels than the A7 IV has, and it shows the moment you pixel-peep a frame from this sensor. At 33 megapixels the photosite pitch on the A7 IV is around 5.4 microns, noticeably tighter than the 24MP A7 III it replaced. Tighter pixels resolve star trailing at shorter exposure times, so a "safe" 20-second exposure at 20mm on an old A7 III can show visible elongation on the A7 IV at 100% crop.
In practice I stopped trusting the 500 rule entirely and just shot test frames, chimped them at full magnification on the rear screen, and adjusted down until the stars stayed round. Here's roughly where I've landed for untracked, static-tripod shooting with this body:
| Focal length | 500 rule says | What I actually use (A7 IV) | Notes |
|---|---|---|---|
| 14mm | ~35 sec | 10-12 sec | Corners still show mild elongation past 13s on my copy |
| 20mm | ~25 sec | 7-9 sec | Sweet spot for Milky Way core framing |
| 24mm | ~20 sec | 6-7 sec | Where most of my keeper frames come from |
| 35mm | ~14 sec | 4-5 sec | Needs a lot more subs to reach clean noise levels |
| 50mm | ~10 sec | 2.5-3 sec | Basically requires a tracker to be worth the effort |
Those numbers aren't a formula, they're what stayed round through a loupe on my screen with my specific lenses. Yours will shift a little depending on how far from the celestial pole you're pointed and how strict you are about pixel-level sharpness versus a print or web-sized export. But the direction of the correction (shorter than the classic rule suggests) is consistent and it's the single biggest adjustment I had to make coming from a lower-resolution body.
My Actual Field Settings for the A7 IV Under Real Skies
For a static tripod Milky Way session I'm usually at f/1.8 or f/2 on whatever fast wide prime I've brought, ISO 3200 as a starting point, and shutter speed set from the table above. I shoot in manual focus, use the Bright Monitoring function to lift the live view gain so I can actually see stars on the LCD, then punch in with the magnifier to the brightest star I can find and turn the focus ring until it's a tight point rather than a smeared blob. Autofocus simply doesn't have enough to grab onto in a dark sky, even with an f/1.8 lens.
White balance I leave on a fixed daylight-ish value (around 3800-4200K) rather than auto, because auto white balance will drift from frame to frame under a dark sky and that inconsistency becomes visible once you stack and stretch the image. Shooting raw makes the in-camera white balance mostly a monitoring convenience rather than a hard decision, but consistency across the sequence still matters for how the stacking software's alignment and averaging behaves.
For the actual capture sequence I use the camera's built-in interval shooting function rather than an external intervalometer. It's tucked into the shooting menu, lets you set shot count, interval, and exposure length, and just runs. I typically set it for 60-120 frames depending on how much of the night I have left and how the histogram looks on a test shot. That's usually enough raw material to get a genuinely low-noise stack without babysitting a cable release for two hours in the cold.
Tracked vs Untracked: Two Very Different Shooting Nights
On a Star Tracker
When I bring a small tracker (I've been using a Star Adventurer 2i, nothing exotic), the whole calculus changes. Exposures stretch out to 60-120 seconds at ISO 800-1600, and because the mount is compensating for Earth's rotation, the pixel-pitch trailing problem above mostly goes away for the stars, though foreground elements now blur if they're in frame. I turn image stabilization off entirely on the lens and body in this mode. In-body stabilization fighting a slow, deliberate tracking motion has given me soft frames more than once before I learned to just disable it.
Polar alignment through the tracker's own scope gets you close, but I always shoot a longer test frame afterward and check for any drift or comma-shaped stars in the corners before committing to a full sequence. A tracker session usually nets me 20-40 usable subs rather than 100+, but each one carries far more signal, so the final stack needs less brute-force frame count to look clean.
Off the Tracker, Wide and Fast
Without a tracker I lean into volume. Shorter exposures per the table above, more of them, higher ISO to compensate. This is where the A7 IV's noise floor actually matters. I don't push past ISO 6400 for stacked work because read noise starts eating into shadow detail in a way that stacking can't fully rescue, even across 100 frames. ISO 3200 to 4000 is my usual working range, occasionally down to 2000 on a clear moonless night with no light pollution nearby.
Files, Cards, and Not Losing a Night's Work
The A7 IV gave me the option of lossless compressed or fully uncompressed raw, and for star stacking I shoot lossless compressed. Uncompressed files are noticeably larger for essentially no visible gain in the shadow detail that stacking software is going to be pulling out anyway, and when you're generating 100+ frames in a session, file size adds up fast on card space and on later processing time. A 120-frame sequence in lossless compressed raw runs somewhere around 4-5GB depending on scene detail, which is manageable even on a long trip.
Both card slots on the A7 IV take CFexpress Type A or SD UHS-II, and I run the second slot as a backup copy rather than a raw/JPEG split for astro work. There's no JPEG use case here. Losing a card after a three-hour session in the cold and dark is exactly the kind of thing that makes backup-copy mode worth the extra card cost.
Culling 200 Subs Before You Even Open a Stacking App
Here's the part that took me longest to get disciplined about. A star-stacking sequence isn't like a normal shoot where you pick your best three frames. You need most of the sequence to actually be usable, because stacking software averages or aligns based on what you feed it, and a handful of bad frames mixed into 100 good ones can drag down the whole result or, worse, produce visible stacking artifacts if a satellite trail or a gust of wind blurred a frame that gets included.
I run every session's folder through imagic before it goes near a stacking app. Its local sharpness scoring flags the frames where focus drifted (this happens more than you'd think, especially with focus-by-wire lenses that creep slightly as the barrel cools) or where a breeze nudged the tripod mid-exposure. Those get pulled before they ever reach DeepSkyStacker or Sequator. It runs entirely on my machine, which matters more for astro sequences than for regular shoots since I'm often working somewhere without a signal at all, and I'm not interested in uploading 5GB of raw files to anyone's cloud service to get a sharpness pass done. The culling process itself works the same way it does for any other shoot, it's just being pointed at a folder of near-identical star fields instead of a wedding or a portrait session.
The other habit that's saved me time is doing a quick pass immediately after the session, while I still remember which frames I saw plane or satellite trails on live, rather than waiting until I'm back at a desktop days later trying to spot a faint diagonal line across a dark sky at thumbnail size. A faster first pass through the raw folder, even a rough one, means fewer surprises when you actually load the stack. That's really just an application of a habit that pays off across any high-volume shoot, not something unique to astro.
Stacking and the Post-Process Chain
Once the sequence is culled down to genuinely usable frames, the stacking itself happens outside imagic, in dedicated software. I use Sequator for quick Milky Way stacks when I want speed, and DeepSkyStacker when I want more control over the calibration frames (darks, flats, bias) for a cleaner result. Both handle the A7 IV's raw files without complaint, though I always let Adobe or the stacking tool's own raw engine do the initial decode rather than relying on in-camera JPEG previews for anything.
After the stack, I bring the merged file into Lightroom for the actual edit: pulling the Milky Way core contrast, taming green cast in the sky gradient, and balancing foreground exposure if there's landscape in frame. For a series shot across several nights at the same location, I've started using imagic's apply_my_style feature, trained on a batch of my own finished astro edits, to get a consistent starting point across the set rather than re-deriving the same curve and color balance adjustments from scratch every time. It's a starting point, not a finished edit, but it cuts a meaningful amount of repetitive slider-dragging out of a multi-night project.
Mistakes That Cost Me Clean Frames
A few things I've learned the expensive way. Dew is the biggest one: without a lens warmer, I've had entire back halves of sessions ruined by condensation creeping across the front element in under thirty minutes on a humid night, and it's subtle enough on the rear screen that I didn't catch it until I was home reviewing files. Now I run a cheap USB heater band on the lens barrel every time humidity is above roughly 70%.
Second, the fully articulating screen is genuinely useful for awkward compositions pointed near zenith, but I've caught myself leaving it flipped out and glowing at full brightness, which is enough to throw stray light into a wide-angle frame if you're not careful about the angle. I dim it all the way down and angle it away from the lens axis now.
Third, and this one's specific to the sensor: Pixel Shift Multi Shooting looks tempting for a static night scene, but it's built around the assumption that nothing in the frame moves between the four or sixteen shots it captures. Stars move (or rather, the Earth does), so pixel-shift composites of star fields come out with visibly smeared points unless your exposures are extremely short, at which point you've lost the point of the feature entirely. It's a great tool for a static foreground with no sky in frame, not for the stars themselves.
For context beyond the mastering sony a7 iv for astrophotography star stacking guide focus in entry 96, continue with desktop editor overview. These resources connect the subject to a practical local review process.
Frequently Asked Questions
Does the Sony A7 IV need an astro modification for Milky Way shots?
No, and I've never modified mine. A stock A7 IV captures a solid Milky Way core with visible dust lanes and color variation at the settings above. Where a modified sensor (with the internal IR-cut filter removed or swapped) pulls ahead is in deep-red hydrogen-alpha emission nebulae, which render noticeably weaker on any stock camera including this one. For core-and-foreground Milky Way work, which is most of what people are shooting, the unmodified sensor is genuinely fine.
What ISO should I actually use on the A7 IV for star fields?
I stay in the ISO 2000-4000 range for untracked wide shots and drop to ISO 800-1600 when I'm on a tracker with longer exposures available. Past ISO 6400 the shadow noise gets aggressive enough that even a large stack of frames struggles to fully clean it up, so I'd rather add more subs at a moderate ISO than push the ISO dial and rely on stacking to save me.
Is Pixel Shift Multi Shooting any use for star photography?
Not for the stars themselves, no. It's designed around a completely static scene across multiple sequential exposures, and stars shift position (from Earth's rotation) between those exposures at any meaningful shutter speed. You'll see smearing on point sources. It can be useful for a static, unmoving foreground element shot separately from your sky frames, but treat it as a landscape tool here, not a night-sky one.
How many subs do I actually need to stack for a clean result?
It depends heavily on whether you're tracked or not. Untracked at ISO 3200-4000 with 6-9 second exposures, I generally want 60 or more frames to get noise down to a level I'm happy printing large. On a tracker with 60-120 second exposures, 20-30 frames often gets me there because each individual sub already carries much more signal. The honest answer is to shoot more than you think you need, since a culling pass afterward is going to remove some fraction of the sequence anyway.