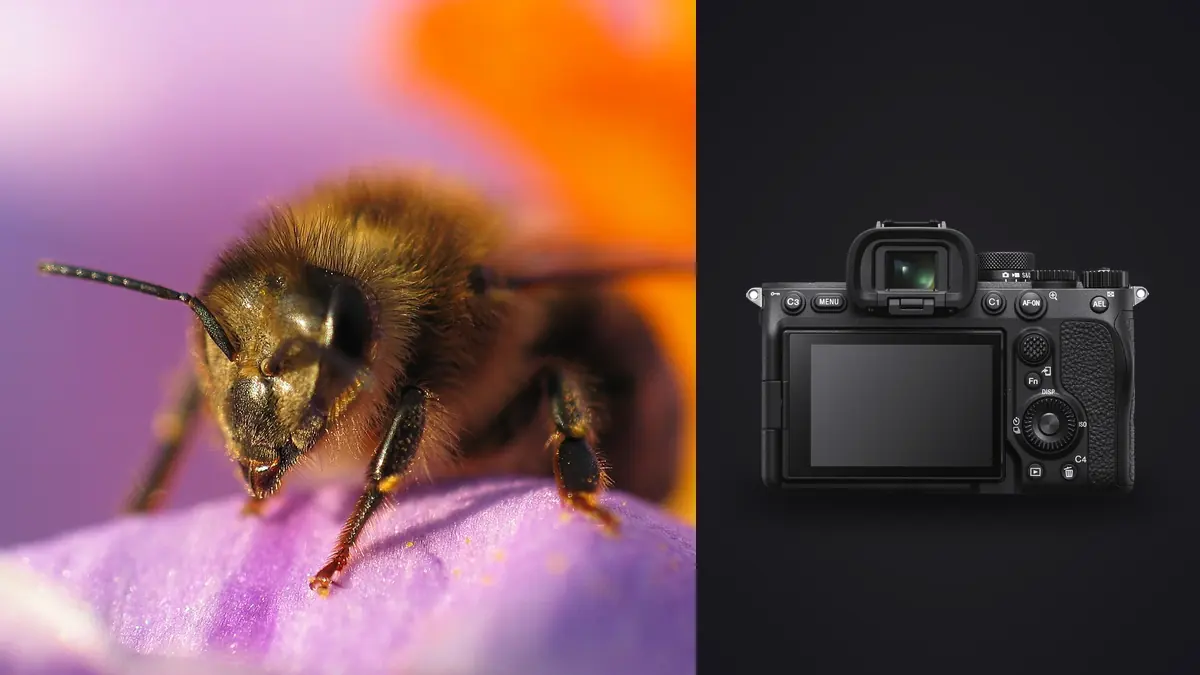
Late June, a farm pond about forty minutes from home, and I'm on my knees in wet grass trying to get level with a female broad-bodied chaser that has landed on a reed and, for once, isn't twitching her wings every half second. This is the kind of moment that makes or breaks a macro session: you get maybe three seconds before the insect either flies, rotates its head, or a cloud moves and the light changes completely. I've been running a Sony A7 IV as my main macro body for about a year and a half now, mostly paired with the 90mm G OSS, and this piece is what I've actually learned pointing that combination at bees, dragonflies, jumping spiders and the occasional very unimpressed hoverfly. It is not a spec sheet rewrite.
What the A7 IV actually gives you for insect work
The 33-megapixel sensor gets talked about mostly in terms of print size or cropping room, and for macro insect photography that second part is the one that matters. A robber fly at true 1:1 magnification still only fills a fraction of the frame if you're working at a safe distance, so having 7008 pixels across the long edge means you can crop in hard during editing and still have enough resolution left for a decent web image or an 8x10 print. I routinely crop 30-40% into a frame of a jumping spider's face and it still holds up.
Where the A7 IV disappoints a little is autofocus behavior on small, fast, erratic subjects. The real-time Eye AF that works so well on birds and mammals mostly ignores insects, or locks onto a leaf edge behind the subject instead. I stopped relying on it for anything smaller than a dragonfly. For bees, wasps, damselflies and smaller subjects I focus manually almost all the time, using focus peaking set to high sensitivity and a fairly saturated peaking color (I use red against green foliage, yellow against darker bark) so I can actually see the plane of focus shift as I rock my body forward and back.
In-body stabilization is the feature that quietly does the most work. Rated around 5.5 stops on paper, in practice at macro distances that number shrinks fast because magnification amplifies any shake, but it still buys enough margin that I can shoot handheld at 1/160s with a diffused flash as fill instead of needing a tripod and remote for every static subject. For anything perched and cooperative, like a resting damselfly early in the morning before it's warmed up enough to fly, I'll still drop to a tripod because the extra stability lets me shoot a tighter aperture without pushing ISO.
Lens choice matters more than the body
I get asked more about lens choice than camera settings, and that's the right question to be asking. The body's sensor and processor are mostly fixed variables; the lens decides your working distance, your maximum magnification, and whether autofocus is even usable.
My default is the Sony FE 90mm f/2.8 Macro G OSS. It autofocuses reliably enough for larger, slower insects (butterflies basking, caterpillars, big beetles), has genuinely useful optical stabilization for handheld work, and the working distance at 1:1 (about 13cm from the front element) is enough to not spook most dragonflies if you approach slowly from an angle rather than head-on. For anything that requires magnification beyond 1:1, autofocus stops being useful anyway, so I switch to manual glass.
The Laowa 100mm f/2.8 2x Ultra Macro APO is the lens I reach for when I actually want 2:1 reproduction, like photographing a jumping spider's eyes or the compound structure on a fly's head. It's fully manual, no electronic contacts, and focusing happens by physically moving the camera rather than turning the ring once you're near maximum magnification, because the focus throw is so long. It's slower to work with but the detail it resolves on the A7 IV's sensor is genuinely a step up from the 90mm at its own 1:1 limit.
For extreme close-ups of very small subjects like ants or springtails, I've used the Laowa 25mm f/2.8 2.5-5x, which is a specialist tool. It's manual only, has a tiny working distance that makes lighting awkward, and the depth of field at 5x is measured in fractions of a millimeter. I don't reach for it often, but nothing else in my bag gets that close.
| Lens | Max magnification | Working distance at max mag | Autofocus | Weight | Best for |
|---|---|---|---|---|---|
| Sony FE 90mm f/2.8 Macro G OSS | 1:1 | ~13cm | Yes, reliable on slower subjects | 602g | Dragonflies, butterflies, general insect macro |
| Sigma 105mm F2.8 DG DN Macro Art | 1:1 | ~11cm | Yes, native E-mount | 710g | Sharper files, static subjects, low-light macro |
| Laowa 100mm f/2.8 2x Ultra Macro APO | 2:1 | ~15cm | Manual only | 638g | Extreme detail on cooperative subjects |
| Laowa 25mm f/2.8 2.5-5x | 5:1 | ~4cm | Manual only | 360g | Ants, mites, tiny arthropods |
Native AF glass versus manual macro lenses
The trade-off isn't really about sharpness, all four lenses above are capable of resolving more detail than most insect subjects need. It's about hit rate. With the 90mm G OSS on a cooperative bee working a flower, I'll get autofocus lock on maybe 70% of attempts, which for a moving, three-dimensional subject is genuinely useful. With the manual Laowa lenses, autofocus isn't an option at all, so hit rate becomes a function of how steady your hands are and how patient the insect is. I keep both types in the bag and choose based on the subject: skittish and fast means autofocus glass, slow and cooperative means I have the option to go manual for the extra magnification.
Aperture, diffraction, and the depth-of-field problem nobody warns you about
At 1:1 magnification, depth of field at f/2.8 is measured in single-digit millimeters. Shoot a resting dragonfly at f/2.8 and you'll get one compound eye in focus and the rest of the head falling off into blur, which sometimes looks great and sometimes just looks like a mistake. Stopping down helps, but not as much as you'd expect, and it comes with a cost that's specific to high-resolution sensors like the one in the A7 IV.
With a pixel pitch around 3.76 microns, diffraction softening starts becoming visible on-screen at 100% around f/8, and by f/13 or so it's clearly eating into per-pixel sharpness even though the image as a whole still looks fine at normal viewing sizes. My working range for handheld insect macro ends up being f/8 to f/11 most of the time, which is a compromise between usable depth of field and not throwing away the resolution I'm paying for with the sensor. For anything I intend to crop hard, like the jumping spider face shots, I try to stay at f/8 and get my focus plane exactly right rather than stopping down further to compensate for a sloppy angle.
Going to f/16 or beyond is something I only do for stacked images, where diffraction softening in each individual frame matters less because the stacking software is blending sharp regions from many frames rather than relying on any single exposure to carry the whole image.
Light: the part that actually separates good insect macro from average
Natural light macro at dawn is beautiful when it works, but it only works for a narrow window before insects warm up and become too active to approach. For most of a session, I'm using flash, specifically a small twin-flash bracket mounted on the lens hood with two manual heads I can dial independently, usually running around 1/16 to 1/8 power with a diffuser made from a cut translucent food container zip-tied over each head. It's not elegant gear but it produces soft, even light without the harsh double catchlight you get from an on-camera flash straight into a bug's eye.
Freezing wing motion on something like a hoverfly hovering in place needs either a very fast flash duration (manual flash at low power output has a much shorter duration than at full power, which is a useful trick) or high-speed sync at something like 1/2000s with continuous light, which most people don't have in the field. I lean on the low-power-flash-duration trick constantly: dropping a flash to 1/32 power might cost me some reach, but the flash duration shortens to somewhere around 1/20000s, which is what actually stops a wingbeat rather than just blurring it less.
Handheld stacking, and why the after-shoot pile gets out of hand
The A7 IV doesn't have built-in focus bracketing the way some newer Sony bodies do, so for stacked shots of static or very slow subjects I focus-stack manually: lock exposure and composition, then take a sequence of frames shifting focus slightly forward each time, either by turning the manual ring in small increments or, on truly still subjects, using a small macro focusing rail. A single stacked image of something like a resting damselfly's head can easily run to fifteen or twenty individual frames.
The problem this creates is one nobody mentions until they're staring at a memory card: after a two-hour session mixing handheld bursts (chasing a moving bee, firing off six or eight frames hoping one lands in focus) with deliberate focus-stack sequences, you end up with several hundred frames that all look extremely similar at a glance. Sorting that by eye, at full resolution, frame by frame, is the least enjoyable part of macro photography by a wide margin. This is the point in my workflow where I lean on imagic. It scores sharpness locally on the actual focus plane rather than just guessing from thumbnails, which matters a lot here because two frames of the same bee can look identically sharp in a small preview and be very different once you're cropped in on the eye. It also clusters near-identical burst frames together, so instead of scrolling through forty frames of the same dragonfly one at a time, I get them grouped and can pick the sharpest one or two per cluster in a fraction of the time. None of that touches focus-stack sequences themselves (those still need to go into dedicated stacking software), but it's very good at clearing out the handheld chase frames that make up most of a typical outing. It also runs entirely on the laptop, no upload step, which matters when you're culling a card in a parking lot before the light's gone.
If you're new to this kind of high-volume field shooting and haven't thought hard about the culling step yet, it's worth reading through how AI photo culling actually works before you build a workflow around it, since the sharpness-scoring approach behaves differently from the older "detect blur via edge contrast on the whole frame" methods that used to trip people up on subjects with intentionally blurred backgrounds.
Getting a consistent look across a season of bug photos
One thing that took me longer to sort out than the gear itself was color consistency. Insect macro tends to swing between very green, high-chlorophyll backgrounds and much warmer late-afternoon light, and if you're editing each session from scratch you end up with a portfolio that looks like it was shot by three different people. Once I settled on an edit I liked (slightly desaturated greens so they don't compete with the subject, a bit of extra warmth in the insect itself, blacks lifted just enough to keep detail in dark exoskeleton), I used imagic's apply_my_style feature to train that look from a batch of edits I'd already finished by hand, and now new sessions get a consistent starting point applied automatically before I go in and do the close, per-image adjustments that any macro shot with a shallow depth of field usually needs anyway. It's saved a fair amount of the repetitive work, though I'd still call it a first pass rather than a finished edit; insect macro has too much frame-to-frame variation in background color and exposure for any automated style to be the last step.
A practical note on file volume
A three-hour macro outing chasing dragonflies and bees around a pond regularly produces 600 to 900 raw files for me, of which maybe 40 to 60 are actually worth finishing. That ratio isn't a reflection of bad shooting technique, it's just what insect photography looks like: you fire in bursts because the subject won't sit still, and most of those bursts miss focus by a margin that's invisible on the camera's rear screen but obvious at 100% on a monitor. Planning your workflow around that ratio, rather than being surprised by it every time, makes the whole hobby a lot less exhausting. If your current process is dragging you down after every outing, it's worth a look at general habits for speeding up a photo workflow, since a lot of the same principles about batching decisions apply directly to a folder full of near-identical bug frames.
Frequently Asked Questions
Does the A7 IV's Eye AF work on insects the way it does on birds?
Not reliably. It's tuned for vertebrate eyes and will sometimes lock onto a dragonfly's compound eye but just as often grabs a leaf edge or the insect's wing instead. For anything smaller than a large butterfly or dragonfly, manual focus with peaking enabled is more consistent than trusting the subject-detection AF.
What aperture should I actually shoot at for 1:1 macro of bees and dragonflies?
f/8 to f/11 is the practical sweet spot on this sensor. Wider than that and depth of field at true 1:1 becomes too thin to keep even a small insect's head in focus; narrower than about f/13, diffraction starts visibly softening fine detail even though overall exposure and composition still look fine at normal sizes.
Is the in-body stabilization enough to shoot handheld macro, or do I need a tripod?
For moving subjects, IBIS plus a reasonably fast shutter (1/160s or faster) combined with flash as fill is enough to get sharp handheld results most of the time. For static subjects where you want maximum depth of field at a narrower aperture, or for any focus-stacked sequence, a tripod or dedicated macro rail gives more consistent results because it removes body sway between frames.
How many usable frames should I expect from an average insect macro session?
In my experience, somewhere between 5 and 10 percent of frames shot end up being genuinely keeper-quality after a session that mixes handheld chasing with some deliberate stacking. That ratio is normal for the genre and isn't specific to this camera; it's a function of how much insects move and how thin depth of field gets at high magnification.