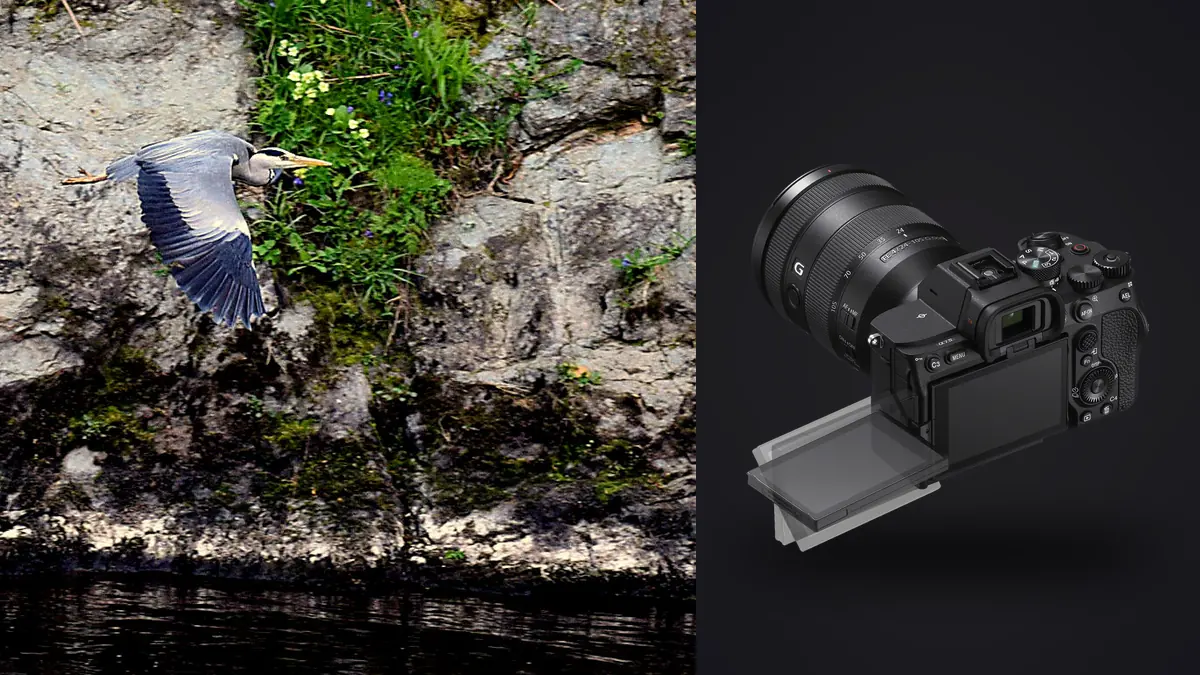
The Sony A7 IV gets recommended for wildlife and birding more often than its spec sheet really justifies, mostly because it is the affordable, in-stock body sitting on the shelf next to the A9 II and the A1. It is a genuinely good camera. It was not, however, designed around the specific problem of tracking a peregrine stooping against a bright sky, and treating it like a wildlife specialist sets people up to blame their own technique for what is actually a hardware ceiling. Here is what the A7 IV actually does well for birds in flight, where it runs out of road, and how to set it up so you are not fighting the camera on top of fighting the bird.
A hybrid body wearing a wildlife hat
The A7 IV runs a 33-megapixel Exmor R BSI sensor through the Bionz XR processor, with 759 phase-detection points spread across roughly 94 percent of the frame. On paper that autofocus coverage sounds like plenty for tracking erratic flight paths, and in open sky it mostly is. The catch is that Sony built this sensor for a body that also has to shoot weddings, 10-bit 4:2:2 video, and studio portraits well. It is not a stacked sensor, which is the design choice that lets the A9 series and the A1 read out a frame fast enough to avoid the skewing and warping you get when a subject moves quickly across the frame during a rolling shutter readout. That single architectural difference explains most of what separates a camera bought specifically for birds in flight from one that can be pressed into service for it.
None of that makes the A7 IV a bad choice. Plenty of published bird photography comes off this sensor. It just means you need to know where the edges are before a fast pass over open water convinces you the gear failed you when it was actually a settings problem.
Setting up autofocus for a bird that will not cooperate
Sony added real-time Bird Eye AF to the A7 IV through firmware version 2.00, released in early 2022, which was a genuinely useful fix since the camera shipped without it. Turn on Subject Recognition, set the subject to Bird (or Animal/Bird, depending on your firmware revision), and let the camera find the eye rather than trying to babysit a single AF point on a subject moving unpredictably in three dimensions.
For the focus area itself, Zone works reasonably well against open sky where there is nothing else in the frame competing for attention. Once a bird is crossing in front of trees, reeds, or other birds, switch to Tracking: Expand Spot and place that spot on the bird before you fire, then let tracking carry it. Back-button focus is close to mandatory here: separating AF activation from the shutter button means a moment of soft focus does not force you to lift off the trigger entirely, you can just keep tracking while you decide whether the frame is worth taking.
Continuous AF drive speed and tracking sensitivity are both worth pulling up from their defaults. On erratic subjects like swallows or terns, I run tracking sensitivity toward the responsive end so the camera commits to a new distance quickly rather than smoothing through it, which matters more here than it would for a slower raptor gliding on a thermal.
The burst number that does not tell the whole story
Ten frames per second is the headline figure, and it is the same whether you are shooting mechanical or electronic shutter, since the A7 IV caps both at that rate. What the spec sheet buries is the buffer. Sony's official numbers assume a fast CFexpress Type A card and are generous for JPEG or compressed RAW. Switch to uncompressed RAW, which some wildlife shooters prefer for maximum recovery latitude on backlit feathers, and real-world testing lands closer to the high double digits before the camera stalls and you are staring at a "processing" indicator while a bird finishes its pass.
The table below is not a full spec dump, it is the handful of numbers that actually change how a flight sequence feels in the field.
| Body | Max burst rate | Sensor readout | Buffer depth feel | Native bird eye AF |
|---|---|---|---|---|
| A7 IV | 10 fps (mech. or elec.) | Non-stacked, slower readout | Deep for JPEG/compressed RAW, shallow for uncompressed RAW | Added via firmware 2.00 |
| A7R V | 10 fps | Non-stacked, higher resolution | Moderate, files are larger so it fills faster | Yes, at launch, newer AI recognition |
| A9 II | 20 fps (elec.) | Stacked, fast readout | Deep enough you rarely think about it | Yes, at launch |
| A1 | 30 fps (elec.) | Stacked, fastest in the lineup | Deep, 50MP files eat cards faster | Yes, at launch |
Card choice changes this more than most people expect. The A7 IV's dual slots both take CFexpress Type A or UHS-II SD, and a UHS-II card that is merely fast enough for stills work elsewhere can noticeably shorten your usable burst length here. If flight photography is the priority, budget for the CFexpress card even though it costs more than an equivalent-capacity SD card.
Rolling shutter: the line nobody puts on a spec sheet
Because the sensor is not stacked, the electronic shutter reads the frame line by line at a speed that is slow enough to matter against fast, straight-line motion. A gull banking hard across the frame, or a fast wingbeat caught mid-stroke, can come out with a subtle skew or a warped wingtip that looks like a focus problem but is not. Mechanical shutter avoids this and costs you nothing in frame rate on this particular body, since both modes top out at 10 fps anyway. My general rule: mechanical shutter for anything with a fast horizontal crossing speed, electronic only when I specifically need silence, such as photographing a nesting bird that is sensitive to shutter noise.
Shutter speed, ISO, and the light you actually get
Most birding happens in the first and last two hours of daylight, which is exactly when you need the fastest shutter speeds and get the least light to support them. For a medium-sized bird like a heron or a gull in a straight glide, 1/2000 sec is a reasonable floor. Fast, erratic fliers such as swallows, terns, or anything chasing insects need 1/3200 to 1/4000 to freeze the wingtips cleanly; anything slower and you will get a sharp head on a motion-blurred wing, which reads as a missed shot even though the subject's eye is technically in focus.
Manual exposure with Auto ISO is the practical way to hold that shutter speed constant while the bird moves between a bright sky and a darker treeline. The 33-megapixel sensor holds up cleanly to around ISO 6400 and is still usable past that with modest noise reduction in post, which buys you real flexibility on an overcast morning. Wide open aperture is standard practice here since most telephoto zooms for this system are not especially fast to begin with, and depth of field at 400-600mm is already thin enough that stopping down rarely helps isolate the subject further.
Lenses that make sense on this body
The FE 200-600mm F5.6-6.3 G OSS is the default recommendation for a reason: it autofocuses fast enough to keep up with the A7 IV's tracking, it is native E-mount so there is no adapter tax on AF speed, and it is light enough to hand-hold for a few hours without a monopod becoming mandatory. The Tamron 150-500mm F5-6.7 Di III VC VXD is the budget-conscious alternative and focuses nearly as well, with a shorter minimum focus distance that helps for perched shots at closer range.
For shooters who already own the FE 100-400mm GM, adding the 1.4x teleconverter is a reasonable move and keeps autofocus speed close to native. The 2x teleconverter is a harder sell on this body specifically, since it drops your effective maximum aperture into territory where the A7 IV's contrast-detection assist (used at the edges of the AF area, outside the phase-detect zone) starts to hunt more in anything but strong light. If your budget stretches to the 400mm F2.8 GM or 600mm F4 GM primes, the extra light-gathering more than compensates for what the sensor itself cannot do, but that is a different budget conversation entirely.
APS-C crop mode for extra reach
Switching to the Super 35mm crop gives you 1.5x additional reach at the cost of dropping to roughly 14.6 megapixels. For a bird that fills a third of the frame at your lens's maximum focal length, that crop can be the difference between a usable image and one you delete on sight. The trade-off is real, though: you are giving up resolution you might want for cropping further in post, and the smaller sensor area pulls in slightly more visible noise at a given ISO. I treat it as a situational tool for when a bird is genuinely too far away, not a default shooting mode.
What a full day of flight shots actually looks like afterward
A single productive session chasing birds in flight with a 10 fps burst can easily leave you with three or four thousand frames, and the honest number of genuinely sharp, well-composed keepers among them is usually under two percent. Most of what you shot is either soft on the eye, mid-blink, clipped by a wing, or a near-duplicate of the frame two positions over in the same burst. Going through that by eye, frame by frame, at the end of a long day outdoors is where a lot of people quietly give up on culling altogether and just dump everything into a folder they never revisit.
This is the part of the workflow where imagic actually earns its keep for this kind of shooting. It scores sharpness and focus locally on the machine, so a 4,000-frame burst session gets ranked by which frames are actually sharp on the eye rather than sharp somewhere in the frame, and it groups near-identical burst frames together instead of making you scroll past forty variations of the same wingbeat one at a time. Because everything runs locally with no upload step, it also does not care whether you culled the set at a campsite with no signal or on a home connection weeks later, which matters more for birding trips than it does for studio work. Once you have picked the keepers, imagic's apply_my_style feature can carry an edit look you built on your own previous wildlife shots across the new batch, so you are not manually rebuilding white balance and contrast on every single accepted frame from scratch.
If you want more detail on how that scoring and grouping actually works under the hood, how AI photo culling works walks through the mechanics. And if flight days routinely leave you with a backlog you dread opening, 10 tips for a faster photo workflow has some more general habits worth adopting alongside a culling tool.
Frequently Asked Questions
Does the Sony A7 IV have bird eye autofocus out of the box?
Not as it originally shipped. Sony added real-time Bird Eye AF through a firmware update (version 2.00) after launch, so as long as your camera is updated, the feature is there. If bird eye tracking seems to be missing or unreliable, check the firmware version before assuming a hardware limitation.
Is 10 fps actually fast enough for birds in flight?
For most flight photography, yes, especially compared to the 3-6 fps most photographers were shooting a decade ago. It is noticeably slower than the 20-30 fps electronic shutter speeds on the A9 II or A1, which matters most on erratic, fast-wingbeat subjects where the gap between frames is more likely to land on a mid-motion blur. For gliding raptors and larger, slower fliers, 10 fps rarely feels like the limiting factor.
What is the best lens to pair with the A7 IV for birds in flight?
The Sony FE 200-600mm F5.6-6.3 G OSS is the most common recommendation because its autofocus speed matches the body well and it is light enough for extended handheld use. The Tamron 150-500mm is a strong budget alternative if the price gap matters more than the extra 100mm of reach.
Should I shoot mechanical or electronic shutter for birds in flight on this camera?
Mechanical, in most cases. Both modes cap at the same 10 fps on the A7 IV, so there is no frame-rate penalty for choosing mechanical, and it avoids the rolling shutter skew that can distort fast-moving wings under electronic shutter. Save electronic shutter for situations where shutter noise itself is the problem, like photographing near a nest.