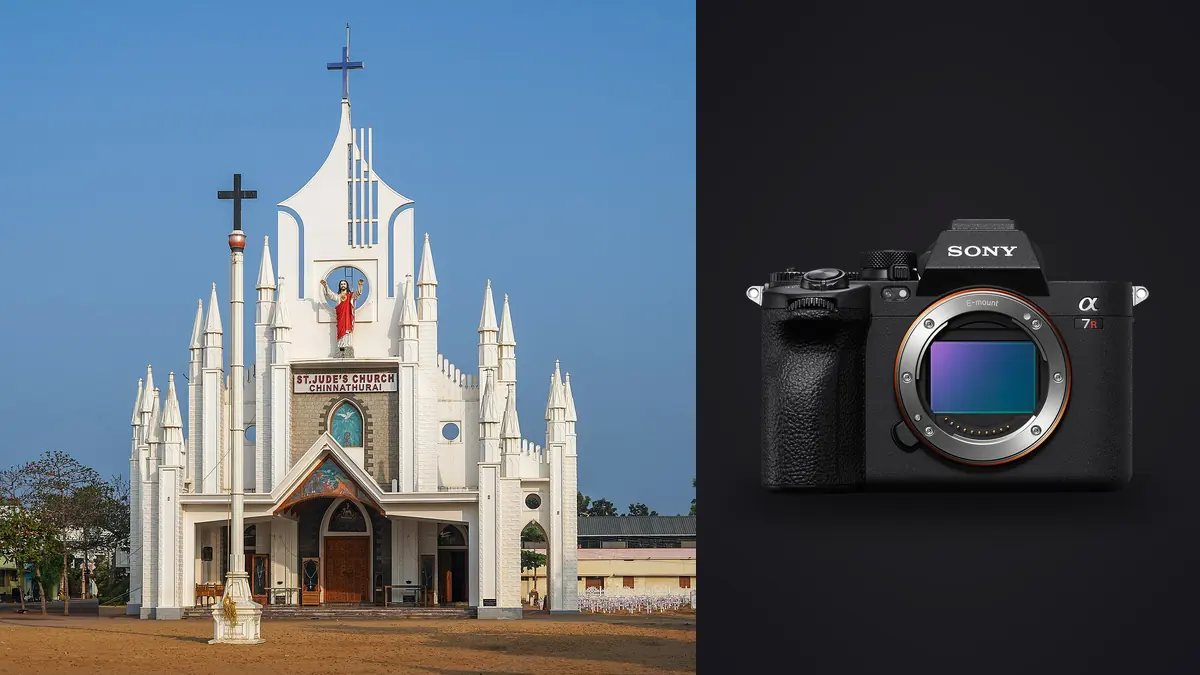
Architectural and interior photography punishes weak gear in a way portrait work never does. A soft corner on a portrait disappears into background blur. A soft corner on a wide interior shot of a stairwell sits right there at eye level, in the print, on the client's website hero image, forever. I've been shooting a Sony A7R V on interior and light-architectural jobs for a bit over a year now, mostly boutique hotels, a couple of residential renovations, and one ongoing relationship with a mid-size architecture firm that wants everything delivered as large-format prints for their office. This isn't a spec sheet rundown. It's what actually matters when you're standing in a hallway at 7am trying to balance a blown-out window against a dim corridor before the cleaning crew shows up and starts moving furniture.
Why 61 Megapixels Changes How You Actually Shoot Rooms
The resolution number gets thrown around as a marketing line, but for interiors it's the one spec that changes how I compose on site. On a portrait job, 24 or 33 megapixels is plenty because the subject fills the frame. On an interior job, you're often stepping back to fit an entire room, which means the details that sell the shot (grout lines, wood grain, the stitching on a sofa) end up as a small fraction of the total pixel count. With the A7R V's 61-megapixel sensor, you can shoot a full room wide and still crop into a tight material detail afterward without anyone noticing it started life as part of a bigger frame. That can save carrying two bodies on smaller shoots.
The tradeoff is real, though. A single uncompressed raw off this sensor runs 120MB or more, and a day of bracketed interior work with a few pixel-shift attempts thrown in can blow past 400GB before lunch. If your laptop is still running a 5400rpm spinning drive or you're ingesting over USB 2, you will feel this camera's resolution as a workflow tax before you feel it as an image quality benefit. Budget for fast card readers and an NVMe scratch disk, not just the camera body.
The Window Problem: Dynamic Range in Mixed Light
Every interior job has some version of the same fight: bright daylight coming through glass, and a room lit two or three stops dimmer by whatever ambient or practical lighting exists indoors. Sony rates the A7R V at roughly 15 stops of dynamic range, and in practice a single well-exposed raw does recover more window detail than I expected coming from an older A7R III. I can often pull back a blown sky through a window and still have usable shadow detail in a hallway corner from one frame.
I still bracket almost every hero shot anyway, usually three to five exposures a stop and a half apart, because a merged HDR gives more room to push the grade later and holds up better in large prints where a viewer will stand two feet from the paper. That habit means a typical room produces fifteen to twenty near-identical raw files by the time you've tried a couple of angles. Sorting those manually gets tedious fast, and it's the one part of this workflow where I lean on imagic's burst and duplicate clustering to group the bracket sets automatically so I'm picking the sharpest frame in each set instead of scrubbing through a folder of visually identical thumbnails one by one.
Tilt-Shift, or the Native Lens Gap Sony Never Filled
This is the part nobody selling you an A7R V mentions upfront: Sony has never made a native E-mount tilt-shift lens. If keystoning correction and plane-of-focus control matter to your architectural work (and for anything beyond quick real estate turnarounds, they should), you're adapting.
Two paths work well in practice. Laowa makes fully manual shift lenses natively in Sony FE mount, the 15mm f/4.5 Zero-D Shift and the 20mm f/4 Zero-D Shift, and because they're mechanical top to bottom (manual focus, manual aperture, manual shift) there's no adapter electronics to worry about. I use the 15mm for tight interiors constantly. The other path is adapting Canon's TS-E lineup, which is still the deepest tilt-shift range on the market (17mm, 24mm, 50mm, 90mm, 135mm). Because TS-E lenses control aperture electronically rather than with a ring on the barrel, you need a "smart" adapter with contacts, something like a Metabones or Sigma MC-11, not a bare mechanical tube, or you'll be stuck shooting wide open.
For quick property shots I'll skip physical shift entirely and correct perspective in Lightroom or Capture One instead. Modern correction tools are genuinely good now. But software correction crops the frame to straighten it, and on anything I'm printing large for a wall, that crop eats into the resolution advantage I bought the 61-megapixel sensor for in the first place. Physical shift stays in the bag for formal work; software correction handles the fast stuff.
| Camera | Resolution | Native tilt-shift path | Claimed dynamic range | Body weight | Approx. body price |
|---|---|---|---|---|---|
| Sony A7R V | 61MP | None native; Laowa FE shift lenses or adapted Canon TS-E | ~15 stops | 723g | ~$3,900 |
| Canon EOS R5 | 45MP | Full EF TS-E lineup via Canon's own EF-RF adapter | ~14 stops | 738g | ~$3,300 |
| Nikon Z8 | 45.7MP | PC Nikkor 19mm f/4E via FTZ II adapter | ~14 stops | 910g | ~$3,700 |
| Fujifilm GFX100S II | 102MP (medium format) | None native; technical camera bodies (Cambo, Arca) only | ~14 stops | 883g | ~$5,000 |
What that table tells me every time I look at it: Canon shooters have the easiest tilt-shift path by a wide margin, because the whole TS-E line adapts natively through Canon's own adapter with full electronic control. Sony shooters trade that convenience for a sharper, higher-resolution sensor and better in-body stabilization. Neither is wrong, but if your work is 80% formal architecture with heavy perspective control, it's worth knowing the A7R V asks you to solve a problem Canon solved for you.
Pixel Shift Multi Shooting: Worth the Hassle Sometimes, Not Always
The A7R V's pixel shift mode fires sixteen frames, shifting the sensor by half and whole pixel increments between each, then hands the set to Imaging Edge Desktop to composite into a single file that can run north of 200 megapixels. I've used it maybe a dozen times in a year, always for the same reason: a lobby or reception space getting printed at a scale where even 61 megapixels starts to show its limits, like a 6-foot wall print for a hotel's own marketing.
It's not a mode you reach for casually. The scene has to be completely static, meaning no moving light, no ceiling fans, no daylight shifting mid-sequence, which in practice means shooting it early morning or with blackout on the windows. The camera has to be locked to a tripod with zero vibration between frames. And the output files are enormous, often 1 to 2GB per composite once you've stitched and flattened. I don't shoot it unless I already know the final use case justifies the file size and the setup time. Before I commit sixteen frames to a stitch, I'll run the burst through imagic's local sharpness scoring first, because the fastest way to waste twenty minutes is compositing a pixel-shift set only to discover one frame in the middle had a half-pixel of camera shake that softened the whole composite.
Handheld Work, the Articulating Screen, and Autofocus You Don't Expect to Need
Not every interior job allows a tripod. Occupied hotel rooms, staged homes with a tight turnaround window, or agents who need you in and out in twenty minutes all push you toward handheld shooting, and this is where the A7R V's in-body stabilization (rated around 8 stops) earns its keep. I can hand-hold a 24mm at a quarter second in a dim hallway and get a usable frame more often than not, which isn't something I'd have attempted on the A7R III.
The four-axis tilting screen matters more than it sounds like on paper. Low floor-level compositions, like shooting up at a stairwell or getting a herringbone floor pattern leading into frame, are far easier to nail with the screen flipped out and angled than by lying on the ground squinting through an eye-level finder. And the AI-driven subject recognition autofocus, which I initially assumed was irrelevant for architecture, turns out to be useful more often than expected on real estate walkthroughs where an agent or homeowner is in frame for scale or lifestyle shots. The camera holds focus on a person while I'm still deciding on the room composition around them.
Cards, Backups, and Not Losing a Shoot Day
Dual slots on the A7R V take either CFexpress Type A or SDXC UHS-II in either bay, which is more flexible than earlier bodies that reserved one slot for the faster format only. I run CFexpress Type A in the primary slot for write speed on bracket-heavy sequences and a UHS-II card in the backup slot set to simultaneous record. Type A cards are pricier and slower than the Type B cards used by some competing systems, which stings a little given how much this sensor produces per frame, but for architecture work you're rarely chasing continuous burst rate the way a sports shooter would, so it's a manageable compromise rather than a dealbreaker.
What a High-Resolution Interior Shoot Does to Your Editing Day
Here's the part that surprised me most when I switched to this camera for architecture: the camera itself stopped being the bottleneck, and the sheer volume of files became the new one. A single interior job with bracketed exposures, a couple of pixel-shift attempts, and repeated setups chasing better light easily produces 800 to 1,200 raw files, each over 100MB. Sorting that by eye, frame by frame, is a full afternoon lost before you've even opened an editor.
This is where I've leaned on imagic for the culling pass specifically. Its duplicate and burst clustering groups the bracket sets and repeated setups automatically, so instead of scrolling a folder of near-identical hallway shots I'm choosing between five clustered options per composition. The local sharpness scoring catches soft corners from shift-lens misalignment or a tripod leg that wasn't quite locked, which matters a lot more on architecture than on most other genres because the whole point of the shot is corner-to-corner clarity. And because unreleased developments are often under NDA, the fact that imagic processes everything locally without uploading anything to the cloud isn't a nice-to-have, it's the reason it suits this kind of work at all. For anyone comparing culling approaches more broadly, how AI photo culling actually works is worth a read before you commit to a tool.
Once the culling pass is done, I use imagic's apply_my_style feature, trained on my own past edits rather than a generic preset pack, to get a first-pass grade across the whole set that's already close to my usual look. It's not magic, and I still hand-tune the hero shots, but it cuts the flat, first-pass grading time down considerably on a shoot with a hundred-plus keepers. If you're weighing whether a one-time purchase tool like this fits your budget against subscription editing suites, the pricing breakdown is straightforward enough to compare directly.
Frequently Asked Questions
Do you actually need a tilt-shift lens for interior work, or can the camera's software handle correction after the fact?
For quick real estate turnarounds, software correction in Lightroom or Capture One is genuinely good enough now and saves you the cost and hassle of a shift lens. For formal architectural work that gets printed large, I still prefer a physical shift lens because software correction crops the frame to straighten verticals, which eats into the resolution you're paying for on a 61-megapixel body. It's a judgment call based on final output size, not a hard rule.
Is 61 megapixels overkill for standard real estate listing photos?
Mostly, yes. If your deliverable is web-sized listing images at 2000 pixels wide, you're using a fraction of this sensor's output and you could get similar practical results from a 24 or 33-megapixel body at a lower cost and with smaller files to manage. The resolution earns its keep on print work, tight material crops, and any job where the client might want to blow up a detail later that you didn't anticipate on the day.
How much storage should I plan for on a shoot day that includes pixel shift?
A standard bracketed interior job without pixel shift usually runs 150 to 300GB for me across a full day. Add even a handful of pixel-shift attempts and you can add another 20 to 40GB just from the raw sequences plus the composited TIFFs. I now carry at least 1TB of card capacity and back up to two separate drives before I leave a site, because losing a pixel-shift set to a corrupted card means redoing hours of setup, not just a quick reshoot.
Can you realistically shoot interiors handheld with this camera, or is a tripod mandatory?
Handheld is viable for walkthroughs, lifestyle shots with people, and situations where a tripod isn't practical, thanks to the in-body stabilization. For anything that needs bracketed exposures merged into HDR, or any tilt-shift work, you want a tripod. Bracket sets that aren't perfectly aligned frame to frame create ghosting at the edges when merged, and shift lenses need a completely stable base to keep the plane of focus where you set it.