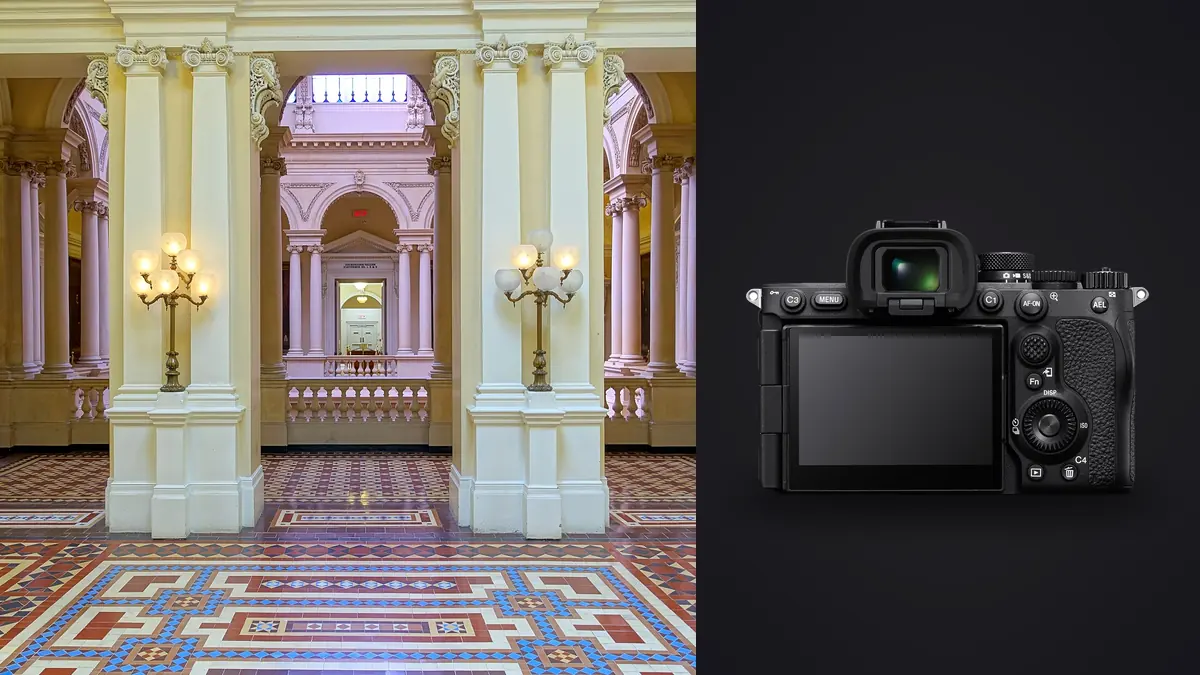
Why This Body Keeps Turning Up on Interior Jobs
I didn't buy the A7R V because of a spec sheet. I bought it because I was tired of second-guessing focus on tripod work in dim stairwells and hallways, and because my old 24-megapixel body could not deliver large prints without visible softness. The 61-megapixel sensor solves the resolution problem outright. What surprised me is how much the in-body stabilization changed the way I shoot twilight exteriors and low-light interiors handheld, which is not something I expected to care about when I was still tripod-and-cable-release for everything.
Architecture and interior work is a strange niche for camera gear. You don't need blazing continuous burst rates or 30 frames per second, and eye-tracking autofocus barely matters when your subject is a kitchen island. What you need is resolution, dynamic range, color accuracy under mixed lighting, and a body that won't drop frames or overheat while you're methodically working a room. The A7R V checks those boxes, though not without some friction I'll get into.
Resolution and Dynamic Range Where It Actually Matters
Sony rates the sensor at roughly 15 stops of dynamic range at base ISO, and in practice that number holds up better than most marketing claims I've tested. A single raw frame from a window-lit living room can recover a surprising amount of highlight detail from the exterior view without the shadows falling apart when you push them back up in Capture One. That said, I still bracket almost every interior shot. Not because the sensor can't handle the scene in one frame, but because mixed color temperature (daylight through the glass, tungsten from a table lamp, a cool LED strip under the cabinets) resolves more naturally when you're blending exposures rather than fighting a single raw file with local adjustments.
The base ISO of 100 combined with the resolution means test shots you'd normally throw away hold enough detail to actually check focus and composition on a laptop screen at 100 percent, which speeds up on-site decision making. That's a small thing, but on a job with twelve rooms and a two-hour window before the stylist needs the space back, small time savings compound.
Bracket Recipes by Room Condition
| Scene type | Bracket count | EV spacing | Base ISO / aperture | Notes |
|---|---|---|---|---|
| Bright window-lit room, midday | 3 frames | 2 stops | ISO 100, f/8 | Single frame often recoverable, but 3-frame blend keeps window view clean without halos |
| Mixed daylight + interior lamps, late afternoon | 5 frames | 1.3 stops | ISO 100, f/8 | Extra frames needed to separate lamp glow from ambient without color shift |
| North-facing room, overcast | 2 frames | 1.5 stops | ISO 200, f/6.3 | Flat light rarely needs more than a highlight-safety frame |
| Twilight exterior with interior lights on | 5-7 frames | 1 stop | ISO 400-800, f/5.6 | Widest bracket of the day; blue hour window is short, shoot fast and wide |
| Small windowless bathroom or closet | 3 frames | 1.5 stops | ISO 200, f/8 | Fixture glare is the real challenge, not dynamic range |
None of these are rules carved in stone. They're the starting points I actually use, adjusted on site depending on how the room reads on the rear screen. But the pattern holds: the busier the lighting mix, the more frames I want, and the twilight shot is always where I burn the most exposures because the light changes minute to minute.
The Lens Problem Sony Never Quite Solved
Here's the part that trips up photographers switching from Canon or moving up from a crop body: Sony has no native tilt-shift lens in E-mount. For architecture work where keeping verticals straight in-camera saves you from cropping away resolution in post, that gap matters. Most A7R V shooters I know end up on one of two paths. The first is the Laowa 15mm f/4.5 Zero-D Shift, a fully manual lens with genuinely excellent corner sharpness and minimal distortion for the focal length, but you're metering by eye and focusing manually every time. The second is adapting a Canon TS-E lens (the 17mm or 24mm are the common choices) through a mechanical adapter, which works but adds a stop of hassle to every shot since you lose electronic aperture control.
I've settled on the Laowa for most jobs because the native mount means no adapter tolerances to worry about, and at f/8 to f/11 the corners are clean enough for large prints. The tradeoff is that every frame is a small ritual: focus, check shift amount against the horizon line, meter, shoot the bracket, re-check. It's slower than autofocus work, and it's the one place where the A7R V's otherwise excellent AI-based autofocus system does you no good at all, because none of it applies to a fully manual lens.
If tilt-shift isn't in the budget, correcting verticals in post from a standard wide lens (I use the 20mm f/1.8 G or the 16-35mm GM II depending on room size) is a completely viable path given how much resolution you have to spare after cropping. I just prefer getting it right in camera when the shoot allows the time.
Pixel Shift, and When It's Actually Worth the Extra Ten Minutes
Pixel Shift Multi Shooting captures up to 16 frames, shifting the sensor by half and full pixel increments between each, then composites them in Imaging Edge Desktop into files that can exceed 900 megapixels. I want to be honest about this feature because I see it oversold constantly: it is completely impractical for anything with people, moving light, or a deadline measured in hours rather than days. The subject has to be dead still, the tripod has to be rock solid, and even a passing cloud shadow between shots can wreck the composite with banding.
Where it earns its place is hero shots for print campaigns, museum-quality documentation of a finished architectural project, or catalog work where a client explicitly wants poster-scale output of a single room. I've used it maybe six times in two years of ownership, always for a shot I wanted to print at sizes beyond what a standard 61-megapixel file comfortably supports. For the other 95 percent of interior work, standard single-shot resolution is already more than most delivery specs require, and the time cost of pixel shift (shooting it, then compositing a multi-gigabyte TIFF afterward) isn't worth it against a bracket workflow that gets you there faster.
The File Flood Nobody Warns You About
Here's what the spec sheets never mention: a full-day interior shoot on this camera, bracketing five to seven rooms with three to seven frames each, plus test shots and the inevitable "let me try that again with the lamp off" retakes, easily produces 900 to 1,400 raw files. At 60-plus megapixels each, that's a genuinely large amount of data to sort through, and bracketed sets look nearly identical to each other at a glance, which makes manual culling slow and error-prone by the third hour of review.
This is the part of the workflow I actually changed tools for. I run everything through imagic before it touches Lightroom now, mainly for the local sharpness and focus scoring, which flags the one frame in a bracket where a slight tripod bump or a mirror lock-up settling issue softened the image just enough to matter at full resolution. On a 1,200-file day, catching that by eye across every bracket is unrealistic. The duplicate and burst clustering also groups my bracket sets automatically, so instead of scrolling past near-identical exposures one at a time, I'm looking at clustered groups and picking the sharpest, cleanest-exposed frame from each in a fraction of the time. If you haven't looked into how that kind of automated culling actually scores an image, our breakdown of how AI photo culling works covers the mechanics in more depth than I can here.
The other thing that matters for this specific niche is that everything runs locally with no cloud upload. A lot of interior and architecture work happens on properties before they're publicly listed, sometimes under an explicit NDA with the agent or the homeowner. Not having to think about where files are being processed, or whether a service is quietly holding copies on a server somewhere, removes a worry I used to have with cloud-based culling tools.
Getting a Consistent Look Across a Whole Project
Interior photography lives or dies on color consistency. A client reviewing a gallery of twelve rooms will notice immediately if the kitchen reads warm and the bedroom next door reads cool, even if both are individually well balanced. I spent the first year with this camera building a grading approach in Capture One that handles the mixed daylight-and-tungsten problem consistently, and once that look was dialed in, the tedious part became applying it consistently to every new shoot without redoing the work from scratch each time.
That's where imagic's apply_my_style feature has actually saved me real hours. It's trained on my own past edits rather than some generic architectural preset pack, so when I feed it a fresh batch of interior raws, the starting point already leans toward how I actually grade these rooms rather than a one-size-fits-all look I'd have to fight against. It's not a substitute for final polish on the hero shots you plan to print large, but for the twenty secondary angles in every room that need to match the primary shot and nothing more, it gets me most of the way there before I've opened the first file manually. If color grading in general is something you're still refining your approach to, the guide to color grading workflow is a decent starting point regardless of what camera you're shooting.
Tethering and Reviewing on Site
I tether almost every job through USB-C straight into Capture One on a laptop, which the A7R V handles without the dropped-connection issues I used to get with older Sony bodies. Checking verticals and horizon lines on a full-size screen before you leave a room catches mistakes that are invisible on the camera's rear LCD, especially with the tilt-shift lens where a half-degree of shift error is hard to spot at 3 inches but obvious at 15. Clients who are on site (designers, agents, stagers) also like being able to glance at the tethered feed and confirm a room reads the way they pictured it, which cuts down on reshoot requests later.
The 4-axis multi-angle rear screen is genuinely useful for the low, wide angles this kind of work demands, letting me shoot from near floor level without lying on the ground to check composition. It sounds like a minor convenience until you've done a full day of low-angle bathroom and kitchen shots and your knees remember it the next morning either way.
What I'd Tell Someone Considering This Camera for Interiors
If your work is primarily architecture and interiors, the A7R V is a strong choice specifically because of the resolution and dynamic range, not because of any of the sports-and-wildlife-oriented autofocus improvements Sony marketed hardest at launch. Budget for a tilt-shift solution separately since it's not in the box and not even in the native lens lineup. Expect your file counts to explode compared to a lower-resolution body, and plan your culling and sorting workflow accordingly before your first big shoot, not after you're staring down 1,000 unsorted raws at midnight. Anyone weighing this against building out a faster end-to-end pipeline in general might find our tips for a faster photo workflow useful alongside the camera-specific advice here.
Frequently Asked Questions
Can I get straight verticals without a tilt-shift lens on this camera?
Yes, and most photographers do exactly that. Shooting a wide native lens like the 16-35mm GM II and correcting verticals in Capture One or Lightroom works well given how much resolution the sensor gives you to spare after cropping for the correction. A tilt-shift lens saves you that crop and gets you a true optical correction, but it's a workflow preference and a budget decision, not a requirement.
Is the 61-megapixel file size actually a problem for typical delivery specs?
For real estate listing photos or web galleries, no, you're downsizing significantly regardless. Where it becomes a real consideration is storage and backup planning across a busy season, and in culling time, since more pixels per file doesn't slow down sorting but more files per shoot definitely does.
Is Pixel Shift Multi Shooting worth using on a normal real estate shoot?
Generally not. It needs a completely static scene, a tripod, and time afterward to composite in Imaging Edge Desktop, none of which fit a typical listing shoot's pace. Save it for print-focused hero images or documentation work where the client has specifically asked for extreme output resolution.
How many bracketed exposures should I actually be shooting per room?
It depends entirely on the lighting mix, not a fixed rule. A flat, evenly lit room might only need two frames for highlight safety, while a room with strong window light plus multiple interior fixtures at different color temperatures often needs five or more to blend cleanly. Twilight exteriors with interior lights on are usually the widest bracket of the day because the light itself is changing while you shoot.