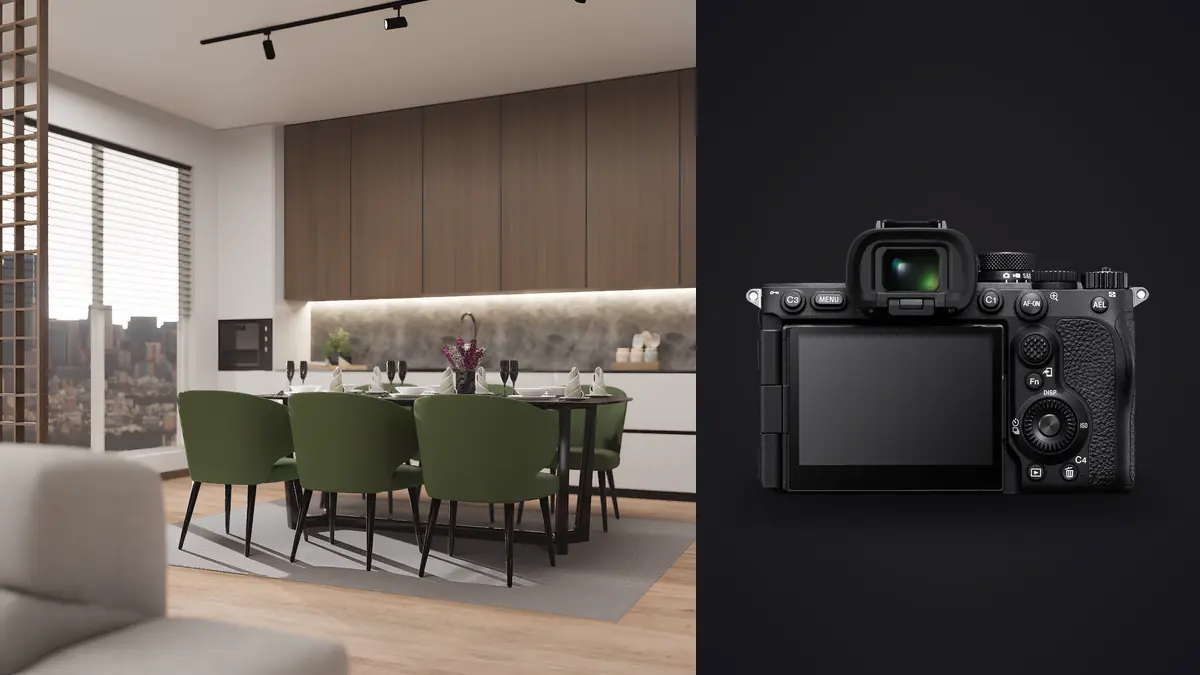
Most cameras get judged on paper specs. Architecture and interior work is one of the few genres where the paper specs actually predict how the day goes, because you are shooting static subjects under your own lighting control, usually from a tripod, with time to get each frame right. That combination makes the Sony A7R V a genuinely different tool to use on a shoot than it looks like on a spec sheet, and after a run of interior and architecture shoots with it, the parts that matter turned out not to be the ones I expected going in.
Why 61 megapixels changes how you shoot a room, not just how big you can print
The obvious selling point of the A7R V is the 61-megapixel sensor, and for architecture the benefit isn't really about billboard-sized prints. It's about the freedom to shoot a slightly wider frame than you need and crop to the composition afterward, which matters a lot when you're working a stairwell or a tight kitchen and physically cannot back up any further. On the A7IV or A7III bodies I used before this, a wide-angle interior shot at 12mm often meant living with whatever converging lines and awkward foreground clutter you got, because cropping in cost you too much resolution to sell as a hero image. At 9504 by 6336 pixels, a 15 to 20 percent crop still leaves you with a file that holds up in a double-page magazine spread or a large-format lobby print. That single change, more than any autofocus improvement, is what altered my shooting habits on site.
It also means verticals corrected in post (straightening a leaning wall or a converging column) cost you less. Correcting perspective always eats resolution at the edges of the frame. Starting from 61 megapixels means the finished, corrected file is still comfortably north of 40 megapixels in most cases, which was not true when I was doing the same correction on 24-megapixel files from older bodies.
Pixel Shift Multi Shooting is built for exactly this kind of subject
Pixel Shift Multi Shooting has been a Sony feature since the A7R III, but it's a mode that's genuinely awkward for most photography (anything that moves ruins the composite) and genuinely well suited to architecture and interiors, where the subject sits still and you're already on a tripod. The camera offers a 4-shot mode, which recombines four frames into a single 61-megapixel file with full RGB color sampled at every pixel instead of interpolated through the Bayer pattern, and a 16-shot mode, which Sony's own Imaging Edge Desktop software merges into a composite in the neighborhood of 240 megapixels.
In practice I don't reach for 16-shot mode often. It requires dead-still conditions (no HVAC-driven curtain movement, no daylight shifting visibly during the exposure sequence, which on a bright day can take several seconds) and the files it produces are unwieldy for anything but a specific hero shot destined for a large print or a client's marketing lead image. But for stone floor texture, woven upholstery, or wood grain in a feature staircase, the difference between a standard frame and a 4-shot composite is visible even at normal viewing sizes, not just on a loupe. It's a tool for two or three shots per job, not the whole shoot.
| Capture mode | Frames recorded | Approx. output resolution | Raw data per set | Best use on a shoot |
|---|---|---|---|---|
| Standard single frame | 1 ARW | 61MP (9504 x 6336) | ~65-100MB | Room-to-room documentation, general elevations, walkthrough sets |
| Pixel Shift, 4-shot | 4 ARW | 61MP, full-color per pixel | ~260-400MB total | Fine surface texture: tile grout, fabric weave, timber grain close-ups |
| Pixel Shift, 16-shot | 16 ARW | ~240MP composite (merged in Imaging Edge Desktop) | ~1-1.6GB total | A single portfolio hero image or a large-format print commission |
Dynamic range where it counts: window light against interior shadow
Interiors are one of the harder lighting scenarios in photography because you're routinely asked to hold detail in a bright window and in a shadowed corner in the same frame, often without the budget or time for full flash lighting. The A7R V's sensor gives you somewhere around 14 stops of usable dynamic range at base ISO 100, and the practical effect is that a lot of shots I used to bracket for HDR merging can now be pulled from a single RAW file. I still bracket for anything with direct sun hitting a window (a 3-frame set covers that reliably), but for typical daylight-through-glazing interior shots, one exposure with the highlights protected and the shadows lifted 2 to 3 stops in post holds up without banding or obvious noise in the shadow recovery. That's fewer frames per setup, which matters more than it sounds when you're shooting 30 to 40 room setups in a single commercial interior job.
Where I still bracket deliberately is any shot with a visible sky through a window alongside an artificially lit interior, especially at dusk for real estate "twilight" exteriors paired with interior ambient light. That's still a 3 to 5 frame HDR blend job, and the sensor's dynamic range doesn't remove the need for it, it just means fewer stops of pushing per frame in the blend.
Lens choices that actually matter for this pairing
The body resolves detail well enough that lens choice on the A7R V shows up in the files more than it did on lower-resolution bodies. A soft corner at f/8 on a 24-megapixel sensor might pass unnoticed; at 61 megapixels it's visible in a 100% crop and sometimes at normal viewing size on a large print. Here's how the lenses I've actually used on architectural and interior jobs with this body compare.
| Lens | Focal length | Max aperture | Distortion / corner behavior | Where it earns its keep |
|---|---|---|---|---|
| Sony FE 12-24mm F2.8 GM | 12-24mm | f/2.8 | Corrects cleanly in Lightroom's built-in profile; corners hold detail at 61MP by f/5.6 | Tight bathrooms, small stairwells, cramped commercial spaces |
| Sony FE 16-35mm F2.8 GM II | 16-35mm | f/2.8 | Minimal barrel distortion, lightest of the ultra-wide GM zooms | General room-to-room work, exteriors, day-long walkthrough shoots |
| Sony FE 20mm F1.8 G | 20mm | f/1.8 | Slight corner softness wide open, sharpens up by f/4 | Handheld available-light interiors, dusk exterior ambient shots |
| Laowa 15mm F2 Zero-D FE | 15mm | f/2 | Purpose-built low distortion; manual focus and aperture | Budget architectural walkthroughs where straight verticals matter |
| Canon TS-E 24mm F3.5L II (adapted) | 24mm | f/3.5 | Physical shift avoids keystoning at capture, no post-crop needed | Elevation shots where a client needs true verticals with no correction crop |
The tilt-shift option is worth calling out because it's the one genuine workaround to a problem the sensor resolution otherwise just makes more tolerable: keystoning. Correcting converging verticals in post costs you a crop, and even with 61 megapixels to spare, a heavily corrected wide shot on a small elevation loses real detail at the edges. A shifted lens avoids that trade-off entirely, at the cost of manual focus, no autofocus assist, and a slower workflow per shot. I use one for maybe one shoot in five, usually a building facade where I am fussy about verticals.
The tripod-and-tilt workflow the multi-angle screen was built for
The A7R V's rear screen uses a 4-axis hinge that both tilts on a standard axis and swings out to the side, which sounds like a minor mechanical detail until you're setting up a low-angle shot to show a herringbone floor pattern receding into a room, or shooting straight up at a coffered ceiling from a corner where a fully-articulating screen would put the display facing the wrong way. On a tripod at floor height, being able to check focus and framing from directly behind the camera rather than crouching to the side saves real time across a multi-room shoot, and after using it for a few weeks I noticed how often the older tilt-only screens on previous bodies forced an awkward crouch-and-guess routine for anything shot low.
Combined with the touchscreen menu (new to this generation of A7R body), adjusting white balance or switching between bracket and pixel shift modes between setups is faster than it was on the A7R IV, where the same adjustments meant dropping into the joystick-driven menu tree. On a job with 30-plus room setups, those saved seconds per setup add up to real time back in the day.
What a full day of shooting actually does to your card and your evening
The honest tradeoff of all this resolution is file volume. A single uncompressed 61-megapixel RAW file runs 120MB or more; compressed RAW is smaller but still substantial. A day of interior work with bracketed HDR sets at most setups, a handful of pixel-shift hero shots, and the usual number of "just in case" duplicate frames easily produces several hundred files and 40 to 60GB of data before you've left the site. That's before you've decided which of five bracket frames per setup is the sharp one, or which of three near-identical framing attempts in a tight room is the keeper.
This is where the shoot stops being a camera problem and becomes a workflow problem, and it's the part of an architectural job that eats the most time if you're sorting it by eye. I run culling for these shoots through imagic, which does its sharpness and focus scoring locally on the machine rather than uploading anything, which matters when unreleased renovation photos shouldn't sit on a third-party server before launch. The bigger time saver is the duplicate and burst clustering: when a room setup produces a 5-frame HDR bracket plus two safety frames because the light flickered, imagic groups those seven files together instead of presenting them as seven separate decisions, which is the difference between culling a 40-room shoot in an hour versus most of an evening.
If you're new to the general approach of scoring and grouping RAW files before you touch an edit, how AI photo culling works covers the mechanics in more depth than makes sense to repeat here.
Keeping a consistent look across a shoot with mixed lighting
Architectural and interior work usually mixes daylight through windows with tungsten or LED fixtures room to room, and getting a consistent color and contrast treatment across 30 or 40 rooms shot under different conditions is its own kind of tedious if you're building the look from scratch in each folder. I trained imagic's apply_my_style feature on a batch of my own previously finished interior edits (the white balance correction, the shadow lift, the contrast curve I use for this kind of job) and now run new shoots through it as a starting point before doing setup-specific adjustments. It's not a substitute for judgment on tricky mixed-lighting rooms, but it gets 80 percent of the color correction and tonal work done automatically and consistently across a large batch, which is the tedious part of interior editing, not the interesting part.
For the editing side of things once the culling and initial pass are done, the color grading guide is a useful reference if you're building out a repeatable look for this kind of work rather than working file by file.
Practical notes from actually carrying this on jobs
A few things worth knowing before you commit to this body for architectural work specifically. Weather sealing is solid, which matters more than you'd think for exterior elevation shots or shoots that span an unfinished construction site with dust in the air. Battery life on the NP-FZ100 is comfortable for a full day of tripod work since you're not burning power on continuous autofocus tracking the way you would shooting people or action, though I still carry a spare for shoots with a lot of Wi-Fi tethering to a laptop or tablet. The dual card slots, both CFexpress Type A or SD, mean you can mirror everything in-camera for a same-day backup before you leave the site, which is worth doing given how much irreplaceable time is tied up in getting access to a commercial space before a renovation crew moves back in.
The one thing I'd flag as a genuine limitation: there's no built-in ND filter, so bright window-heavy interiors where you want a longer exposure for smoothing out reflections or blending a bracket cleanly sometimes mean carrying a physical ND or stepping down the aperture further than you'd like for depth of field reasons. It's a small gap, but worth knowing before your first booked job rather than discovering it on site.
Frequently Asked Questions
Do I need to use Pixel Shift Multi Shooting on every interior photo?
No. It's a tool for a small number of hero shots per job, typically feature textures like stone, tile, or wood grain, or a single portfolio image intended for large-format print. The 16-shot mode in particular needs a completely static scene and takes noticeably longer per frame, which doesn't suit the pace of a full room-to-room shoot. Most of a job runs on standard single-frame capture with bracketing where the lighting demands it.
Is 61 megapixels overkill for standard real estate listing photos?
For MLS-style listing photos delivered at web resolution, yes, strictly speaking. Where the resolution pays off is cropping flexibility on site (letting you fix a composition after the fact instead of forcing it perfectly in-camera every time) and headroom for perspective correction without visibly losing detail. If your work is purely fast-turnaround residential listings with no print or brochure component, a lower-resolution body will get the job done with smaller files and faster culling.
How do I deal with converging verticals without a tilt-shift lens?
Shoot slightly wider than your intended final crop and correct the verticals in Lightroom or Photoshop's lens correction tools, then crop back to the composition. The A7R V's resolution is what makes this practical rather than something to avoid: a corrected and cropped file still leaves you with well north of 40 effective megapixels in most cases. For jobs where a client specifically needs uncompromised corner detail on a wide elevation, an adapted tilt-shift lens like the Canon TS-E 24mm avoids the correction crop entirely, at the cost of manual everything.
What's a realistic storage and culling load for a full day of interior work with this camera?
Expect somewhere between 40 and 60GB for a full commercial interior day once you count bracketed sets and a handful of pixel-shift composites, spread across several hundred individual files. Plan storage accordingly (a couple of portable SSDs rather than relying on card capacity alone) and budget culling time that accounts for grouping bracket sets rather than reviewing every frame individually. Tools that cluster bracket and burst sequences automatically, rather than presenting every RAW as a separate decision, are the difference between an hour of culling and most of an evening on a large job.