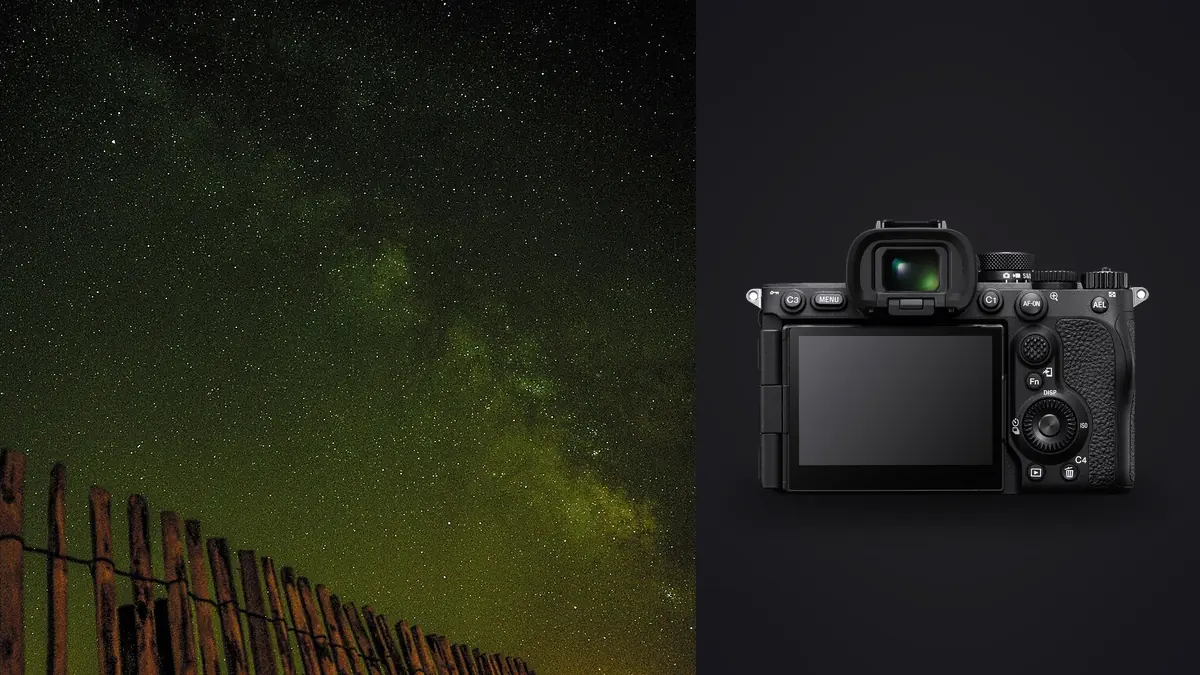
This Lens and Location Guide for the Sony A7R V begins before darkness. Its 61 megapixel sensor can record fine night-sky detail, but it also makes poor focus, smeared corners, and weak planning easy to see. The decisive choices are which part of the sky will be visible, how the moon changes the foreground, whether the lens keeps stars clean near the edges, and whether the site permits a safe, uninterrupted sequence.
This guide treats lens and location as one system. A 14mm lens under mediocre sky does not automatically beat a 35mm lens at a carefully aligned dark site. A tracker can extend exposure but introduces foreground movement. A dramatic foreground can make stacking difficult if wind, water, traffic, or artificial light changes between frames.
Choose the astronomical event before the viewpoint
Define whether you are photographing a Milky Way core, broad star field, constellation, meteor shower, conjunction, moonlit landscape, aurora, or star trails. Each requires a different direction, time window, and tolerance for moonlight. Use a reputable astronomy application to check azimuth, elevation, twilight, moon phase, and moon position for the exact date and coordinates.
Do not treat a generic "dark sky" label as a guarantee. Nearby towns, roads, ports, sports grounds, and seasonal tourism can create directional light domes. Atmospheric haze spreads that light, while clear dry air may reveal more contrast. Review recent weather, cloud cover, humidity, wind, and smoke. If the horizon you need faces a city, a moderately darker site oriented away from it may be more useful than a nominally excellent site with the wrong view.
Plan a second subject for changing conditions. If clouds cover the core, moonlit rock, moving cloud, a telephoto detail, or star trails may still produce worthwhile work. The fallback should use the same safe access and not require an improvised night drive.
Match focal length to sky area and foreground scale
| Focal range | Useful role | Planning cost |
|---|---|---|
| 14 to 16mm | Large sky, close foreground, constrained viewpoints | Small celestial features and demanding corner performance |
| 20 to 24mm | Balanced landscape and Milky Way compositions | Less room for alignment errors than ultra-wide lenses |
| 28 to 35mm | Detailed sky mosaics and stronger core scale | Shorter untracked exposures and more panels |
| 50mm and longer | Constellations, panoramas, and compressed landscape layers | Precise tracking, focus, and overlap become critical |
Evaluate a lens for stars, not only daytime sharpness. Look for coma or stretched points near corners, sagittal flare, field curvature, focus shift, decentered behavior, and distracting flare from lights outside the frame. Test at several apertures and focus positions on an actual star field. A lens that needs to be stopped down may still be excellent, but the exposure and stack length must account for the lost light.
The A7R V's resolution rewards a stable lens and technique, but it does not require that every night frame use the widest aperture. Closing one stop may improve corner stars and reduce vignetting enough to outweigh a higher ISO or additional frames. Judge the complete image at final size. Perfect extreme corners are less important if the composition will be cropped to a panorama, while a full-frame print may expose every defect.
Scout the foreground while you can see it
Visit in daylight and walk the precise route from parking to tripod position. Note cliffs, loose ground, tides, water crossings, livestock, locked gates, private boundaries, and mobile coverage. Mark the safe standing area without damaging vegetation or archaeological features. Tell someone where you will be and when you expect to return.
Use the camera or a field-of-view tool to check foreground scale at each candidate focal length. A wide lens makes a distant mountain look small, while moving close to a foreground object can enlarge it dramatically. Confirm that the sky event will appear in the intended gap rather than behind a tree, ridge, building, or restricted area. Save a daytime reference frame and coordinates for the tripod position.
Look for artificial light that may switch on after dark: security lamps, passing cars, campsite lighting, farm equipment, and headlamps from other visitors. Plan a composition and courtesy strategy that does not require everyone else to remain dark. Red lights can still affect long exposures, so shield and dim any light used for controls.
Confirm access with the land manager or owner and distinguish public access from permission to remain after dark. Some reserves close at sunset, some landscapes require permits, and some parking areas lock overnight. Avoid light painting where it disturbs wildlife, other observers, or nearby homes. A composition is not a reason to cross barriers, stand on fragile ground, or leave reflective markers behind.
Decide between static tripod, stacking, and tracking
A static tripod is the simplest option and keeps sky and foreground aligned in each exposure. Exposure duration is limited by apparent star motion, focal length, pixel density, declination, and viewing size. The familiar 500 rule is too coarse for consistently sharp stars on a 61 megapixel sensor. Use an NPF-style calculator as a starting point, make a short test, and inspect the actual stars.
Stacking several shorter, untracked sky frames can reduce random noise after alignment while preserving point-like stars. Keep aperture, focus, white balance, and framing fixed. Leave enough time for the camera to write each file without changing the cadence unexpectedly. Capture separate foreground frames when lighting or focus needs differ, but keep the composite physically plausible and disclose compositing where context requires it.
A tracking mount follows the sky and permits longer celestial exposures, but the ground then moves relative to the sensor. Plan a separate untracked foreground and allow clean space around the skyline for masking. Align the mount accurately, balance the load, and verify that tripod legs cannot shift. A tracker is most useful when the lens and sky detail justify the additional setup, not as a ritual for every wide landscape.
Build focus and framing checks for 61MP files
Autofocus is not the default answer under stars. Switch to manual focus, magnify a bright star, and adjust until it is as small and clean as possible. Infinity markings are approximate and temperature can shift focus. Recheck after the lens cools, after any zoom change, and periodically through a long session. Secure the focus ring gently if it is easy to bump.
Turn stabilization off on a locked tripod unless the manual for the exact support situation advises otherwise. Use a remote, interval timer, or delayed release. Shield the viewfinder and stray light where necessary. Make one high-ISO short test to evaluate composition, then return to the planned sequence settings. The test frame is for speed, not final quality.
Leave crop room around the subject for alignment, distortion correction, and minor tracking drift. For a panorama, establish overlap generously and keep the camera level around the rotation path. Record a spoken or written sequence note so rows and dark frames are not confused after a cold night.
Plan power, storage, and dew control
Cold conditions reduce practical battery endurance, and long sequences keep the camera active. Carry charged spares close to the body or use a safe external power arrangement that does not pull on the camera. The A7R V's two card slots accept different media combinations, so confirm recording behavior and card compatibility before travel. Estimate space from a real test sequence rather than a generic file-size claim.
Dew can end a session even under clear sky. Check the forecast dew point, pack a lens heater and controllable power source when conditions warrant, and fit it before condensation forms. Route the cable so it cannot tug the lens or catch a foot. Keep caps and unused equipment protected; moving a cold camera into warm humid air can also cause condensation.
- Two independent navigation methods and a charged communication device.
- Tripod, head, plates, interval control, and any tracker tools checked in daylight.
- Spare batteries, known-good cards, and a headlamp with dim output.
- Warm clothing, water, first aid, and site-specific safety equipment.
- Lens heater, power bank, cable restraint, cloth, and a simple rain cover.
Keep calibration frames tied to their purpose
Dark, flat, and bias frames are not interchangeable magic corrections. Their usefulness depends on the stacking method and software. Darks generally need matching exposure, temperature, ISO, and camera behavior; flats address optical illumination and dust with the same focus and optical path; bias behavior varies with modern sensors and software. Follow the requirements of the specific stacking application rather than collecting every calibration type by habit.
Record enough information to match calibration files later. Place them in named subfolders, preserve original metadata, and note any in-camera long-exposure noise reduction. If that setting is active, the camera may spend an equal period making its own dark exposure, interrupting a planned cadence. Decide before the event whether the internal correction or separately managed frames suit the sequence.
Bring the planned sequence into a local workflow
Copy the ARW files and verify a second copy before changing the cards. Keep sky sequences, foreground frames, panoramas, and calibration files grouped without breaking original filenames. A contact sheet of test frames can help identify focus or dew changes across time. Do not cull a calibration or blend component by ordinary aesthetic standards.
imagic desktop can scan supported ARW folders, analyze locally, and store reversible culling and edit decisions. It does not merge panoramas, HDR frames, or star stacks. Use it to review individual capture quality and organize candidates, then pass the chosen sequence to dedicated alignment and stacking software. Hardware-focused articles continue in Camera Hardware.
After stacking, inspect stars at the center and edges, the skyline transition, color gradients, satellite or aircraft trails, and any repeated foreground detail. Keep the master in a high-quality format, then export versions for print and web. The A7R V can supply abundant source detail, but coherent night photographs still come from lens behavior, location geometry, and a sequence planned before dark.
Archive the location plan with the files so a future return can account for season, sky position, access changes, and the lens that was actually used.
Frequently Asked Questions
What is the best Sony A7R V lens for astrophotography?
There is no single best focal length. Choose according to the sky area, foreground scale, tracking plan, and output, then test the specific lens for corner star shape, focus behavior, and flare.
Should I use the 500 rule for exposure time?
Treat it only as a rough historical shortcut. A high-resolution sensor, focal length, sky position, and output size can reveal trails sooner, so use a more detailed calculator and verify with a test frame.
Can imagic stack my Sony night-sky sequence?
No. It can help with local review and non-destructive decisions on individual ARW files, but alignment, star stacking, panorama stitching, and composite masking require dedicated tools.