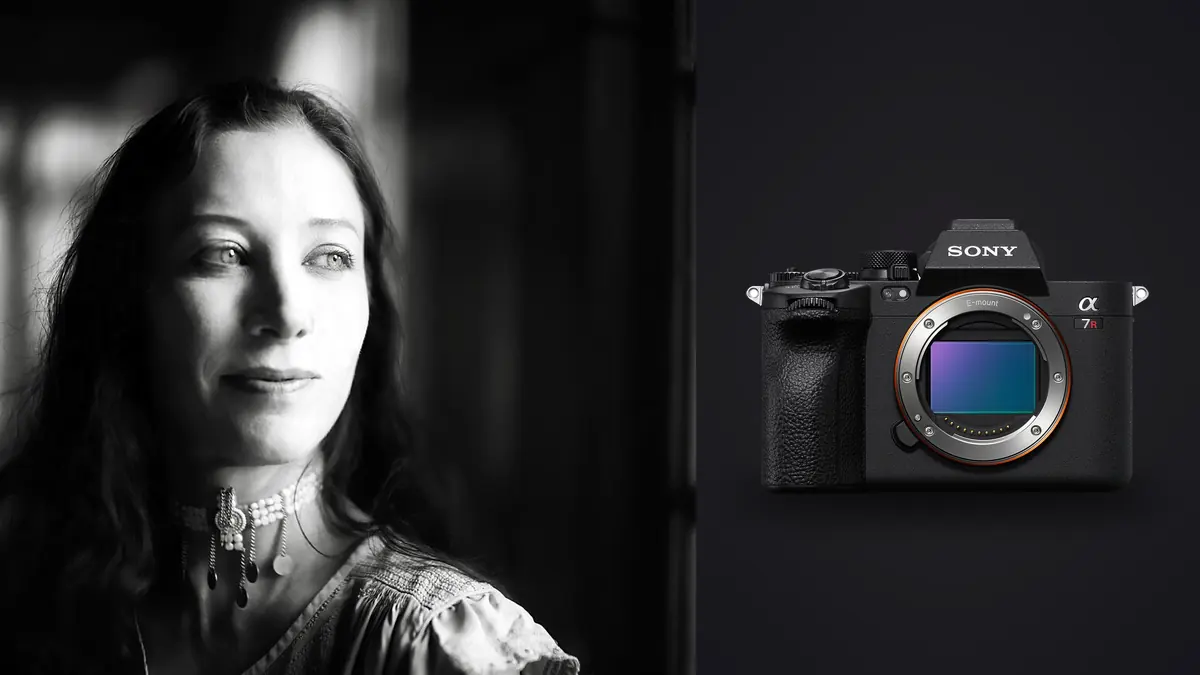
The Sony A7R V combines a 61-megapixel full-frame sensor, subject-recognition autofocus, in-body stabilization, a flexible rear screen, and dual media slots. For boudoir and intimate portraiture, resolution is both an opportunity and a demand. It preserves fine fabric, tonal transitions, and crop options, while making focus placement, lint, abrupt light, and privacy mistakes harder to ignore.
An advanced session is not defined by maximum detail. It is defined by deliberate detail, comfortable direction, controlled perspective, consistent color, and a clear agreement about which images may exist and where they may go. This guide integrates those decisions from setup through delivery.
Choose a private room and a comfortable lens distance
This Lens and Location Guide begins with privacy, consent, and physical working space. Confirm who can enter, where changing occurs, which reflective surfaces reveal unintended areas, and how the set can be closed from public view. Then mark camera distances for full-length, seated, reclining, and detail frames. A moderate focal length used from adequate distance usually keeps proportions calm; a wider view can describe the room but requires careful edge placement and clear communication when the camera moves closer. Check window direction, ceiling height, power routes, trip hazards, temperature, and a private review position before lighting. The most impressive room is unsuitable if it compromises comfort or file control.
Define consent and file use before defining the lighting
Agree on wardrobe levels, poses that are off limits, who may enter the set, how previews will be shown, delivery method, retention, and whether any image may be used publicly. Private delivery and portfolio publication are separate permissions. Reconfirm if the creative direction changes.
Create a simple way to mark frames or looks that must remain private even within an otherwise publishable session. A verbal instruction should become a durable note tied to filenames before ingest. Do not rely on recognizing every pose later.
Keep the subject informed about when capture begins, when it pauses, and what a burst means. Quiet shutters and face detection can make the camera feel autonomous. Clear verbal rhythm keeps the person, not the machine, at the center of the session.
Choose lens distance for proportion and comfort
A normal or short-telephoto lens allows close portraits without placing the camera immediately beside the subject. A wider lens can show the room and create dynamic lines, but near hands, knees, feet, and facial features may enlarge toward the frame edge.
Set a comfortable working distance before refining the crop. If the room is too small for the intended portrait perspective, change the composition or lens rather than moving uncomfortably close. Explain position changes before stepping into personal space.
Long, very fast lenses can isolate strongly but increase weight and narrow depth. A lighter prime or zoom may support better communication over a long session. Lens choice should serve both visual rendering and how the set feels.
Use 61 megapixels to support output, not scrutiny
Large files support album spreads, prints, and alternate crops. They also reveal skin texture and small styling details. Decide which detail belongs in the final image rather than applying maximum texture and sharpening globally.
Frame required orientations deliberately. Crop latitude is useful for refinement, but one loose frame should not be expected to supply every layout. Leave purposeful negative space for text or album design, balancing it with light, architecture, or tone.
Review at full detail to diagnose focus, then return to the final output size. A tiny movement visible at 100 percent may be irrelevant in a print, while an awkward edge or expression remains important at every size.
Place the focus plane according to the pose
Eye autofocus is a useful starting point, not final proof. Hair, lashes, reflections, closed eyes, and a face turned away can change what the system recognizes. Use a defined tracking start area and magnify a frame after each substantial distance or pose change.
A reclining pose can place the nearer eye, lips, shoulder, hand, and hip on different planes. Rotate the body to align critical features, stop down, or choose one point as the visual anchor. Trying to make every plane sharp with resolution alone produces confusion.
For slow movement, use continuous autofocus and a repeatable endpoint. Ask the subject to pause briefly at the end of a turn or shift. Short sequences around that point cover expression without creating hundreds of near-identical frames.
Separate stabilization from human movement
The A7R V's stabilization can reduce camera shake. It does not freeze breathing, fabric, hands, hair, or a turning face. Choose shutter speed for the movement, then use stabilization as support.
If stationary room details are sharp and the subject is blurred, increase shutter speed or reduce the action. If the whole frame has directional double edges, improve grip, support, or release. If an ear is sharp and the near eye is soft, focus placement is the issue.
A tripod can make a fixed composition repeatable, but it should not become a barrier in a small room. Keep legs and cables outside movement paths, and explain why the camera is fixed. A handheld setup may be safer when space is limited.
Shape skin and fabric with controlled ratios
Use a broad window, bounced flash, or diffused continuous source for gradual transitions. Position the source to create the intended form, then move fill or negative fill to control shadow depth. Avoid asking the subject to hold an uncomfortable twist solely to find the light.
Reflective satin, sequins, pale bedding, and skin can peak at different levels. Protect broad meaningful highlights and change the lighting ratio when the face looks too dark. Raising total exposure cannot solve a surface reflecting directly into the source.
Mixed window and practical light needs a decision. Turn one source off, gel added light, or keep a deliberate warm-cool relationship away from critical skin and product areas. Record a neutral reference for every source mix.
Use mirrors without surrendering composition
A mirror creates a second frame. Check the reflected camera, source, doorway, stands, and background as carefully as the direct subject. Move in small increments because a minor angle change can remove equipment or separate a reflected eye from an edge.
Autofocus may choose the reflection instead of the direct face. Decide which plane carries the image and use a controlled area. If both faces are required, align their apparent distances where possible or stop down enough to connect them.
Watch for double images, dirty glass, and bright specular edges. Clean only with permission and appropriate materials. A mirror can add intimacy and depth, but it should not expose unrelated parts of the location or people outside the agreed set.
Handle electronic shutter and artificial light carefully
Electronic shutter can make capture quiet, but the A7R V's high-resolution sensor is not a stacked action design. Fast movement may skew, and dimmed LEDs may create bands. Mechanical shutter is the conservative baseline for movement and uncertain lighting.
Test several consecutive frames at the exact shutter speed. Inspect brightness and color across the frame, not only the face. If bands appear, adjust shutter speed, use supported flicker controls, change light output, or switch shutter mode.
Quiet capture should never make photography covert. Tell the subject when frames are being made. Comfort and permission matter more than eliminating a shutter sound.
Reserve Pixel Shift for still nonhuman details
The A7R V offers Pixel Shift Multi Shooting, which records multiple sensor-shifted frames for later combination in Sony software. A person cannot remain perfectly still across the sequence, and breathing, eyes, hair, and fabric can create artifacts. It is not an appropriate default for a live portrait.
The feature may be useful for a separate still-life detail such as jewelry, fabric, or an empty room element when the camera is locked and the subject is motionless. Keep that sequence clearly labeled and process it in the required external software.
imagic does not merge pixel-shift sets, HDR brackets, or panoramas. Do not confuse high-resolution compositing with an ordinary single RAW file when describing the result.
Inspect textiles and skin at the delivery scale
Fine lace, mesh, and repeating fabric can show moire or false color at particular distances. Test difficult material early. If interference appears, change camera distance, focal length, aperture, or fabric angle slightly before photographing the whole look.
Use local moire correction sparingly. Broad correction can remove genuine weave and color. Likewise, excessive clarity can make skin harsh while making lace appear unnaturally brittle.
Export a representative proof at the final album, print, or web size. Downsampling changes both texture and aliasing. Approval based only on a full-resolution zoom may miss a problem that appears in the actual deliverable.
Protect cards, wireless settings, and local copies
The A7R V has two media slots, with support depending on slot and card type. Configure duplicate recording when it suits the session and tested media. Redundancy inside the camera protects against one card problem, not loss of the whole camera.
Disable automatic transfer and network features that are not part of the agreed workflow. Keep previews away from unrelated people and use neutral project names. Copy the cards to two controlled local destinations and verify files before formatting.
imagic processes photos locally on Windows or macOS and can group duplicates, assess technical qualities, apply non-destructive edits, and use a style learned from the photographer's own work. It is not a layered retouching tool. Export only the approved JPEG or TIFF selection.
See the desktop workflow for local review and Guides for related portrait preparation.
Direct poses with low-friction instructions
Give one physical action at a time: shift weight to the back foot, lower the near shoulder, turn the chin toward the window, or let the hand follow a seam. Broad prompts such as "look confident" ask the subject to solve body position, expression, and mood simultaneously. Small actions are easier to understand, repeat, and stop.
Build from the floor upward. Feet affect knees, hips, spine, shoulders, hands, and head, so refining fingers before the base is stable creates repeated corrections. Once the body line works, adjust the hands and expression. Show the intended direction with words or a neutral demonstration without touching the subject unless explicit permission has been given.
Use a clear pause signal and check comfort between variations. A pose that photographs well may still be painful or expose more than intended from another camera angle. Invite the subject to change or reject it without explanation. This direction method supports accurate focus and consistent framing while keeping consent active throughout the session.
Advanced privacy and technique checklist
- Agree on wardrobe, pose, attendees, delivery, retention, and publication separately.
- Choose lens and working distance that preserve proportion and personal space.
- Place the focus plane according to the pose and verify the nearest important eye.
- Use shutter speed for human movement; stabilization is secondary support.
- Protect reflective fabric and skin by changing light ratio, not only exposure.
- Inspect mirrors for equipment, unrelated people, and focus-plane confusion.
- Test mechanical and electronic shutter under the actual lights.
- Keep Pixel Shift for genuinely static nonhuman details.
- Check fine textiles at full resolution and final output size.
- Make two verified local copies and export only consented files.
Frequently asked questions
Is 61 megapixels too much for boudoir?
No, but it demands accurate focus, careful styling, restrained texture, and adequate storage. Judge detail at the final output size instead of treating maximum resolution as the aesthetic goal.
Does the A7R V stabilization freeze a moving subject?
No. It reduces camera movement. Breathing, hands, hair, and fabric still require a suitable shutter speed or a controlled pause.
Should Pixel Shift be used for a portrait?
Usually no. It combines several frames, and normal human movement creates artifacts. Reserve it for genuinely static details and use Sony's required processing workflow.
Can private files be backed up to an automatic cloud folder?
Only if that transfer is explicitly agreed and secured under the workflow. A safer default is controlled local copies with wireless automation disabled when it is unnecessary.