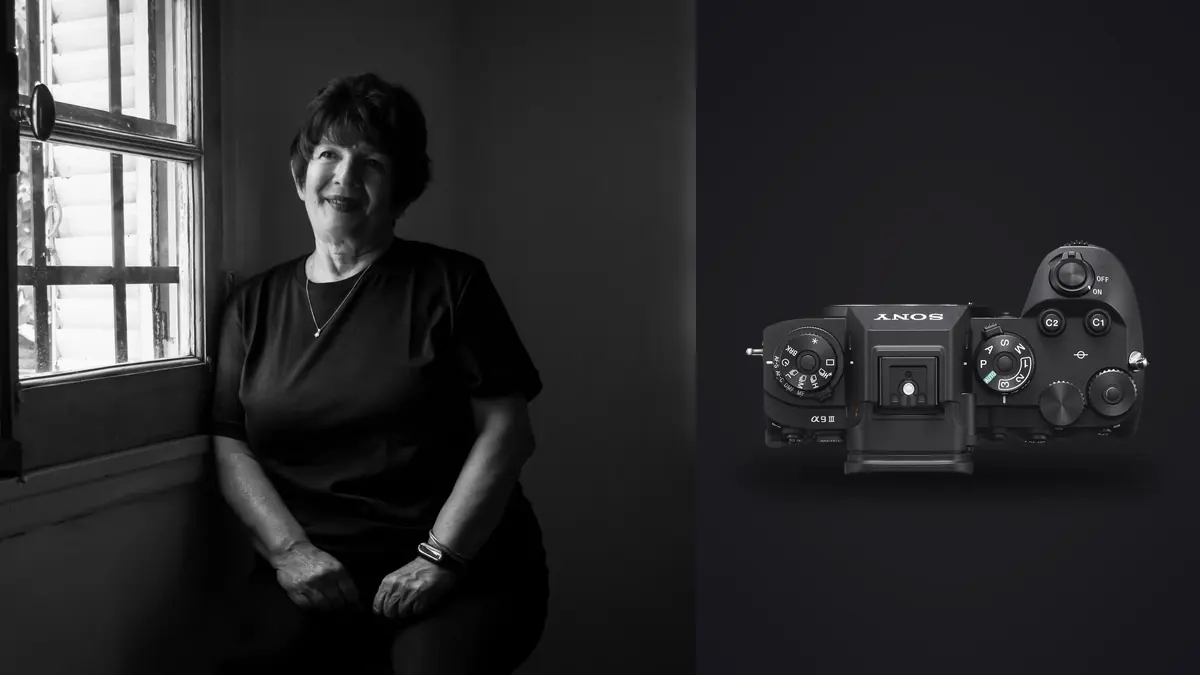
The Sony A9 III is built around a 24.6 megapixel global-shutter sensor and can capture at rates far beyond what an intimate portrait session normally needs. Its more relevant boudoir strengths are flexible flash timing, responsive focus, and quiet operation. Those strengths still need a suitable room, because no shutter design can create working distance, private access, flattering window direction, or a clean mirror angle.
This Lens and Location Guide is for photographers who already understand portrait exposure and posing. It connects focal length, room depth, light positions, safe movement, and consent so the set supports the person in front of the lens rather than showing off the camera.
Complete the location privacy and access preflight
Confirm who may be present, what may be photographed, how images may be used, where they will be stored, and how long proofs remain available. Separate permission to make photographs from permission to publish them. A model release for commercial use, a private client agreement, and a portfolio opt-in are different decisions. Give the subject a real way to decline each use without affecting the session itself.
Agree on wardrobe boundaries, retouching expectations, image review, and a stop signal before anyone changes clothes. Keep doors, windows, mirrors, smart displays, and behind-the-scenes devices in mind. Disable automatic phone transfers or cloud features that conflict with the agreed handling. Do not let an assistant make informal backstage content unless that has explicit consent.
Measure the usable room depth after accounting for the bed, chair, changing area, and locked access route. Confirm who can enter, whether housekeeping or maintenance has keys, and how windows can be screened. Mark a private client path that never crosses a live lens or monitor. A large suite can still be unsuitable when its only camera position blocks the door or exposes the set to a corridor.
Photograph the room empty from every proposed camera mark. Mirrors may reveal crew, lights, personal documents, or adjacent spaces that are invisible from beside the subject. Remove those details physically and save the safe positions before equipment fills the room.
- Written scope covers capture, proofing, retouching, delivery, retention, and publication separately.
- The subject knows who will see unretouched files.
- All devices on set follow the same privacy rules.
- A local backup location and access list are prepared in advance.
- The session can pause or stop without argument or pressure.
Match the global shutter to location lighting
A global shutter exposes the frame without the line-by-line timing that creates conventional rolling-shutter distortion. That can be helpful when fabric moves quickly, the camera pans, or flash timing would otherwise constrain an electronic shutter. It does not make every flash, trigger, LED, or power level automatically compatible. Test the complete lighting chain at the intended shutter speed, aperture, ISO, and burst behavior.
Flash duration and output can change at unusual synchronization settings. A very fast shutter may cut ambient light, but it can also reduce the useful contribution or consistency of a particular flash system. Use the slowest setting that solves the creative problem, make a sequence test, and inspect exposure and color from frame to frame. Consult current Sony and lighting-manufacturer documentation for supported combinations.
Pulsed continuous lights can still vary in brightness or color over time even when a global shutter avoids a scanning band. Make several frames under dimmed LEDs and compare them. If exposure shifts, adjust the fixture, power level, or shutter timing, or choose a stable source. The absence of a horizontal band does not prove the light is consistent.
Build two lens and camera positions
Select one lens and camera mark for the principal portrait distance, then one alternative for full-length or environmental work. A moderate portrait focal length can preserve comfortable proportions and working space; a wider lens can include the room but becomes sensitive to distance and edge placement. Measure the set rather than assuming a favorite lens will fit.
Keep faces, hands, and hips away from extreme wide-angle edges unless exaggeration is intentional. If the room is too short for the desired full-length frame, redesign the pose or background instead of pressing closer until proportions become distracting. Mark the photographer's standing area and subject's range, then remove tape that could appear in reflective furniture.
Check minimum focus distance for close details. Jewelry, lace, hands, and fabric may sit closer than a portrait lens permits. If autofocus fails at a repeatable distance, back up rather than hunting. A longer file crop can be more natural than forcing the lens inside its focus range, provided final resolution remains sufficient.
Map focus behavior to pose distance
| Action | Focus approach | Drive approach |
|---|---|---|
| Held seated pose | Single AF on the intended eye | Single frame |
| Slow turn or breath | Continuous eye AF with constrained area | Low controlled burst |
| Hair or fabric motion | Continuous AF and enough depth | Short medium burst |
| Mirror composition | Small area or manual confirmation | Single frame after target check |
| Close detail without a face | Spot AF or magnified manual focus | Single frame with support |
The camera's 120 fps maximum is unnecessary for ordinary boudoir movement and creates a disproportionate review burden. Use the lowest rate that records the relevant transition. Three or four distinguishable expressions are more useful than dozens of nearly identical files. High speed also increases the chance of capturing awkward transitions that should never leave the private working set.
Constrain face and eye detection when mirrors, framed photographs, or another person enter the composition. Watch the active target in the viewfinder. If focus alternates between the subject and reflection, select a smaller area or use manual focus for the held frame. Close the aperture when both reflected and direct eyes must read.
Scout window color and reflective surfaces
The A9 III's standard sensitivity behavior differs from many conventional portrait bodies, so build the lighting exposure around the actual camera rather than importing settings from another model. Protect bright skin, satin, pale bedding, and metallic trim while keeping shadowed skin adequately exposed. Judge individual color channels under saturated LEDs.
Capture a neutral and color reference under the final light. If window, lamp, and LED colors mix across the body, decide which source leads and remove or gel the others. A fixed white balance keeps a series stable but cannot make three incompatible source colors become one. Use flags and reflectors to control spill before planning local masks.
Make a retouching test before processing the full set. Preserve skin texture at delivery size, remove only agreed temporary distractions, and avoid global blur. Compare the face, hands, torso, and any reflection for consistent color. The advanced camera records what the set gives it; believable skin remains a lighting, exposure, color, and judgment task.
Control every background and mirror edge
Perform an edge scan before every major setup. Look for personal documents, room numbers, medication, family photographs, reflections of crew, and windows that reveal a location. Remove identifying objects rather than relying on later cloning. Check mirrors from the camera position because they may include more of the set than anyone standing beside the subject can see.
Keep a closed set and control live-view displays. If a client monitor is used, position it where only authorized people can see it and prevent the screen from appearing in reflective surfaces. Disable unattended slideshows. At the end of the session, collect temporary reference prints, slates, and handwritten notes that contain identifying information.
Run a reversible local cull
Copy both cards to a restricted project folder and make a verified second copy before formatting. Keep originals separate from proofs and exports. A local tool such as imagic desktop can scan the folder before analysis, then set culling statuses without deleting the source photographs. Processing remains on the workstation.
Automated analysis can assist with sharpness, exposure, closed eyes, composition, and related-frame grouping. It does not understand consent, nuanced expression, or whether a deliberately lowered gaze is the emotional center of the portrait. Review every group and every proposed rejection yourself. Do not export machine-selected proofs without a human privacy and dignity check.
Reselecting changes the ranking based on stored scores; it does not reanalyze the images. If a score was created before a scorer update or simply looks implausible, check freshness and reanalyze stale files. Personal style also requires a learned profile. If none exists, apply explicit adjustments rather than implying that the software knows the photographer's look.
Approve edits and exports against the agreement
Build a compact proof set that varies pose, crop, expression, and lighting. Avoid sending every micro-variation from a burst. Apply only the level of correction promised for proofs, watermark when agreed, and use a private delivery method that matches the consent plan. A proofing service is not automatically appropriate if it uploads files contrary to the agreement.
For finals, check skin texture, garment edges, reflections, background identifiers, and crop at the actual output size. Export creates new files with the stored edits applied; the original RAW remains unchanged. Keep archive masters separate from web copies and follow the retention schedule rather than storing sensitive files indefinitely by habit.
Broader local-processing topics are collected under AI and Technology. Whatever tools are used, the photographer remains responsible for who can access the images and whether the final treatment matches what the subject authorized.
Keep client review from becoming a new exposure
Review can be the weakest privacy point even when capture and storage are careful. Do not leave thumbnails visible on a studio television, shared office computer, or unencrypted portable drive. If the subject reviews on set, present a controlled subset and make clear that deletion requests, favorites, and publication choices are separate actions. Record those choices in the project notes rather than relying on memory.
When a remote proof is necessary, confirm the platform, recipient account, access expiry, download permission, and notification behavior before upload. Send access details through the agreed channel and test the gallery with a non-sensitive placeholder first. Remove proofs according to the retention agreement, while preserving any records the contract or law requires.
Lens and location sign-off before delivery
- Consent scope, publication choice, access list, and retouching boundary are documented.
- Room depth supports both planned focal lengths without intrusive camera distance.
- Window, global-shutter, flash, and practical-light combinations have been tested for consistency.
- Camera marks remain safe around mirrors, furniture, cables, and the changing route.
- Focus targets remain stable from every planned pose distance.
- Identifying room details and crew reflections have been removed at capture where possible.
- Originals exist in two verified, access-controlled locations.
- Exports match the approved crop, retouching, metadata, and delivery method.
The A9 III can make the technical act of capture nearly frictionless. The advanced discipline is to resist using that frictionlessness as permission for excess. A quiet set, sparse sequences, tested light, and controlled files serve intimate portraiture better than a demonstration of maximum speed.
Frequently Asked Questions
Does the Sony A9 III global shutter eliminate all LED flicker problems?
No. It avoids conventional rolling-shutter scanning artifacts, but a pulsed fixture can still change brightness or color between exposures. Test the exact light and settings over several frames.
Is 120 fps useful for boudoir photography?
Rarely. A low or moderate short burst is enough for hair, fabric, or a turning pose and produces a more respectful, manageable review. Use extreme rates only for a clearly defined motion requirement.
Can a personal style be applied before imagic learns a profile?
No. The style feature depends on a profile learned from the photographer's own edits. Without that profile, use direct adjustments or first complete a supported style-learning workflow.