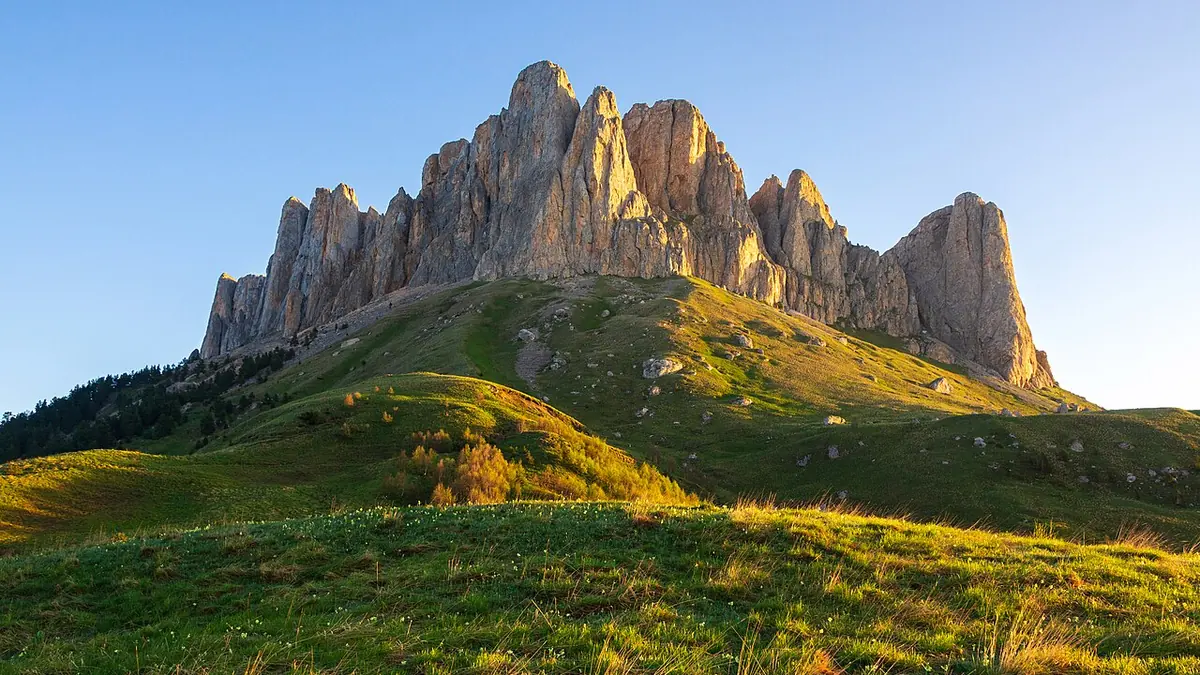
A memorable landscape trip begins with a picture idea, not a list of famous coordinates. The same mountain can support a quiet study of weather, a compressed pattern of ridges, a human-scale travel story, or a broad sunrise panorama. Each interpretation asks for different light, access, focal lengths, and tolerance for uncertainty. Choosing a place because it is popular, then arriving with no visual question, usually produces a technically competent version of an image that already exists.
This guide treats scenic landscape photography as a planning problem. It compares the visual strengths of several destination types, explains how to research access without relying on stale social posts, and builds a field-to-RAW workflow that protects both the files and the place. Specific regulations, road openings, permit systems, and transport arrangements can change. Check the responsible park, land agency, or local authority close to departure and again before entering the field.
Choose a landscape family before a famous viewpoint
Start by identifying the geometry that should carry the photograph. Alpine locations offer layered ridges, steep scale cues, and rapidly moving shadow lines. Volcanic coasts provide dark foregrounds, sea motion, and stark tonal separation. Deserts depend on edge light, repetition, and careful control of empty space. Forests reward intimate compositions, color relationships, and soft conditions that would hide a distant summit. Wetlands and lake districts add reflection, mist, and wildlife, but can make access and tripod placement more delicate.
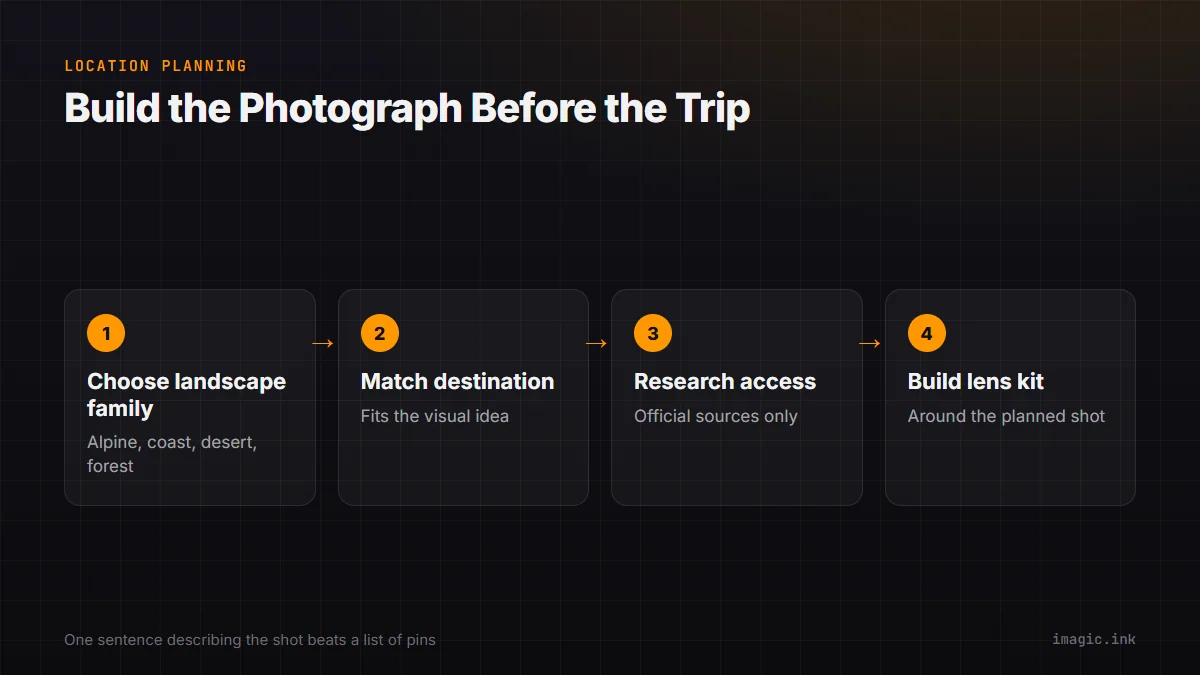
The subject family determines the research. A wide alpine panorama needs a clear foreground and an unobstructed horizon. A telephoto ridge study needs line-of-sight and separation between overlapping planes. A waterfall composition depends on safe bank access and water level, not just sunset direction. A night landscape needs legal after-dark access, a stable foreground, and a sky orientation that fits the season. Write the intended relationship in one sentence, such as "warm side light separating three ridges" or "small hiker against a storm-lit wall." That sentence is a better filter than a collection of saved images.
Match destination character to the photograph
The Dolomites are associated with abrupt limestone towers, high meadows, and strong separation between sunlit rock and shaded valleys. They suit ridge layering, dramatic side light, and scale studies. Iceland offers waterfalls, black coastal forms, geothermal terrain, and quickly changing weather, making it useful for simplified graphic compositions as well as storm narratives. Norway's Lofoten archipelago combines fishing settlements, beaches, steep peaks, and maritime light within relatively compact travel distances.
Patagonia emphasizes wind, large glaciated forms, lenticular cloud, and long approaches where one successful viewpoint may consume a day. The Namib offers dune curves, sparse trees, and color that changes quickly as the sun clears the horizon. The American Southwest supports sandstone structure, slot-canyon reflections, desert skies, and immense variations in land-management rules. New Zealand's South Island combines accessible roads with alpine weather, braided rivers, and coastal options, but distance between regions can still erode a tightly packed schedule.
These descriptions are visual starting points, not promises. Weather can remove the expected view, seasonal closures can move the practical trailhead, and a celebrated foreground can be crowded or ecologically fragile. Build one primary idea and two nearby alternatives for each field session. The alternatives should work under different cloud, wind, or visibility conditions rather than being weaker versions of the same sunrise plan.
Research access through accountable sources
Separate access facts from photographic inspiration. Use official land-manager pages for closures, permits, parking, shuttle systems, trail conditions, drone restrictions, fire rules, and night access. Use topographic maps for gradient, exposure, and route options. Use a sun-and-moon planning tool for direction, but verify that the mapped camera position is actually legal and reachable. Recent local weather and hazard reports matter more than a caption written several seasons ago.
Record each plan in a compact field card: legal parking point, route distance, ascent, turnaround time, communication limits, expected temperature, tide or river issue, and the authority responsible for alerts. Add a conservative buffer between arrival and usable light. A location that needs a shuttle, border crossing, ferry, or permit pickup should not be scheduled as though the vehicle can stop beside the tripod mark.
Avoid copying precise coordinates for sensitive vegetation, nests, cultural sites, or unstable terrain. If a composition requires leaving a durable surface or ignoring a closure, it is not a viable composition. Landscape photographs gain nothing from a damaged foreground or a rescue response. The Destinations and Guides section can support broader trip research, but current local instructions remain authoritative.
Plan light as a range rather than a single minute
Sunrise and sunset are useful anchors, but the best light may occur before, after, or nowhere near the horizon event. East-facing rock can receive direct dawn color while a west-facing valley remains flat. Overcast conditions can open forests and waterfalls by reducing contrast. Broken cloud can send isolated light across a plain. Fog may simplify a familiar location into layers, while clear air can favor a long-lens study instead of the planned wide view.
Prepare a condition matrix. Under clear skies, work the planned sidelight or backlight. Under uniform cloud, move toward details, water, woodland, or color contrast. In strong wind, avoid exposed tripod positions and look for shorter focal lengths, protected foregrounds, or intentional movement. In poor visibility, use close subjects with a readable edge. This turns a forecast change into a different assignment rather than a failed trip.
Do not assume bracketing is mandatory. First inspect the histogram and highlight warnings for the actual scene. A single RAW exposure may hold the required tonal range. Bracket when the scene exceeds that range or when exposure blending is part of the planned result, and keep the sequence consistent enough to identify later. Moving foliage, water, people, and cloud can complicate blends, so capture a clean base frame as well.
Build a lens kit around visual roles
An ultra-wide lens is useful when the foreground is genuinely important and the near-to-far relationship is controlled. It also makes distant mountains look smaller and can fill the edges with weak material. A normal focal length often produces a more natural sense of scale. A short telephoto isolates ridges, compresses atmospheric layers, removes crowded ground, and can create several distinct compositions from one safe position. Focal length is therefore a storytelling choice, not a measure of how much scenery fits.
Assign each lens a role before packing. A compact two-lens kit might cover environmental scenes and distant structure. A third lens is justified when it solves a known problem, such as close foreground detail or wildlife observed from a lawful distance. Include a hood, cleaning cloth, rain protection, spare power, and a stable support appropriate to the route. Filters should have a defined use: a polarizer for controllable reflection or glare, neutral density for intentional long exposure, and graduated filtration only where the horizon and moving subjects make it practical.
Weight has an image cost. A heavy pack can reduce range, attention, and the willingness to explore a secondary viewpoint. Conversely, a minimalist kit that omits the only focal length needed for the stated picture is false economy. Choose against the field card, not against a generic packing checklist.
Use disciplined exposure, focus, and color references
Expose for important highlights while preserving enough shadow information for the intended output. The brightest cloud is not always the visual priority, but unrecoverable clipping in a central sunlit ridge may be. Review channels when saturated dawn color is present because a combined histogram can hide clipping in one channel. Keep ISO low when practical, yet do not accept camera movement merely to protect an arbitrary base setting.
Focus should follow the composition. Hyperfocal estimates are useful only when their assumptions fit the output size and acceptable sharpness. For a strong near foreground, inspect both the near subject and the distant structure. Focus stacking can help a static scene, but wind, water, and changing light create seams. Capture a conventional frame as insurance. At longer focal lengths, atmospheric turbulence can limit detail no matter how precise the focus point appears.
Make one neutral reference when color is difficult, especially around mixed artificial and natural light. That reference does not dictate a final creative grade. It gives the editor a known point from which to judge warm rock, green reflected light, blue shade, or local light pollution. Consistent camera profiles and restrained white-balance changes make a multi-day set easier to sequence.
Protect the place and the field team
Turnaround time is part of the exposure plan. Set it from daylight, terrain, weather, and the slowest member of the group, then honor it even if the sky looks promising. Carry navigation that does not depend on reception, suitable layers, water, food, lighting, and the safety equipment appropriate to the route. Coastal work adds tide and wave risk; deserts add heat and navigation risk; alpine work adds sudden weather, loose ground, and exposure.
Wildlife distance is determined by law and animal behavior, not by focal-length ambition. Never bait, crowd, block, or pursue an animal for a cleaner background. Keep paths and viewing areas usable for other visitors. Avoid bright lights, loud direction, and repeated footprints in fragile night locations. If a viewpoint is full, a different composition is preferable to expanding the site.
Commercial activity, workshops, models, lighting, and drones may trigger permits beyond ordinary visitor access. Verify the exact activity rather than assuming a still camera is always exempt. A permit is not merely paperwork; it can define where a team may stand, how long it may work, and which environmental or visitor protections apply.
Back up and select with the story in view
Copy cards into a job folder without renaming them mid-transfer. Verify the copy, create an independent second copy, and keep cards out of rotation until the data is protected. Organize by day and camera only if that structure remains unambiguous. Preserve bracket sequences, panoramas, focus stacks, and long-exposure alternates as groups. A future editor should be able to reconstruct why adjacent files belong together.
The first cull removes technical failures and accidental frames, but it should not reward only maximum sharpness. Mist, moving water, wind-blown foliage, and small human figures can be essential. Compare variations at the sequence level: cloud shape, light position, gesture, edge control, and relationship between foreground and background. Select one lead frame, then keep only alternates that solve a different delivery need.
imagic can scan a copied directory and analyze sharpness, exposure, composition, closed eyes where relevant, plus near-duplicate and burst relationships. Its culling decisions change status rather than deleting files, and processing remains local. That makes it useful for organizing a large field take while the photographer retains the interpretive decision. The local desktop workflow is one option for this review stage.
Turn the shortlist into a workable itinerary
Score candidate sessions against visual fit, legal access, weather flexibility, travel cost in time, physical demand, and backup options. Remove plans that depend on one precise cloud gap after a long transfer. Cluster compatible locations so a delayed road or poor forecast does not collapse the whole trip. Leave unassigned time for rest, scouting, backup, and the unexpected conditions that often produce the strongest work.
For each session, define a minimum success: one usable composition, a scouting record, or a weather study. Then define the stretch result. This prevents frantic movement between viewpoints and encourages attention to small changes. A destination guide becomes useful when it helps a photographer decide where not to go, what not to carry, and when to stop, not merely when it adds more pins to a map.
Frequently asked questions
How many landscape locations should fit into one trip?
Choose fewer than the map appears to allow, then protect time for scouting, weather changes, and safe travel. A compact cluster with alternatives usually produces more coherent work than a daily race between distant icons.
Is sunrise always better than sunset for scenic photography?
No. The useful window depends on terrain orientation, access, weather, and the intended relationship between light and subject. Research both directions and prepare a non-sun event option.
Should every high-contrast landscape be bracketed?
No. Check whether one RAW exposure preserves the important tones first. Bracket deliberately when the scene or planned blend requires it, and capture a clean base frame when subjects move.