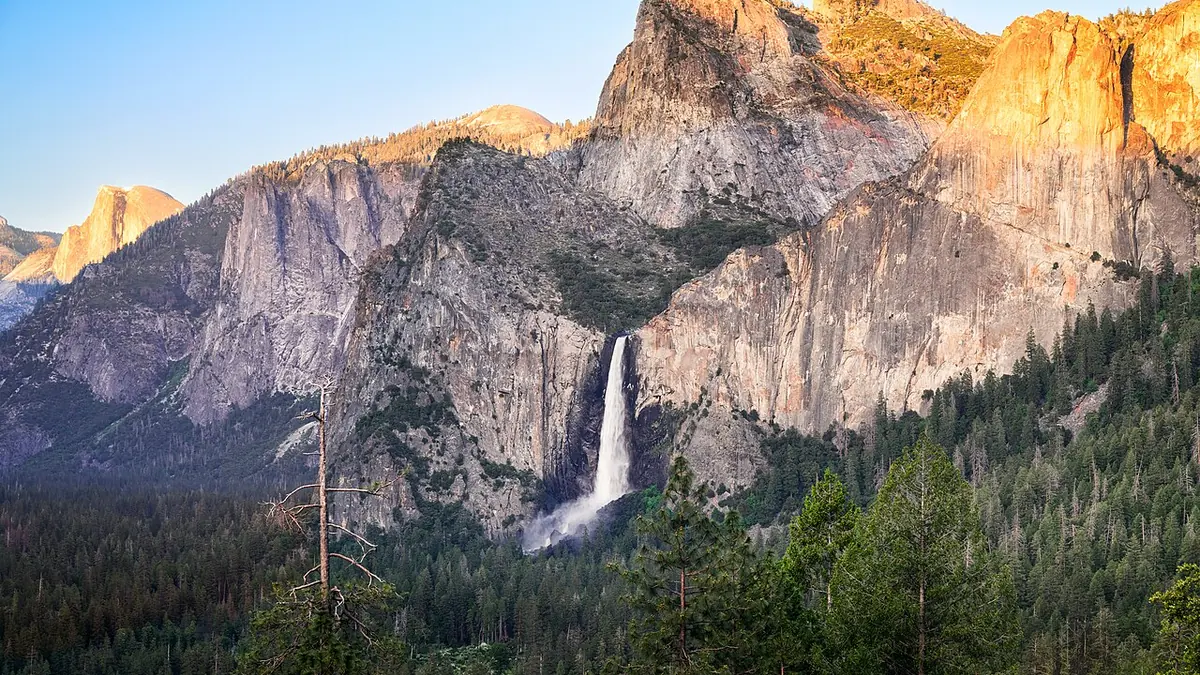
Yosemite rewards photographers who can change scale. Granite walls invite broad views, but the valley also holds river reflections, meadow layers, forest edges, weather, and small human relationships. The famous compositions are useful orientation points, not guarantees. Roads, parking, trails, seasonal services, fire conditions, river levels, and special event controls can change the practical picture.
National Park Service information checked on 15 August 2026 should be treated as the current authority for entrance requirements, reservations when applicable, closures, permits, wilderness conditions, drone restrictions, and Horsetail Fall management. Recheck official alerts before travel and again before leaving accommodation. An old itinerary can be unsafe or impossible after snow, rockfall, fire, flood, construction, or crowd controls.
Build a valley plan around orientation
Tunnel View provides a broad relationship among major valley landmarks and changing weather. Valley View brings the river and foreground vegetation into a lower perspective. Cook's Meadow and nearby established paths can support open views of granite walls with seasonal meadow context. Sentinel Bridge is associated with a Half Dome and river relationship. Each site changes with water, foliage, snow, smoke, cloud, and visitor density.
Study the sun direction and terrain, but plan a range rather than one exact beam. High walls can delay or block direct light. A forecast for clear sunrise does not mean the valley floor receives immediate color. Broken weather can produce stronger separation, while uniform cloud may favor water, forest, and details.
Use the park shuttle, legal parking, and established paths according to current rules. Never stand in a road or expand a viewpoint into vegetation because the expected foreground is occupied. Arrive early enough to understand the shared space, then choose a composition that works without controlling other visitors.
Treat Glacier Point Road and Tioga Road as seasonal systems
High-country access depends on snow, road opening, weather, construction, and seasonal services. Glacier Point Road and Tioga Road can be closed for significant periods and may not open on a predictable date. The National Park Service posts current road status. Do not infer access from the calendar or a photograph made in a previous year.
When open, elevated areas change both perspective and hazard. Distant walls can be compressed with a telephoto, while broad views can include sky and valley scale. Exposed edges, lightning, wind, cold, and darkness require conservative movement. Stay behind barriers and on durable legal surfaces; a slightly altered camera position is not worth a fall.
Create a valley-level alternative before committing to the high country. If the road closes or cloud removes distant views, river, forest, waterfall, and granite detail can still support the project. The alternate should require less exposure to the hazard, not a rushed drive to another distant pass.
Photograph waterfalls according to water and light
Waterfall appearance changes through snowmelt, rainfall, drought, wind, and temperature. Strong flow creates spray and may obscure detail. Low flow can reveal rock structure or reduce a famous fall to a delicate line. Check current conditions and accept the actual landscape rather than processing every season toward a single expectation.
Choose shutter speed for the intended texture. A shorter exposure can preserve structure and force, while a longer exposure can simplify movement. Long exposure is not automatically more sophisticated. Spray, wind-blown branches, and tripod vibration can reduce clarity, so capture several durations and a clean reference.
Protect equipment without blocking the path. Use a hood, cloth, and rain cover, and inspect the front element frequently. Riverbanks and wet rock can be unstable. Obey closures and never enter fast water for a lower angle. The Merced and other waterways can be cold and powerful even when the surface looks calm.
Approach Horsetail Fall as a conditional event
The orange "firefall" appearance at Horsetail Fall depends on water, clear western light, viewing geometry, and atmospheric conditions during a limited seasonal window. It is not guaranteed by a date. The event attracts concentrated visitation, and the National Park Service may implement parking, access, or reservation controls that vary by year.
Read the current official event page before planning. Use designated areas, follow staff instructions, pack out waste, and avoid riverbank or meadow damage. A long lens can isolate the lit water and cliff from an approved position. A wider frame can show weather and scale when the narrow effect does not occur.
Do not promise the phenomenon to a workshop or client. Frame the session as an attempt under defined natural conditions with alternative subjects. The sunset, cliff texture, winter trees, and gathering weather can remain photographically worthwhile without the expected color.
Choose focal length by granite relationship
An ultra-wide lens can emphasize a river stone, fallen log, or meadow edge while retaining the walls, but it can also shrink distant granite and exaggerate empty foreground. A normal focal length often preserves the apparent scale experienced from the valley. A telephoto can isolate light, reveal patterns, and layer cliffs without leaving established access.
Carry focal lengths that match the day's location cluster. A standard zoom plus telephoto can cover many valley relationships. A wider option is justified for interiors of forest, very close foregrounds, or a deliberate expansive view. Lens weight matters on long paths and shuttle days; an unused lens is not neutral if it reduces mobility and attention.
Perspective comes from position. Cropping a broad frame cannot recreate the compression of a distant viewpoint. Conversely, a long lens cannot create foreground depth without the camera occupying the right relationship. Scout position first, then select focal length.
Expose granite, cloud, and forest as separate priorities
Bright granite and cloud can coexist with deep forest shade. Decide which tones carry the image, inspect the histogram and individual color channels, and protect important highlights. A single RAW exposure may be sufficient. Bracket when the scene exceeds the required range or when blending is planned, and capture a base frame because foliage, mist, water, and visitors move.
At sunrise and sunset, saturated warm channels can clip before the combined histogram appears alarming. Review cautiously. Under smoke or haze, distant contrast is genuinely reduced. Excessive dehazing can create halos and misrepresent conditions; a softer atmospheric layer may be central to the picture.
Focus according to output and depth. If a foreground object is essential, verify near and far detail or create a careful stack when the scene is stable. If the image is primarily distant granite, avoid adding a trivial close object solely to demonstrate front-to-back sharpness.
Respect wildlife, meadows, and cultural resources
Follow current National Park Service distances, food-storage rules, closures, and ranger direction. Never approach, feed, call, or surround wildlife. A bear, coyote, deer, or bird changing behavior because of a photographer is a sign to increase distance. Roadside sightings must not create unsafe stopping.
Stay on designated routes and durable surfaces, especially around wet meadows and crowded riverbanks. Repeated tripod legs and footprints can widen informal paths. Do not move natural or cultural objects to improve a foreground. Commercial activity, workshops, models, and special equipment may require permits; verify the exact activity.
Drones are prohibited under the park's rules except under narrow official authorization. Do not treat an aerial-looking social image as evidence that launch is allowed. Viewpoint alternatives exist from lawful roads and trails.
Prepare for weather, altitude, and darkness
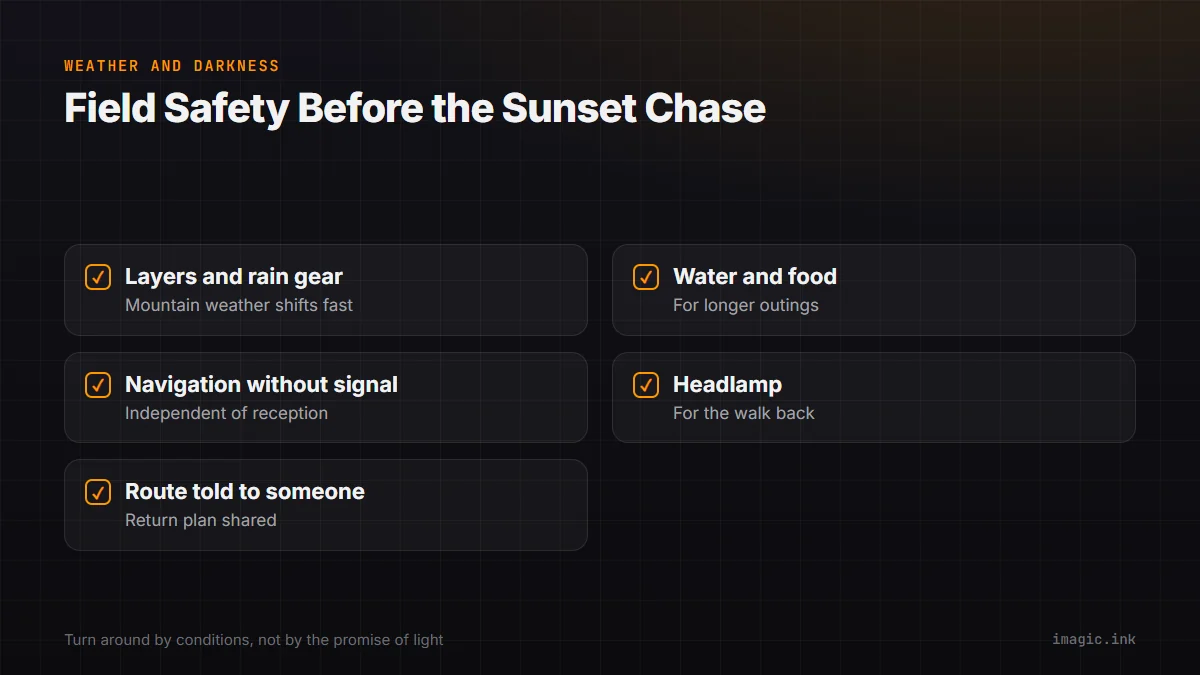
Carry layers, rain protection, water, food, navigation independent of reception, and lighting. Tell a responsible person the route and return plan for longer outings. Mountain weather can change quickly, and summer heat in exposed valley areas can also be serious. Turn around according to conditions rather than the promise of better light.
Snow and ice require appropriate traction and route knowledge. Water crossings, steep trails, and exposed granite should not be attempted beyond skill or current guidance. Night photography adds navigation and wildlife considerations. Scout the return route in daylight and avoid placing tripods where others cannot see them.
Keep batteries dry and reasonably warm, and protect cards from loss during changes. Use a simple checklist before leaving each viewpoint: camera, lens caps, filter, support, light, phone, and waste. Small equipment searches after dark create unnecessary risk.
Back up and edit a Yosemite sequence
Copy cards into a clear day-and-camera structure, verify the transfer, make an independent second copy, and retain cards until both are confirmed. Keep brackets, panoramas, focus stacks, and alternate water exposures contiguous. Record broad location and condition notes without exposing sensitive wildlife information.
imagic can scan a copied directory and locally analyze sharpness, exposure, composition, closed eyes where relevant, and near-duplicate or burst groups. Culling changes status instead of deleting original files. Automated organization can reduce repeated technical comparisons, but the photographer still chooses atmosphere, sequence, and the honest representation of conditions. The desktop workflow describes that process, and the Destinations and Guides section supports further planning.
Edit a sequence across scales. Include a broad orientation, medium relationships, details, weather, water, forest, and human scale where permitted. Keep color and contrast coherent without making every granite surface orange or every river turquoise. Captions should distinguish current observations from permanent rules.
Build a flexible two-day structure
On the first day, scout a valley cluster in daylight, identify legal parking or shuttle points, and photograph an evening plan plus a nearby weather alternative. Use the next morning for a location whose orientation and access are now understood. Reserve midday for forest, water, detail, rest, backup, and official condition checks.
The second day can respond to what the first revealed. If high-country access and weather are suitable, follow the prepared route. If not, deepen the valley story rather than driving long distances for another icon. A coherent Yosemite set is built from attention to changing conditions, not from counting landmark names.
Plan the exit as carefully as the sunset
Popular sunset viewpoints can release many vehicles and pedestrians into darkness at once. Before setting up, identify the lawful parking place, shuttle option where operating, walking route, headlamp requirement, and an alternate path if a stop closes. Keep equipment compact enough to leave without spreading cases across a shoulder or blocking another visitor's line of travel.
Set a departure trigger that accounts for weather, road status, fatigue, and the slowest person. A final band of color is not a reason to rush later on an unfamiliar road. Back at the working base, note any access change observed that day and check the official alert before building the next morning around it.
For a commercial crew or organized instruction, verify whether the activity, group size, models, lighting, or location triggers a permit or other authorization. Ordinary visitor access does not automatically cover a staged production. Put permit conditions into the call sheet so creative direction never conflicts with the approved footprint.
Frequently asked questions
Is a reservation always required to enter Yosemite?
Requirements can vary by date and management plan. Check the National Park Service's current Yosemite entrance and reservation pages before travel rather than relying on a previous season.
When does Horsetail Fall turn orange?
The effect is conditional, not scheduled. It requires water, suitable late light, clear geometry, and atmospheric cooperation, while access controls can change each year.
Can a drone be used for Yosemite landscape photography?
Recreational launch, landing, or operation is prohibited under National Park Service rules except for narrow authorized uses. Consult the current official rule and use lawful ground viewpoints.