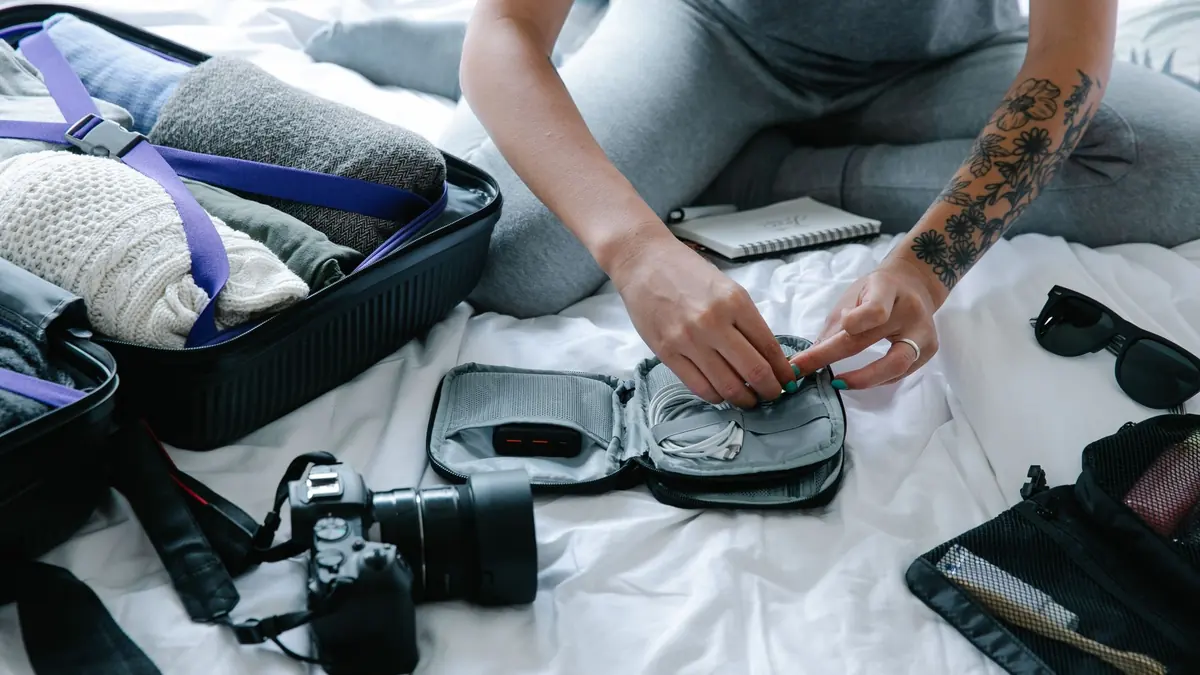
A ten-day trip produces more raw captures than most photographers shoot in a slow month at home. Airports, changing light, one shot at a landmark before the tour group moves on: the volume compounds fast, and it lands on a laptop that was already tight on space before the plane took off. Without a plan, that volume turns into a stressed compression job the night before a flight home, then a several-thousand-file backlog nobody wants to open once the trip is over.
This page works as a hub. It walks through the four pieces that actually decide whether a trip's photos come home organized or come home as a mess: gear decisions, permits and access rules, the backup routine, and the culling plan. Where a topic deserves its own full walkthrough, particularly the bulk cull of a four-figure shoot, this page introduces it in context and links to the dedicated guide rather than repeating a shorter version here.
Why a trip needs a written plan, not just packed gear
Most pre-trip photography advice stops at the packing list: which body, which lenses, how many batteries. That list matters, but it skips the three failure points that actually ruin a trip's photo output. The first is storage: running short on card space on day six of fourteen, with no shop nearby that stocks the right card type. The second is access: showing up at a location to find a permit was required, a drone ban was in effect, or a fee booth only takes exact local cash. The third is the backlog: arriving home with an unsorted folder of eight or nine thousand files and no system for turning it into a manageable edit before the memory of the trip fades.
A written plan does not need to be elaborate. It needs four short sections, each with a decision made in advance rather than improvised abroad: what gear the trip actually calls for, what permissions need checking before departure, how backups happen every single day without exception, and what the culling process looks like both on the road and once everyone is home. The rest of this page works through each of those in order, then closes with a condensed countdown checklist.
Two weeks out: matching the camera kit to the trip, not the other way around
The most common gear mistake on a trip is packing the kit used for weekend local shooting rather than the kit the trip's actual subject matter calls for. A city-and-food trip with a lot of walking and candid moments asks for something different than a wildlife-heavy safari or a coastal trip built around long lens work at golden hour. Working out which category the trip falls into before buying or renting anything saves both money and back pain.
- Mostly street, markets, and architecture: a compact, fast-handling body with a fixed or short zoom lens tends to get used more than a bulky kit that stays in the bag. The street and travel RAW workflow guide covers how a pocketable fixed-lens body changes the daily card-and-culling routine compared to an interchangeable-lens system.
- Wildlife, safari, or anything burst-heavy: continuous shooting at high frame rates fills cards fast and produces long runs of near-duplicate frames that need a deliberate culling approach. The burst-workflow considerations in the trip's storage math below assume this category generates the largest file counts.
- General landscape and scenic coverage: a versatile zoom range and a tripod for low light usually matter more than frame rate. This is the category where permit and access rules below tend to bite hardest, since scenic viewpoints often sit inside managed park or reserve land.
- A mix of everything: most trips are not purely one category. Building the kit around the two most demanding subjects on the itinerary, and accepting that the rest gets covered adequately rather than perfectly, avoids overpacking.
Lens choice deserves the same trip-specific thinking as the body. A single versatile zoom covers more ground per gram carried than a bag of primes, and weight adds up fast across a full day of walking with a pack. A workable rule is picking one lens built for the trip's single most demanding subject, one general-purpose lens for everything else, and leaving a third specialty lens at home unless the itinerary genuinely calls for it. Overpacking lenses rarely improves the shots that make the final edit; it mostly adds weight and indecision in the field.
Before committing to a new camera purchase for a trip, check the manufacturer's own current product page rather than a review written months earlier. Availability, regional pricing, and even which markets a body currently ships to change over the course of a year, and a body that was in stock everywhere in spring can be backordered or region-limited by late summer. Whichever body ends up in the bag, the export and organization steps that follow the trip stay the same, which is the part this page focuses on.
Permits, drone rules, and access restrictions to clear before departure
Access rules are the part of trip planning most likely to get skipped, and the part most likely to cost a shot list item entirely when skipped. Rules vary enormously by destination and change year to year, so the only reliable approach is checking each location's own official source close to the departure date rather than relying on a travel blog post that may be several seasons stale.
| Category | What to check | Where to check it |
|---|---|---|
| National parks and reserves | Entry permits, tripod or commercial-use fees, timed-entry booking windows, closed trails or seasonal closures | The park or reserve's own official management authority site, not a tourism aggregator |
| Drone flight | Whether drones are permitted at all, altitude limits, no-fly zones near airports or wildlife, registration requirements for visitors | The national aviation or drone regulator, plus the specific park or site's own drone policy, since a country-level yes does not override a local no |
| Private land and cultural sites | Photography restrictions inside religious buildings, museums, or private estates; flash bans; tripod bans | The specific site's own visitor information page, confirmed on arrival at the ticket desk if the page is ambiguous |
| People and portraits | Local expectations around photographing strangers, model release norms for any planned commercial use of portraits | Destination tourism board guidance, cross-checked against general courtesy norms for the specific culture and setting |
| Transport and border crossings | Whether checked luggage restrictions affect lithium battery counts or card readers, and any customs declarations for professional-grade equipment | The airline's own carriage policy and the departure and arrival country's customs authority |
The pattern across every row is the same: go to the primary authority for that specific rule, not a secondhand summary. Rules that were accurate a year ago can have changed by the time of departure, and a permit requirement discovered at the gate is a lost shot, not a minor inconvenience.
These categories tend to stack on a single itinerary rather than appear in isolation. A coastal national park visited on the way to a small coastal town might involve a park entry permit, a separate drone restriction near a seabird colony, and a private boat operator with its own no-tripod rule on deck. Working through the table above location by location, rather than assuming one blanket set of rules covers an entire country, catches these overlaps before they become a same-day surprise.
The storage math: working out how many cards a trip actually needs
Card capacity planning goes wrong most often because photographers estimate based on a typical day at home rather than a typical day of travel shooting, where volume tends to run several times higher. Rather than a single number, the useful approach is a small calculation with the assumptions shown, so the numbers can be swapped for the specifics of any given trip.
| Variable | Worked example | Substitute for your trip |
|---|---|---|
| Trip length | 10 shooting days | Count actual camera-in-hand days, not travel days |
| Average frames per shooting day | 350 (higher on wildlife or event days, lower on transit days) | Base this on the busiest days on the itinerary, not the average day |
| File size per frame | Roughly 45MB for a compressed RAW file at typical resolution; adjust for the specific camera's RAW format and compression setting | Check the actual body's file size at its normal RAW setting, since sensor resolution and compression vary widely between models |
| Total captured volume | 10 x 350 x 45MB = roughly 158GB | Multiply your own three numbers above |
| Buffer for a bad-luck day or a burst-heavy outing | Add 25 to 40 percent on top of the base total | Add more buffer for wildlife, sports, or fireworks-style bursts; less for a slow-paced walking trip |
| Recommended card strategy | Two or three mid-capacity cards rotated daily rather than one very large card | Smaller cards rotated and backed up daily limit the damage if a single card fails or is lost |
Shooting RAW plus JPEG together, rather than RAW alone, roughly adds the JPEG file size on top of every frame in the calculation above, since both files get written for every shutter press. That combination is worth it when a quick JPEG preview is useful for sharing from a phone during the trip itself, but it is extra weight in the storage math for photographers who only ever work from the RAW files once home. Deciding this once before departure, rather than mid-trip, keeps the storage math accurate for the rest of the itinerary.
The keeper rate does not factor into the storage calculation directly, since every frame captured takes up card space regardless of whether it survives the eventual cull. Keeper rate matters later, at the editing stage: a typical travel shoot keeps somewhere between 10 and 30 percent of captured frames as a finished deliverable, and that rate is what determines how much editing time the trip needs once home, covered further down.
The backup plan: two independent copies before the day ends
The single rule that prevents most trip photo disasters is simple to state and easy to skip when tired at the end of a long shooting day: no card gets formatted or reused until its contents exist in two separate physical locations. A card that has only been copied once, to one laptop, is not backed up. If that laptop is lost, stolen, or damaged, the single copy goes with it.
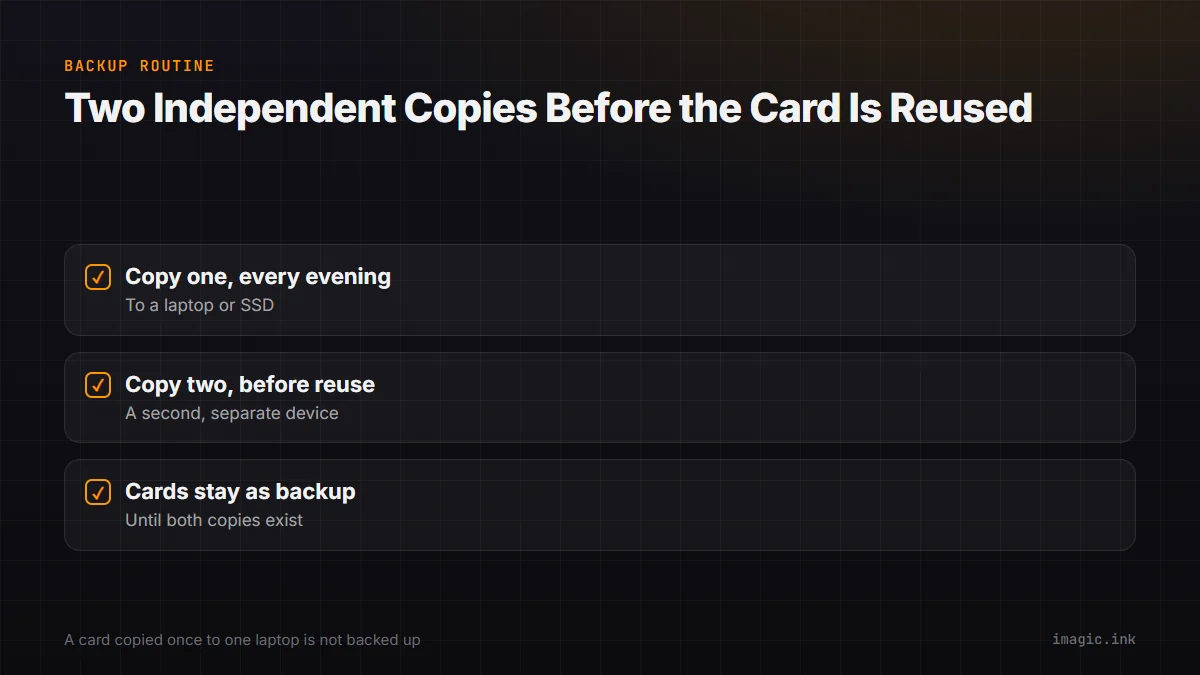
- Copy one, every evening: transfer the day's cards to a laptop or a dedicated portable SSD. This can happen while reviewing the day's shots, turning a chore into a moment of looking back at what got captured.
- Copy two, before the card gets reused: mirror the same files to a second physical device, ideally one that travels separately from the first. A second small SSD kept in a different bag, or a cloud upload where connectivity allows, both satisfy this as long as it is genuinely independent of copy one.
- Cards themselves stay as a third copy until the trip ends: resist reformatting a card the moment it is copied once. Rotating through enough cards to avoid reformatting until both backups exist turns the memory cards into a free third safety net at no extra cost.
A camera body with dual card slots set to simultaneous write mode effectively builds the first backup copy at the moment of capture, since every frame lands on two cards at once rather than one. That is a useful extra layer for irreplaceable moments, but it is not a substitute for the evening transfer step, since both cards still travel together in the same bag and share the same risk of loss or theft. A dedicated card reader that transfers faster than the camera's own USB port is a small, easy-to-forget item worth adding to the packing list, since a slow transfer is the kind of thing that quietly discourages doing the backup every single night.
Cloud backup on hotel or airport wifi raises a separate question worth answering before departure rather than mid-trip: which parts of the workflow, if any, actually need an internet connection, and what happens to image data that does get uploaded somewhere. Desktop software labeled as an "app" does not automatically mean the processing and file handling stay local; some tools require an account and a network connection for core features even when installed on the machine. The dedicated cloud upload and privacy checklist walks through how to tell whether a given tool is actually keeping images on the device or routing them elsewhere, which matters more on a trip than at home given unfamiliar networks and, in some cases, border data-handling rules.
The two-pass culling plan: light triage on the road, the full cut once home
Trying to fully edit a trip while still traveling usually backfires: it eats into time that could go toward actually shooting or seeing the destination, and decisions made on a small laptop screen after a long day rarely hold up on review later. A two-pass approach works better for most trips.
The first pass happens each evening during the backup step above, and it should take ten to fifteen minutes, not an hour. The goal is narrow: flag anything that is an obvious technical failure worth deleting immediately, such as an accidental shutter fire of a lens cap, and star or flag the handful of frames from the day that clearly stand out. Nothing else needs a decision yet. This pass exists to catch card-space problems early and to create a rough breadcrumb trail through the day, not to finish the edit.
The second pass, the real cull, happens after the trip when there is time to sit with the full set on a proper screen. This is where a ten-day trip's few thousand frames get reduced down to the couple hundred that actually become a finished set, and it is a large enough job that it deserves its own dedicated process rather than a quick summary here. The full walkthrough, covering how to work through several thousand travel frames systematically without losing days to it, lives at how to cull 4,000 travel photos, and it picks up exactly where this checklist leaves off: cards backed up, light triage done, ready for the full pass.
Software that scores sharpness, flags closed eyes, and groups near-duplicate burst frames automatically speeds up that second pass considerably compared to clicking through every frame by hand. imagic's desktop app runs that scoring and grouping locally on the machine, without the images leaving it, and its culling and editing actions are non-destructive, meaning no command in the workflow deletes the original files outright.
Choosing local-first software before departure, not after
The best time to settle on editing and culling software for a trip is before packing, not on the flight home while staring at a full card and an unfamiliar tool. A few things are worth deciding in advance.
Whether the software needs to stay useful without a reliable internet connection matters more while traveling than it does at home. Hotel and airport wifi is inconsistent, and a tool that requires cloud processing or an account check-in to function can leave a photographer stuck mid-edit somewhere without decent bandwidth. The full AI photo culling software comparison lays out how several current tools differ on this exact point: which ones process locally, which require an account and network access even for local files, and how each one prices out. That comparison includes a clear "not for you if" section for every product covered, imagic included, since no single tool fits every workflow.
On imagic specifically: the desktop app processes RAW files locally through its own built-in RAW engine, supports nine common RAW formats across Canon, Nikon, Sony, Fujifilm, Olympus, Panasonic, Pentax, and DNG-based cameras, and is priced as a one-time EUR license (19, 49, or 99 depending on tier, checked 15 August 2026) rather than a subscription, with a 500-export free trial that does not require a card. For quick single-photo touch-ups from a phone or a borrowed laptop mid-trip, the free web-based single-photo editor covers basic adjustments without needing the desktop install at all. It is not the right fit for every trip, though: it has no mobile app, no cloud sync between a phone and a laptop mid-journey, and no built-in tethering, printing, or generative retouching, so a workflow that depends on syncing edits across multiple devices in real time will want a different tool.
For photographers who script or automate parts of their post-trip export process, imagic's Max tier adds a local MCP server and command-line interface, letting an AI agent drive the app's existing tools on request, always with the file operations happening on the local machine rather than a local server silently uploading RAW files somewhere. The plain-English guide to MCP for photographers explains what that setup actually does and does not do before anyone builds an automation around it.
Metadata, time zones, and keeping the trip's story in order
A camera clock set to home time zone, left unchanged across a multi-country trip, quietly scrambles the chronological order of every photo once viewed later. Frames from a sunrise shoot can appear to have been taken hours before an evening shot from the previous day, which makes reconstructing the actual order of a trip's story difficult during the edit. Setting the camera clock to local time at each new destination, or at minimum noting the offset somewhere, avoids this entirely.
Captioning and keywording on the road tends to work best kept light: a rough note of the location and day is enough to reconstruct the story later, rather than trying to write finished captions while still traveling. The heavier keywording and captioning pass fits more naturally into the same post-trip session as the full cull, when there is time to check place names and get details right rather than guessing from memory at the end of a long day.
A simple, consistent file naming pattern applied during the evening transfer, such as a date prefix followed by a location code, makes the eventual full cull much faster to navigate than relying on the camera's default sequential file numbers, which reset or repeat across cards and carry no information about where or when a frame was taken. This takes only a few extra seconds per transfer and pays off considerably once the trip's full folder structure needs to be searched weeks later.
Geotagging is worth a deliberate decision rather than a default. Automatic location tagging is useful for reconstructing a route later, but it also embeds precise coordinates into every file, which matters if any images end up shared publicly from a home address, a private stay, or a sensitive location. Turning geotagging off selectively, or stripping it before sharing specific images, is a five-second decision that is much easier to make in the moment than to fix after the fact.
The final countdown: one week before, the day before, and at the gate
A condensed version of everything above, broken into three checkpoints, covers the last stretch before departure.
- One week before: confirm every permit, drone registration, and timed-entry booking identified in the access-rules table. Format and test every memory card that will travel. Confirm the backup software or SSD setup actually works with a real test transfer, not just an assumption that it will.
- The day before: charge every battery fully, including spares. Pack cards in a case that separates full cards from empty ones, since a mixed pile invites accidental reformatting of a card that still has the trip's only copy of a day's shooting. Confirm the checked-luggage battery and equipment rules for the specific airline being used.
- At the gate or on arrival: keep memory cards and at least one backup device in carry-on luggage rather than checked bags. Set the camera's clock to local time as the first action after landing, before the first frame gets shot. Do the first evening's backup and light-triage pass on schedule, even on a jet-lagged first night, since skipping it once makes skipping it again far more likely for the rest of the trip.
Frequently Asked Questions
How far in advance should photography trip planning start?
For most trips, two to three weeks ahead is enough time to sort gear decisions, check permit and drone requirements, and test a backup routine before departure. Trips involving a major new camera purchase, a permit with a long approval lag, or travel to a destination with strict access rules benefit from starting a month or more out, since some permits and bookings have their own separate lead times outside the traveler's control.
How many memory cards does a two-week trip actually need?
It depends heavily on shooting volume and subject matter, which is why the storage math section above works through the calculation with assumptions shown rather than giving one fixed number. As a general shape, several mid-capacity cards rotated and backed up daily hold up better than a single very large card, since a rotation limits how much shooting is at risk if any one card is lost, corrupted, or fails.
Is it safe to back up travel photos over hotel wifi?
Hotel and public wifi networks are usually fine for uploading already-encrypted backups to a reputable storage provider, but they are not the place to first learn whether a given piece of software uploads image data as part of its normal operation. Checking that in advance, alongside how a tool actually handles account requirements and local processing, is covered in the dedicated cloud upload and privacy checklist linked in the backup section above.
What should happen to memory cards during airport security?
Memory cards themselves are not restricted by standard airport security screening in most countries, but keeping them in carry-on luggage rather than checked bags is the safer default, since carry-on stays under direct control and checked baggage carries a higher risk of loss, theft, or rough handling. Checking the departure and arrival airport's current specific security guidance ahead of the trip is worth the five minutes it takes.
How long does the full edit take once everyone gets home?
This varies with total frame count and the software used for the cull, but the two-pass approach above is designed to make the after-trip session faster than starting from a completely unsorted folder, since the light on-the-road triage has already flagged obvious keepers and removed technical failures. The dedicated guide to culling several thousand travel photos linked in the culling section above walks through a systematic pass built around exactly this starting point.
Should a trip be shot in RAW plus JPEG or RAW only?
RAW plus JPEG is worth the extra storage for photographers who want a quick, shareable preview available straight off the card during the trip itself, for example to send a photo home the same day. Photographers who only ever open the RAW files during the post-trip edit, and never touch the JPEGs, are generally better off shooting RAW only and reclaiming that storage for more frames instead, using the worked calculation in the storage math section above to decide which fits the trip better.