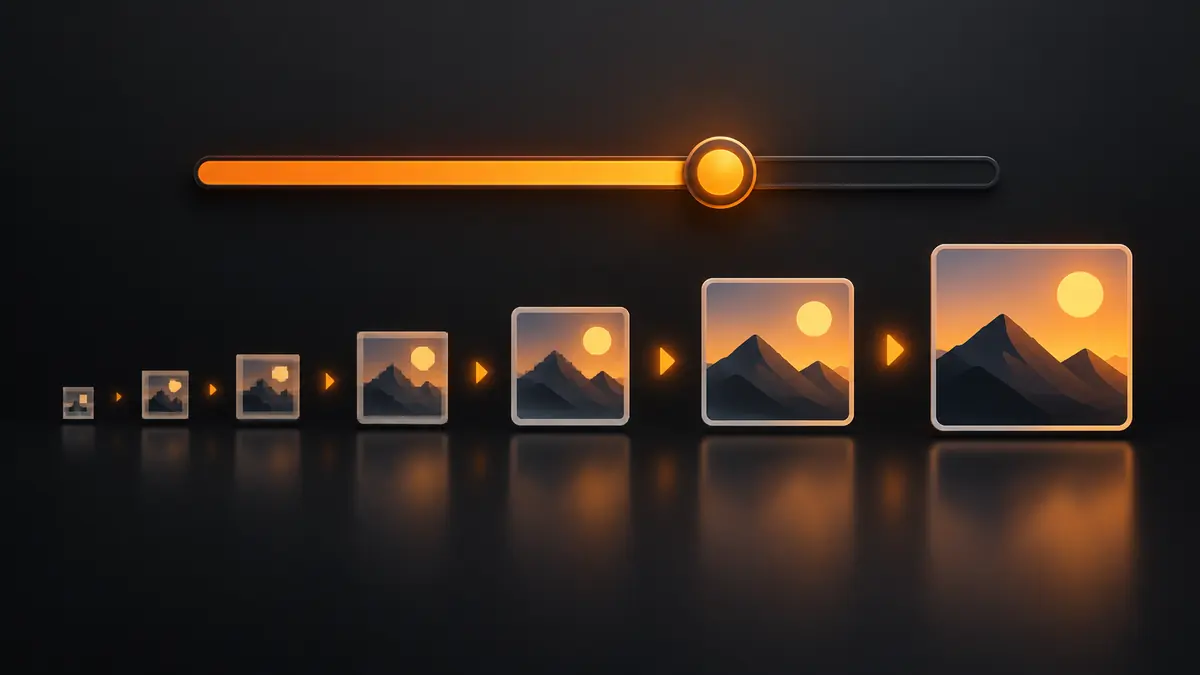
The JPEG quality slider looks like a simple tradeoff, higher number, bigger file, but the relationship is not linear, and understanding why changes how you should actually set it. Here is what the best JPEG export settings actually are, per destination, and the two technical concepts worth understanding first.
What the Quality Slider Actually Does
JPEG compression works by discarding information that is least noticeable to the human eye, more aggressively as the quality number drops. The relationship between quality and visible loss is not linear: dropping from 100 to 90 barely changes file size or visible quality, but dropping from 60 to 40 both shrinks the file a lot and starts introducing visible blocky artifacts, especially in smooth gradients like skies. The practical sweet spot for delivery is typically 85 to 92: file size is already meaningfully smaller than 100, but compression artifacts are not visible in normal viewing. Going all the way to 100 mostly just wastes file size for no visible benefit in most delivery contexts.
Chroma Subsampling, in Plain Words
This is the setting most people never touch and few explain clearly. Human eyes are much less sensitive to fine color detail than to fine brightness detail, so JPEG can store color information at lower resolution than brightness information without most people noticing, and that is chroma subsampling. The common options are 4:4:4 (full color resolution, largest files) and 4:2:0 (reduced color resolution, smaller files). For photographs, 4:2:0 is usually indistinguishable from 4:4:4 at normal viewing sizes, since photos rarely have the kind of sharp, saturated color edges (like text or fine graphic lines) where subsampling becomes visible. Most export tools default to 4:2:0 for exactly this reason, and it is a reasonable default to leave alone for photographic work.
Presets by Destination
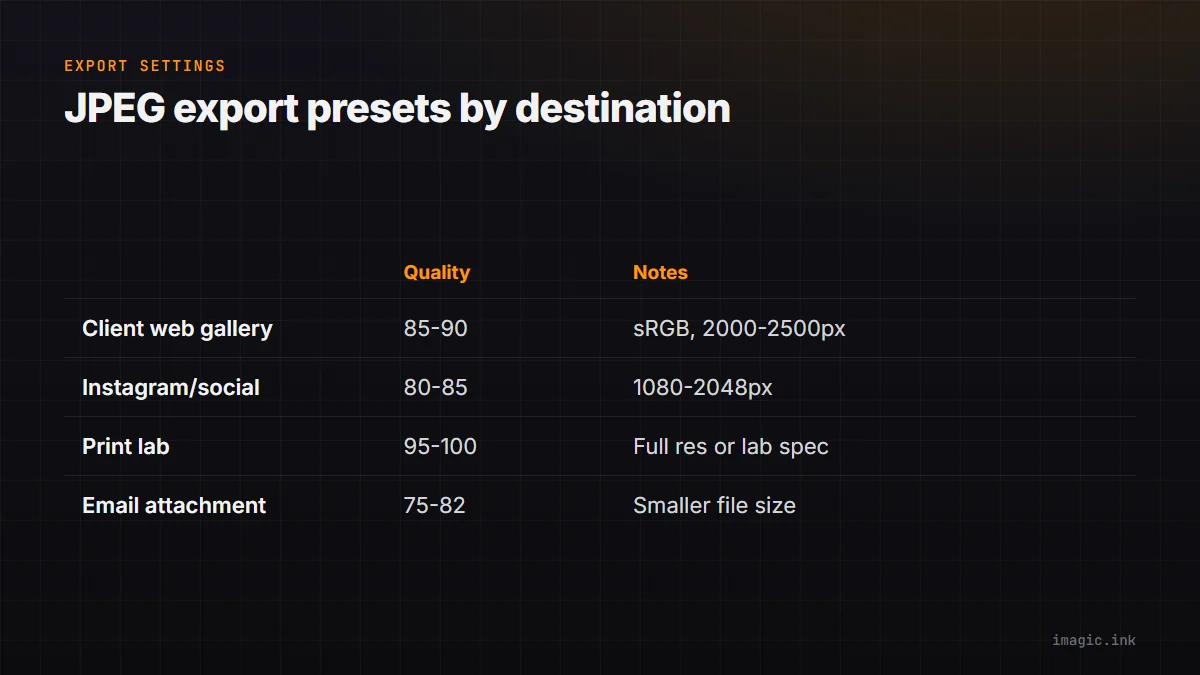
| Destination | Quality | Notes |
|---|---|---|
| Client web gallery | 85 to 90 | sRGB, resized to 2000 to 2500px long edge |
| Instagram / social | 80 to 85 | Platform recompresses on upload, so starting high is wasted; sRGB, 1080 to 2048px |
| Print lab | 95 to 100 | Full resolution or per lab spec; artifacts matter more at print viewing distance for detail work |
| Email attachment | 75 to 82 | Smaller file size prioritized; most email clients compress further anyway |
Setting these up once as reusable export presets, rather than reconsidering quality and resizing every session, is the biggest practical time saver here. See Batch Export Photos: Step by Step for the full export workflow.
Where imagic Fits
imagic's export settings cover quality, resizing, and color space per batch, so a client gallery preset and a print lab preset can both exist and be applied without reconfiguring each time. Processing is local on Windows or Mac, exporting to JPEG or TIFF. Try single-photo export settings free at the web editor, or the full batch workflow with the desktop free trial.
Frequently asked questions
Is JPEG quality 100 always the best choice?
Not for delivery. It produces the largest files with a benefit that is invisible in almost any normal viewing context; 85 to 92 typically delivers visually identical results at meaningfully smaller file size.
Does chroma subsampling hurt photo quality?
Rarely, for photographs. It is more likely to show artifacts on sharp-edged graphics or text, which is why 4:2:0 remains a safe default for photographic delivery.
Why does the same quality setting produce different file sizes across photos?
JPEG compression efficiency depends on image content, a smooth sky compresses more than a detailed forest, so file size at a fixed quality setting varies frame to frame even within the same shoot.
Try imagic's free web editor for single photos, or start the 7-day desktop free trial for batch export presets. Start the free trial.