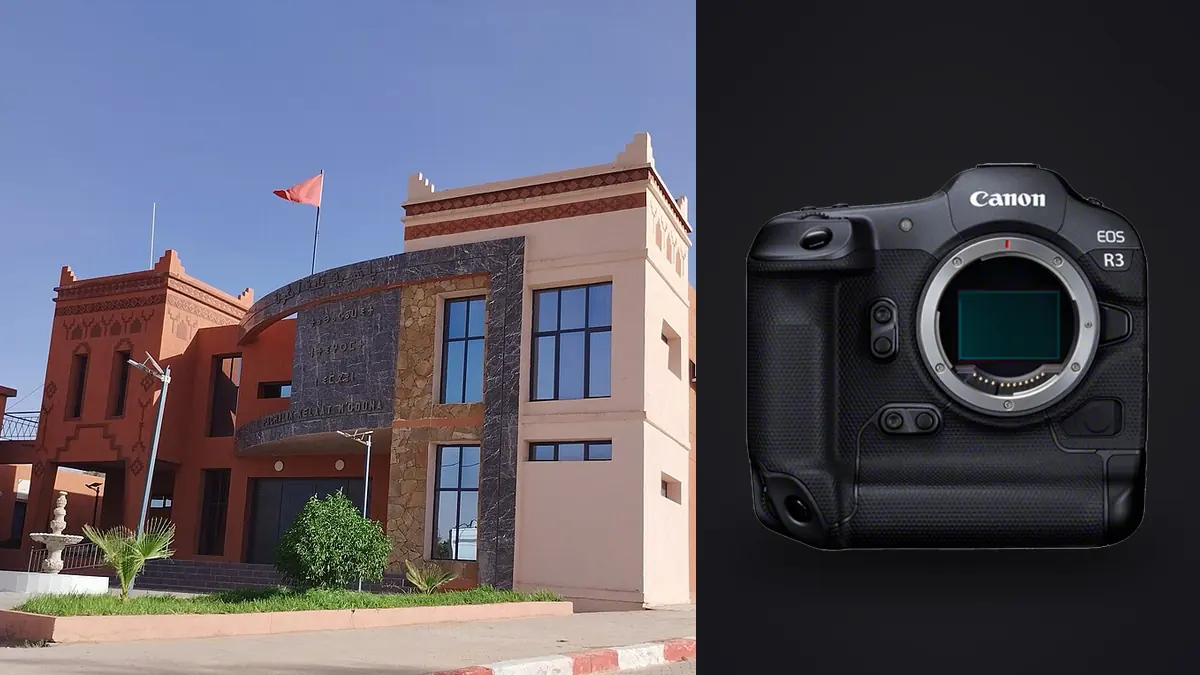
The Canon EOS R3 was not built for architecture. It was built for sideline photographers who need 30 frames per second and eye-controlled autofocus that can lock onto a sprinter's face from forty meters away. None of that sounds like a camera you'd bring into a client's newly renovated kitchen to photograph tile grout and cabinet hardware. And yet I know several interior and architectural shooters, myself included on certain jobs, who keep an R3 in rotation for exactly that kind of work. Usually it starts because the body was already sitting in the bag for something else. It stays because the reasons not to use it turn out to be smaller than they look on a spec sheet.
This isn't a camera I'd tell someone to buy new specifically for real estate or design portfolio work. But if you already own one, or you're weighing it against a resolution-focused body for a hybrid photo-and-video practice, there's a real case for it. Here's what actually changes when you point an R3 at a room instead of a football field.
The 24-megapixel question
This is the first objection anyone raises, and it's a fair one. Architectural and interior work has a reputation for wanting resolution, mostly because the genre grew up alongside large-format film and 4x5 view cameras. A 24.1-megapixel stacked sensor sounds thin next to a 45-megapixel R5 or the medium format backs some architecture specialists still run.
In practice, for the delivery formats most interior and residential design work actually uses, it's rarely the bottleneck. MLS listings, design firm portfolio sites, Houzz galleries, and Instagram carousels don't need files bigger than a few megapixels once they're compressed for the web. Even a printed magazine spread at 300 dpi only needs about 10-12 megapixels for a single page. Where the R3 genuinely loses ground is in aggressive perspective correction crops, the kind you make when you couldn't get the camera perfectly level and square to a wall and need to pull a trapezoid back into a rectangle in post. Do that on a 24MP file and you can burn through a third of your resolution before you've even started retouching. On a commercial job where the client wants an 18x24 print for a lobby wall, reach for the higher-resolution body every time. For listing photography, portfolio work, and most design-firm case studies, the R3's files hold up fine.
Dynamic range and the window problem
Every interior shooter fights the same fight: a room with a window is a room with two exposures pulling against each other, the bright exterior view and the comparatively dim interior. The R3's sensor is good, not the best-in-class figure you'll see quoted for some of the resolution-focused Canon bodies, but it's a stacked, back-illuminated design and it recovers shadow detail cleanly enough that a single well-exposed raw file, protected for the highlights outside the window, gets you most of the way to a usable image without stacking exposures.
For the rooms where a single frame won't cut it (south-facing rooms at midday, anything with a view worth keeping detail in), I still lean on auto exposure bracketing. Three to five frames at two-stop intervals, blended by hand or with luminosity masks later, handles almost anything a residential interior throws at you. What I like about shooting these brackets on the R3 specifically is the exposure simulation in the viewfinder. You can watch the highlight warning flash across the window glass in real time as you dial in the base exposure, rather than guessing and checking the histogram after the fact. It's a small thing, but on a job with forty room setups, small things compound.
Glass, and the tilt-shift gap
Here's the honest drawback. Canon has not released a native RF tilt-shift lens. If you want to correct converging verticals optically rather than in software, which most architecture purists still prefer because it preserves resolution and avoids the stretching artifacts that heavy digital correction introduces, you're adapting the older EF tilt-shift lenses through Canon's EF-to-RF mount adapter. The TS-E 17mm f/4L, the TS-E 24mm f/3.5L II, and the TS-E 90mm f/2.8L Macro all work perfectly well this way. Since tilt-shift lenses are manually focused anyway, losing autofocus in the adapter changes nothing about how you'd use them. The adapter does add length and weight to an already substantial body, but the R3's grip and balance absorb that better than a smaller mirrorless body would.
For jobs where I'm not carrying a tilt-shift lens, the RF 15-35mm f/2.8 and RF 24-70mm f/2.8 cover most interior work, and I correct verticals in Lightroom or Photoshop afterward. It's not purist, but on a residential shoot where you're moving through eighteen rooms in a morning, swapping a tilt-shift lens in and out for each angle isn't realistic. I save the tilt-shift glass for hero shots, the two or three images per project that are actually going to print large or lead the portfolio page.
Focus stacking in small rooms
This is where the R3 quietly earns its keep. Interior photography, especially product-adjacent work like kitchens, bathrooms, and staged vignettes, often puts something close to the lens (a countertop edge, a chair arm, a stack of books) in the same frame as something much farther away (a window view, a hallway receding into the distance). At the apertures you'd want for depth of field control in a cramped room, you sometimes can't get everything sharp in one exposure, especially if you're shooting wider open than f/8 because a tripod won't fit in the space or the light is too low for a long enough exposure without motion blur from foot traffic outside.
The R3 has in-camera focus bracketing, letting you set a shot count and step width and fire off a sequence that racks focus from near to far, which you then stack in Photoshop or Helicon Focus. It's a feature borrowed from macro and product photography, but it maps directly onto tight interior compositions. The catch is that a focus-bracketed sequence for a single composition can easily run eight to fifteen near-identical frames, and if you're doing that for a dozen compositions in a shoot, you end up with a card full of frames that look almost indistinguishable at a glance but differ in exactly the plane of focus that matters. Sorting that manually is tedious. This is one of the places I actually lean on imagic once I'm back at the desk: its burst clustering groups each focus-bracket sequence together automatically instead of leaving them scattered across the shoot in capture order, and the local sharpness scoring flags which frame in each stack is genuinely sharpest at the point you tapped to focus, rather than me squinting at a laptop screen zoomed to 200 percent trying to tell twelve nearly identical raw files apart. It runs on the machine, no upload, which matters more than people expect once you're handling unreleased listings or interiors under an NDA.
The built-in grip is a mixed blessing
The R3's integrated vertical grip is genuinely nice for the parts of this job that resemble event work: long tethered sessions, a full day of shooting without a battery swap, comfortable handling when you're shooting verticals for a stairwell or a tall window all afternoon. The LP-E19 battery is enormous and I've gone through entire two-property days without touching a spare.
The tradeoff shows up in the tight spaces interior photography actually lives in. Powder rooms, walk-in closets, stairwells, the gap between a kitchen island and the far wall. The R3 is a big, dense body, and backing it into a corner to get a wide enough angle on a small bathroom is noticeably more awkward than doing the same thing with a smaller mirrorless body. I've caught the grip on doorframes more than once. If most of your work is small-footprint residential interiors rather than open-plan commercial spaces, this is worth weighing seriously before you commit to the R3 as your primary body for the genre.
What I actually dial in, room by room
Every interior has its own lighting problem, and after enough of these jobs the settings stop being a mystery and start being a checklist. This is roughly what I reach for depending on the space:
| Space type | Aperture | ISO range | Bracket approach |
|---|---|---|---|
| Sunlit great room, large windows | f/8 - f/11 | ISO 100-400 | 3-5 frame AEB at 2-stop steps, tripod |
| North-facing bedroom, single window | f/5.6 - f/8 | ISO 800-3200 | Single raw, recover shadows locally |
| Windowless bathroom or powder room | f/8 | ISO 1600-6400 | Focus bracket, 6-10 frames, handheld |
| Twilight exterior, lit interior | f/8 - f/11 | ISO 200-800 | Blend ambient twilight exposure with interior tungsten exposure, tripod mandatory |
| Tight stairwell or hallway | f/8 | ISO 3200-8000 | Single exposure, IBIS handheld, tripod won't fit |
The row that surprises people is the tight stairwell one. Eight or even ten thousand ISO on a modern stacked sensor, cleaned up with a competent noise reduction pass, produces a file that holds up fine at web and small-print sizes. I'd rather push ISO in a space with nowhere to plant a tripod leg than fight for a longer shutter speed and end up with motion blur from foot traffic two floors away.
Managing the volume afterward
A single interior shoot with this workflow, focus brackets on the tight rooms, exposure brackets on the bright ones, safety frames on everything, adds up fast. A sixteen-room residential job can leave you with 800 to 1,200 raw files by the time you're done, most of them near-duplicates of something else in the set. That volume is the real cost of doing bracket-heavy interior work on a body built for sports-length bursts. It's easy to shoot too much simply because the buffer never complains.
The culling pass is where that volume either gets managed or eats your evening. I run everything through imagic before I open a single frame in Lightroom. The duplicate and burst clustering groups the AEB sets and focus stacks so I'm reviewing them as sequences rather than eight hundred loose files in capture order, and the sharpness scoring does the tedious first pass of flagging which frame in each cluster is actually in focus where I need it to be. Once I've picked a working set, I run the "apply_my_style" preset I trained on my own past interior edits, which gets every image on the same white balance and tonal starting point before I go in and do the room-specific work by hand. All of it runs locally, which matters more on this kind of shoot than on most others, since a lot of interior and architecture work involves unreleased listings or design projects still under wraps before a client announcement. If you haven't compared how different culling approaches actually handle a bracket-heavy shoot, it's worth reading through how AI photo culling works before you commit a whole job's workflow to one tool.
Video, because clients ask for it now
This is the argument that doesn't show up in most architecture-photography gear discussions but should. Design firms and boutique real estate brokers increasingly want a short walkthrough clip alongside the stills, something for Instagram Reels or a portfolio page hero. The R3 shoots internal 6K raw and an oversampled 4K that looks noticeably cleaner than what you'd get from a stills-first body cropping its sensor for video. In-body stabilization makes a handheld walkthrough pan through a hallway usable without a gimbal, which matters on a job where you're not budgeting time or crew for a proper video rig. If even a third of your interior work involves delivering some video alongside the photos, that capability alone can outweigh the resolution gap on the stills side. It's a big part of why I haven't fully retired the R3 in favor of a higher-resolution body, even on jobs that are nominally stills-only. Half the time the client asks for a clip on site once they see the camera can do it.
Frequently Asked Questions
Is 24 megapixels really enough for architectural and interior photography?
For web galleries, MLS listings, design portfolio sites, and single-page magazine spreads, yes. Where it gets tight is heavy perspective correction crops or large-format prints, where you're glad to have more resolution to spare. If your delivery is mostly digital and your prints top out around 16x20, 24 megapixels won't be the thing holding your images back.
Can I use tilt-shift lenses on the Canon EOS R3?
Yes, through Canon's EF-to-RF mount adapter, since there's no native RF tilt-shift lens yet. The TS-E 17mm, TS-E 24mm II, and TS-E 90mm all mount and function normally. Because tilt-shift lenses are manually focused regardless of mount, you lose nothing by adapting rather than shooting native.
Does fast autofocus matter at all for interior work shot on a tripod?
Less than the spec sheet implies. Most tripod-based interior work benefits more from accurate manual focus confirmation and focus bracketing than from autofocus speed. Where the R3's autofocus does earn its keep is lifestyle or staged shots involving people in the space, a designer walking through a finished room, where fast, reliable eye detection saves you from missed expressions during a brief, unrepeatable moment.
How do I stop a bracket-heavy interior shoot from turning into an unmanageable card dump?
Build the culling step into your plan before the shoot, not after. Knowing that imagic will cluster the AEB and focus-bracket sequences on the back end changes how aggressively you bracket in the field, since you're not worried about drowning in near-duplicate frames later. A faster capture-to-cull pipeline is worth more on a volume shoot like this than almost any other workflow change; see these workflow tips for more on tightening that loop.