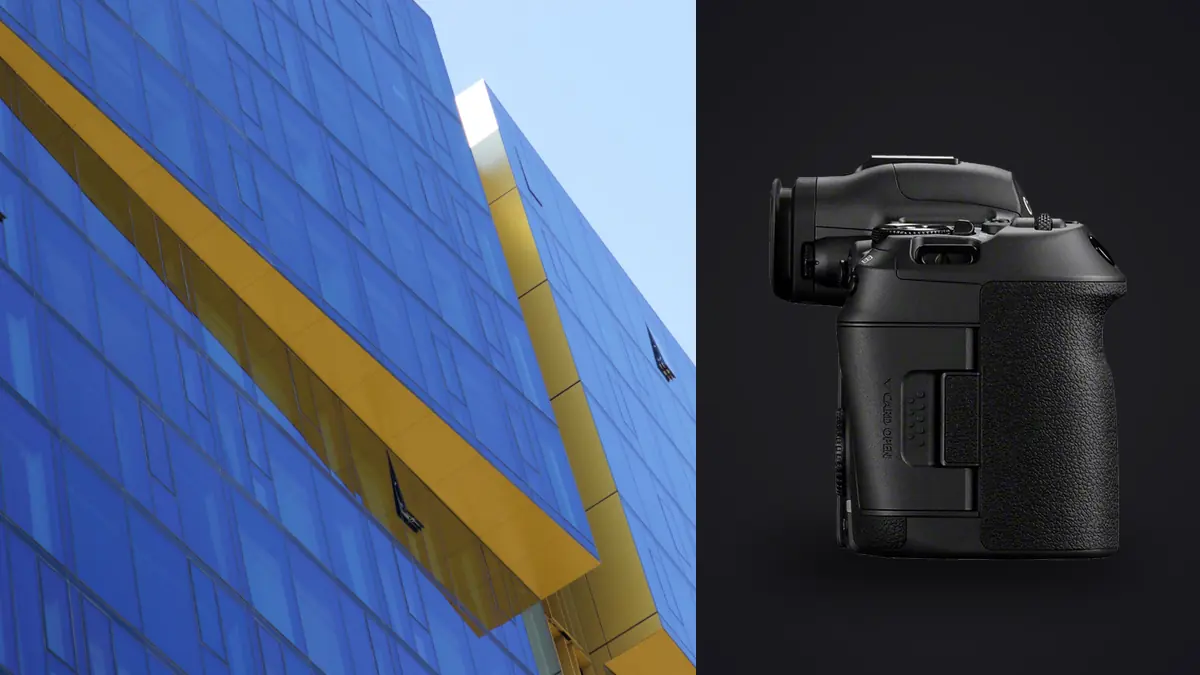
I picked up the Canon EOS R5 Mark II expecting it to be a sports and wildlife camera that happened to also be good at everything else. Canon marketed it that way, and most of the early reviews leaned hard on the 30fps electronic shutter and the eye-controlled autofocus. None of that matters much when you're standing in a client's kitchen at 7am trying to get the window exposure right before the light changes. What actually matters for interiors is quieter: sensor resolution when you need to crop a vertical out of a horizontal, how the stabilization behaves on a half-second exposure, and whether the menu lets you set an accurate electronic level without digging three submenus deep. After about eight months shooting residential and small commercial interiors with this body, here's what I'd tell another photographer before they spend the money.
The Resolution Is the Whole Point, Not a Bragging Right
45 megapixels sounds like spec-sheet inflation until you're delivering to a design magazine that wants a full-bleed vertical crop from a shot you composed horizontally to include a doorway on both sides. I crop like this constantly. A dining room shot at 16mm gives me enough pixel real estate to punch in on a tablescape detail without the file falling apart at print size. On my old 5D Mark IV (30MP) that same crop would have looked soft the moment anyone printed larger than a postcard. The R5 II doesn't change how I compose in the field, but it buys a second crop out of nearly every frame, which real estate and hospitality clients ask for more often than they used to.
The tradeoff is file size. A single RAW sits around 55-65MB depending on scene complexity, and a thorough walkthrough of a five-bedroom house with brackets for every window can produce 400-600 files before lunch. That's the real cost of the resolution bump, and it's one nobody mentions in the marketing copy.
Lens Choice Changes the Job More Than the Body Does
Architecture is a lens problem wearing a camera problem's clothes. The R5 II's sensor is excellent, but if the glass in front of it can't control converging verticals or barrel distortion, you're fixing geometry in post on every single frame, which eats more time than any culling step ever will. I rotate between three lenses depending on the room and whether a tripod is welcome.
| Lens | Best for | Distortion control | Handheld friendly | Street price (approx.) |
|---|---|---|---|---|
| RF 14-35mm F4L IS USM | Tight rooms, whole-property walkthroughs | Good, some barrel at 14mm needs a profile correction | Yes, IS helps at slow shutter speeds | $1,700 |
| RF 16-35mm F2.8L III | Mixed interior/exterior days, low light | Moderate, similar correction needs | Yes | $2,400 |
| TS-E 17mm F4L | Formal architectural shots, straight verticals required | Excellent once shift is dialed in manually | No, tripod and patience required | $2,200 |
| TS-E 24mm F3.5L II | Room details, focus stacking with shift for depth control | Excellent | No | $2,200 |
| RF 24-70mm F2.8L | Furniture and product detail shots within a room | Not applicable, no wide distortion concern | Yes | $2,300 |
The RF 14-35mm is what stays on the camera for 80% of a shoot because it's fast to work with and the IS pairs with in-body stabilization to let me hand-hold down to around a quarter second reliably, sometimes a half second if I brace against a doorframe. The tilt-shift lenses come out for hero shots the client is going to print large or run in a portfolio, where perfectly straight verticals matter more than shooting speed. I won't pretend the TS-E lenses are fun to use quickly. Manual everything, no autofocus, and you're re-checking the shift dial after every reposition. But nothing else gets a bookcase wall that straight without heavy correction that softens detail.
Exposure Strategy for Rooms With Bad Light Mixing
Most interiors have three light sources fighting each other: daylight through the windows, tungsten or warm LED practicals, and whatever ambient fill is bouncing around. The R5 II's metering handles this reasonably on its own, but I don't trust a single frame to hold detail in a bright window and a shadowed corner at the same time. My default is a three-shot bracket at -2/0/+2 EV, blended later, and for rooms with a genuinely blown-out window view I'll pull that to a five-shot spread at 1.3 stops apart.
One setting that's saved more shoots than I expected: anti-flicker shooting. A lot of newer LED fixtures in renovated homes flicker at frequencies the eye doesn't catch but a camera absolutely does, and it shows up as inconsistent color banding across a bracket set that should otherwise be identical exposures apart. Turning that on stopped a run of oddly tinted frames I'd been blaming on white balance drift for weeks before I found the actual cause.
For twilight exterior shots of the same property, the IBIS rating (Canon claims up to 8.5 stops with certain RF lenses) genuinely lets me skip the tripod for a quick establishing shot at ISO 400 and a half second, though I still set up properly for the shot that's actually going in the listing. It's a convenience feature for scouting, not a replacement for doing it right.
Focus Bracketing for Depth That a Single Frame Can't Hold
A kitchen shot with an island in the foreground and a window view thirty feet back is a depth-of-field problem no amount of stopping down comfortably solves without either introducing diffraction softness or requiring a shutter speed too slow to hand-hold. The R5 II's built-in focus bracketing mode lets me set a number of shots and a focus increment, and the camera racks focus automatically through the sequence. I typically shoot 8-12 frames for a deep room and stack them afterward. It's not fully automatic end to end, you still merge the stack yourself, but it removes the manual focus-ring-nudging I used to do by feel, which was never as consistent as I wanted it to be.
The one habit worth building here: shoot a spare full sequence before you touch anything in the room. Once a stylist moves a vase between brackets, that stack is unusable, and you won't know until you're back at the desk trying to blend it.
The File Volume Problem, and Where imagic Fits
A single property day with brackets and focus stacks easily produces 600-900 RAW files. Multiply that across a busy week of commercial and residential jobs and you're staring down a culling task that used to eat entire evenings for me. I switched to imagic mostly to deal with this specific bottleneck. It scores sharpness locally across a shoot and, more usefully for this kind of work, clusters bracket sets and burst-style sequences together instead of showing me 600 files in one flat, undifferentiated grid. When I've shot a five-frame exposure bracket of the same window, imagic groups those frames so I'm comparing them against each other rather than scrolling past them individually alongside everything else from the day.
It also runs entirely on my laptop, which matters more for interior work than people assume. A lot of these shoots are inside homes that aren't listed yet, or commercial spaces under an NDA before a launch. Not having files pass through a cloud service during culling isn't a nice-to-have for this kind of work, it's something owners and clients on shoots like these often ask about before signing off. If you're weighing tools for a similar workflow, how AI photo culling actually works covers the sharpness-scoring approach in more depth than I will here.
Editing Consistency Across a Full Property Set
Real estate and interior clients care about consistency more than they care about any individual frame being a masterpiece. If the living room looks warm and the bedroom two doors down looks cool and flat, that inconsistency is the first thing a client notices, even if they can't articulate why the gallery feels off. I built a preset in imagic's apply_my_style feature from a batch of my own previously finished interior edits, and it now gives me a starting point tuned to how I actually grade these rooms rather than a generic preset somebody else built for a different kind of light. It's not a substitute for room-by-room adjustment (a north-facing bedroom and a south-facing kitchen never take the same white balance correction), but it cuts the blank-canvas step out of every single file, which adds up fast across a 40-image final delivery.
Between the culling and the starting-point edit, I've cut my average turnaround on a mid-size property from about two full days down to one, most of which now goes to the tilt-shift hero shots and the trickier light-mixing rooms rather than sorting through near-duplicate brackets by eye.
Where the Camera Still Falls Short for This Genre
I'd be lying if I said this body has no friction points for interiors specifically. The electronic level, while accurate, resets or shifts slightly if you bump the camera on a tripod head without recalibrating, and I've caught a handful of frames after the fact that were half a degree off from what I thought I'd locked in. Card door and battery placement on the R5 II also make quick swaps a little more fiddly than I'd like mid-shoot when someone is standing there waiting. And the electronic shutter, fantastic as it is for silent operation during a walkthrough, isn't something I trust for any shot involving a ceiling fan or moving foliage outside a window; the rolling readout leaves a faint skew on fast-moving elements that the mechanical shutter doesn't produce. I switch back to mechanical the moment there's motion anywhere in frame.
None of that is a dealbreaker. It's just the kind of detail that only shows up after you've shot fifty properties with the thing, not after a weekend review unit.
Frequently Asked Questions
Do I need the R5 Mark II specifically, or would the original R5 be enough for interiors?
The original R5 is still a capable interior camera and considerably cheaper on the used market. The Mark II's real advantages for this genre are the improved IBIS ceiling, better rolling shutter behavior on the stacked sensor, and a more reliable electronic level and menu layout. If your budget is tight and you're not printing large or shooting focus-heavy deep rooms often, the original R5 will get most jobs done.
Is a tilt-shift lens actually necessary, or can I fix verticals in Lightroom?
You can correct converging verticals digitally, and for casual work that's fine. The problem is that digital correction stretches the edges of the frame, softening detail exactly where a magazine or design client tends to crop tight. For hero shots that will be printed or run full-page, a tilt-shift lens holds resolution across the frame in a way post-processing correction can't fully replicate.
How do you handle window blowout without HDR looking obviously fake?
Keep the bracket spread tighter than you think you need, usually no more than 2 stops between frames for a three-shot set, and blend by hand with layer masks rather than an automated HDR merge. Automated tools tend to flatten contrast across the whole frame in a way that reads as unnatural the moment someone looks past the window itself.
Does the extra resolution actually matter if most delivery is for web and social use?
For pure web delivery, not much, a 24MP file downsizes just as cleanly. The resolution earns its keep when a client later asks for a print, a magazine feature, or a large crop you didn't originally plan for. I'd rather have the headroom and downsize than get a late request I can't fulfill from a smaller original file.