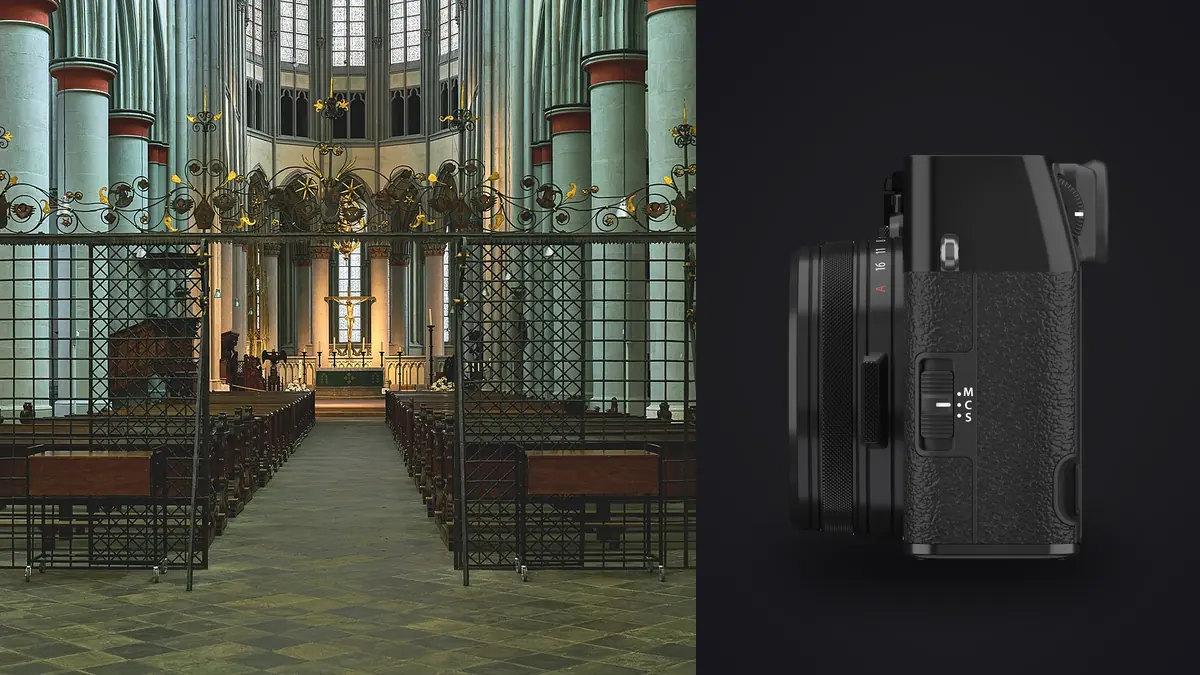
Picture reshooting the portfolio of a local interior design studio: eleven finished residential projects, mostly kitchens and living rooms, a couple of small home offices. The usual kit for that job is a 16-35mm zoom on a full-frame body, sometimes a shift lens if the client is paying for it. Now suppose only a Fujifilm X100VI comes along, because it is under test for an unrelated review and two systems across three appointments in one day is too much to carry. Expect to hate it for this use. You won't, entirely, but it changes how you work in a way that's worth writing down honestly rather than as a spec-sheet endorsement.
A fixed 35mm-equivalent lens in a genre that wants 16mm
The X100VI's lens is a 23mm f/2, which gives you a 35mm field of view on the APS-C sensor. Architectural and interior work usually leans much wider than that, because rooms are small, walls are close, and clients want to see the whole space in one frame. A 35mm equivalent forces you to either back up (often impossible in a bedroom or a bathroom) or accept a tighter, more selective composition.
What surprised me is that the tighter composition was frequently the better photograph. Ultra-wide interior shots have a habit of exaggerating distance and making a room look cavernous in a way that doesn't match how it feels to stand in it, and that mismatch is part of why so many real estate photos look slightly dishonest. Shooting a kitchen at 35mm equivalent meant showing the island, the range, and the pendant lighting as a coherent grouping rather than stretching the whole room into one frame with warped corners. For editorial-style interior design coverage, where the goal is showing craftsmanship and material choices rather than proving square footage, that constraint worked in my favor more often than I expected.
Where it didn't work: small guest bathrooms and walk-in closets under about 6 feet on the short side. There's no backing up in those spaces, and 35mm equivalent just can't capture them without doorway shots or awkward diagonal angles.
The wide converter changes the math
Fujifilm sells the WCL-X100 II, a screw-on wide conversion lens that drops the effective focal length to roughly 28mm equivalent. It adds about 4mm to the length of the lens barrel and maybe 100 grams to the front of the camera, and it needs the menu switched over to the correct lens profile or your corner sharpness and distortion correction go sideways. I carried one on the interior design job after the first appointment made clear I needed it.
28mm equivalent is still not 16mm, and it's not going to replace a proper wide zoom for confined stairwells or small ensuite bathrooms. But it's enough of a difference from the native 35mm to matter for anything from a mid-size bedroom up. I ended up using the WCL for maybe 60% of frames on a typical interior shoot and the bare 23mm for detail shots, vignettes, and anything with people in the frame, since 35mm equivalent renders faces and furniture proportions much more naturally than 28mm does.
Crop modes and the resolution cushion
The X100VI's 40.2-megapixel sensor gives you room to crop that older X100 bodies didn't have. The in-camera digital teleconverter modes simulate 50mm and 70mm equivalent framing by cropping into the RAW file at capture time, and because you're starting from 40 megapixels rather than 26, the resulting files still hold up at normal print and web sizes. For architectural detail work, close-ups on hardware, joinery, tile patterns, that cropping headroom effectively gives you two extra "focal lengths" without carrying another lens.
I want to be clear this isn't optical magic. You're cropping a fixed-focal-length image, and if you already knew you needed a 50mm-equivalent framing, shooting native at 35mm and cropping in post gives you the identical result with more flexibility, since you're not locked into the crop ratio at the time of capture. The digital tele modes mostly help composition in the field (seeing the tighter frame in the viewfinder while you shoot) rather than adding genuine reach.
Leaf shutter and mixed daylight-plus-flash rooms
Interior design photography usually means mixing window light with supplemental flash or continuous LED panels to fill shadow areas, and this is where the X100VI's leaf shutter actually earns its keep. Because the shutter sits in the lens rather than in front of the sensor, you get full flash sync at every shutter speed up to 1/4000s, not just the 1/200s-ish ceiling you'd get on a focal-plane shutter body. That matters a lot in a bright kitchen with south-facing windows at midday, where you want a fast shutter speed to keep the window exposure under control while still popping in flash to fill the counters and cabinetry.
On the same interior job I was able to shoot flash-filled frames at 1/2000s to tame a wall of windows behind a dining table, something I'd normally need a high-speed sync mode (with its associated power loss) to pull off on a focal-plane shutter camera. It's a genuine, practical advantage for this kind of work and one that doesn't show up on a spec sheet comparison unless you go looking for it.
Straightening verticals without a tilt-shift lens
No architecture or interior shoot survives contact with converging verticals. Point any camera slightly upward in a room with tall cabinetry or a stairwell and the vertical lines lean inward. The traditional fix is a tilt-shift (perspective control) lens, which lets you shift the lens element to keep the sensor plane parallel to the walls without tilting the camera itself. The X100VI obviously doesn't have that; it's a fixed prime with no shift mechanism.
In practice I handled verticals two ways. First, physically: keeping the camera as level as possible using the electronic level in the viewfinder overlay, shooting a bit wider than needed, and accepting some crop loss. Second, correcting in post with the lens profile's distortion data and a manual vertical perspective adjustment. Because the X100VI's files are clean at base ISO and the 23mm lens has fairly well-controlled distortion to begin with, the correction doesn't chew up as much resolution or introduce as much softening in the corners as it would on a lens with heavier native distortion. It's still not as clean as a shift lens straight out of camera, and where architectural precision is the whole point (real estate listings for luxury builds, for instance, where buyers scrutinize sightlines), a tilt-shift kit is still the better tool. For interior design portfolio work where the emphasis is materials and styling rather than architectural rigor, the correction workflow held up fine.
Three ways to kit out for this kind of shoot
Photographers doing interior and small-scale architecture work generally land on one of three approaches. Here's how they actually compare when you tally weight, cost, and workflow time rather than just megapixels.
| Approach | Approx. kit weight | Widest usable FOV | Vertical control | Rough cost new | Best fit |
|---|---|---|---|---|---|
| X100VI + WCL-X100 II | ~640g | 28mm equiv. | Software correction only | ~$1,950 | Interior design portfolios, styled spaces, one-camera-bag days |
| APS-C body + 8-16mm f/2.8 zoom | ~1,150g | 12mm equiv. | Software correction, more distortion to fix | ~$3,300 | Real estate listings, tight rooms, single-operator volume shoots |
| Full-frame body + 17mm tilt-shift | ~1,900g | 17mm native | Optical, in-camera | ~$5,800 | Commercial architecture, luxury real estate, print-scale work |
The numbers are rough and vary by exact body and adapter, but the pattern holds across brands: every stop wider and every degree of optical vertical correction adds weight and cost, and none of it is free in shoot time either. The tilt-shift setup is genuinely the right tool when a client is paying for architectural accuracy at scale. For a lot of interior design and small residential work, though, it's more kit than the job needs.
The part nobody mentions: what a bracket-heavy shoot does to your card
Interior work generates an absurd number of frames per finished image once you start bracketing for dynamic range and shooting flash-plus-ambient pairs in every room. Picture a design studio shoot of eleven rooms that ends with just under 1,400 frames, most of them near-duplicates: three-shot HDR brackets, flash/no-flash pairs, and a handful of "let me check that reflection" retakes. Sorting that by eye, deciding which of a five-frame bracket is actually the sharpest and best exposed, is the part of the job that eats an entire evening if you let it.
This is where I've started leaning on imagic rather than scrolling through Lightroom's grid view frame by frame. It runs local sharpness and focus scoring on the whole card and groups near-identical burst and bracket frames together, so instead of eyeballing which of three near-identical window shots is actually the crispest, I get a ranked cluster and pick from the top of it. Because it processes everything on the machine rather than uploading anything, you don't have to think about confidentiality on an unreleased design project, which matters more than people admit when you're shooting someone's home before the reveal.
Once the culling is done, the second time-sink on interior work is keeping a consistent look across eleven rooms shot in different light. I trained imagic's apply_my_style feature on a set of my own previously edited interior files, and running new batches through that preset gets me most of the way to a consistent white balance and contrast curve before I do room-by-room tweaks. It's not a substitute for actually looking at each image, but it cuts the flat, un-styled starting point out of the process. If you're new to the idea of software-assisted culling versus doing it by hand, this breakdown of how AI photo culling works covers the mechanics in more depth than I have room for here.
Where the X100VI genuinely loses
I don't want to oversell this. There are jobs where the X100VI is the wrong camera and no amount of workflow cleverness fixes that. Commercial architecture photography for a firm's marketing materials, where the client expects true wide-angle coverage of a lobby or a stairwell shot from a fixed vantage point, needs the wide native focal length and optical shift correction that a tilt-shift lens provides. Twin-room real estate listings under tight deadlines (fifteen properties in a day) benefit from a zoom that covers 12mm to 24mm without lens swaps or converter attachments, because every converter change is thirty seconds you don't have on listing day six of the week.
The X100VI also has no interchangeable lens option at all, which is the whole point of the camera but a real limitation the moment a job needs something the 23mm plus converter combination can't reach. If most of your income comes from real estate volume work, I'd steer you toward a wider APS-C zoom kit instead, and you can see how that compares against other culling-heavy workflows in this comparison of photo culling software if volume is your actual bottleneck rather than gear choice.
Frequently Asked Questions
Is the X100VI wide enough for small bathrooms and closets?
Not reliably on its own. At 35mm equivalent, and even at 28mm equivalent with the WCL-X100 II attached, a room under about 6 feet on its shortest wall is going to be hard to shoot as a single clean frame. You'll end up shooting from the doorway or stitching two frames, which works for a design portfolio but is slower than a proper wide zoom would be for that specific space.
Do I need the WCL-X100 II wide converter for interior work?
If more than a small fraction of your shoots are small-to-mid residential rooms, yes, it's close to essential. Without it you're stuck at 35mm equivalent, which is workable for larger living rooms and open kitchens but tight almost everywhere else. It's a $350-ish accessory that solves most of the framing complaints people have about using this camera for interiors.
Can the X100VI replace a tilt-shift lens for architecture clients?
No, not for work where architectural precision is the deliverable. A tilt-shift lens corrects verticals optically at capture, preserving resolution and avoiding the stretching artifacts that come from correcting heavy perspective distortion in software. The X100VI's fixed lens with software correction is a reasonable stand-in for interior design and lifestyle-style architecture photography, but a client paying specifically for straight-line architectural documentation should get a shift lens on the job.
How many bracket frames does a typical interior shoot produce, and how do you manage the pile?
On a residential job with flash fill and HDR brackets in most rooms, expect somewhere between 80 and 150 frames per room once you count retakes. Across a full property that adds up fast, into the thousands for a large house. Culling that by eye is realistic for a handful of rooms but becomes the actual bottleneck on bigger jobs, which is why most of the interior and real estate photographers I know now run some form of automated sharpness sorting before they ever open Lightroom, rather than after.