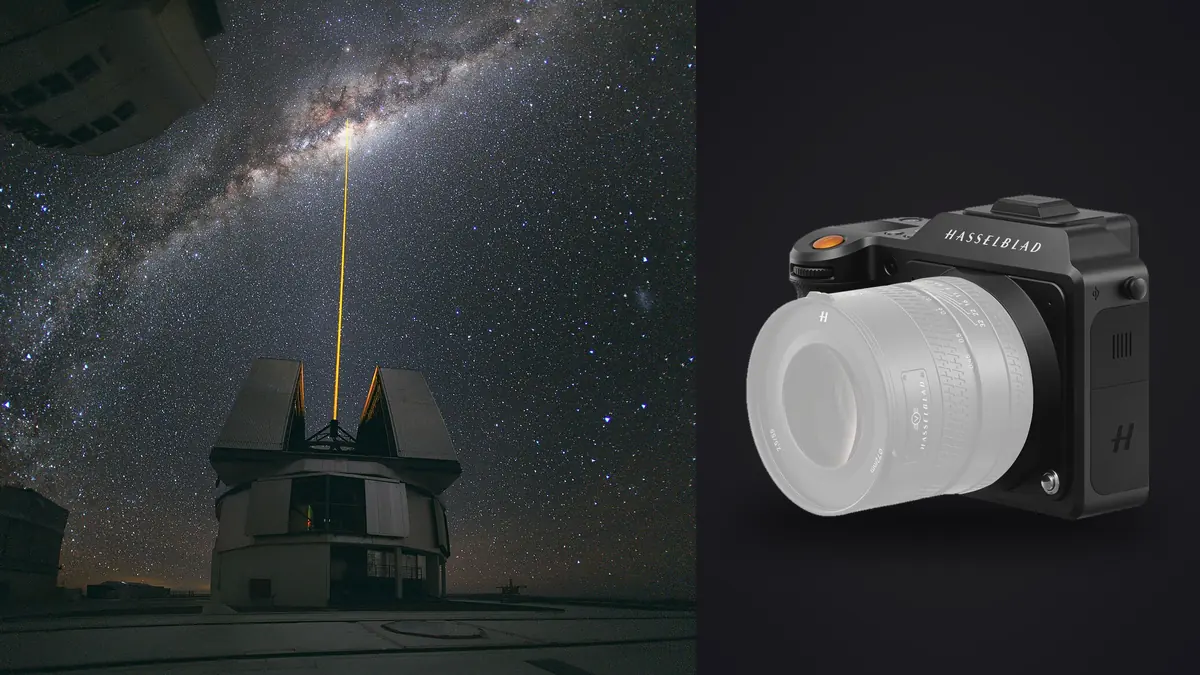
I bought the X2D 100C for portrait and product work. Astro was never the pitch. But after two winters dragging it up to a ridge above the tree line with a star tracker strapped to the tripod head, I've got opinions about what a 100 megapixel medium format sensor actually does for a stacked star field, and it isn't the thing most people assume.
The short version: the sensor size helps less than you'd think, the pixel count causes more friction than you'd expect, and the camera's low native ISO ceiling forces a completely different exposure strategy than the full-frame astro guides you've probably already read. None of that makes it a bad choice. It makes it a different one, and the workflow around it needs to change to match.
The Sensor Story Isn't as Simple as "Bigger Is Better"
The X2D 100C's sensor measures 43.8mm by 32.9mm, which is genuinely larger than any full-frame sensor on the market. But Hasselblad packed 100 million photosites onto it, which works out to a pixel pitch around 3.76 microns. That's smaller than the pixel pitch on a lot of 24 to 45 megapixel full-frame bodies, including plenty of cameras people specifically buy for astro because of how clean their high ISO files look.
What that means in practice: total light-gathering area is bigger (more photons hit the sensor overall at a given exposure), but each individual pixel is collecting less light than a full-frame sensor with fewer, larger photosites. Per-pixel noise at ISO 3200 on the X2D is not going to embarrass a modern full-frame body of similar vintage. It's not going to beat one either. Where the medium format sensor earns its keep is dynamic range at base ISO 64, which is unusually clean for pulling shadow detail out of foreground rock and tree lines without introducing the kind of banding you get pushing a smaller sensor's shadows that hard.
So the sensor isn't a magic astro tool. It's a very good low-ISO landscape sensor that happens to also shoot stars, and the workflow has to respect that distinction rather than assume "medium format" automatically means "better at night."
Trailing Shows Up Sooner Than You'd Expect at This Resolution
This is the part nobody warns you about when they see "100MP" and assume it just means more detail for free. Star trailing is a function of angular velocity across your pixel grid, not just focal length and shutter speed. The denser your pixel grid, the sooner rotational blur becomes visible at 100% crop, because each star is moving across more individual pixels per second of exposure.
Rules like the old "500 rule" were built around full-frame sensors in the 12 to 24 megapixel range. At 11,656 pixels across the horizontal axis, the X2D 100C needs meaningfully shorter shutter speeds than that math suggests before trailing becomes visible at full resolution. On a 21mm XCD lens I was getting soft trailing at 15 seconds where a 24MP full-frame body with the same field of view would still look tack sharp. Not dramatic, but visible the moment you zoom past 50%.
That pushed me toward one of two approaches, and which one you pick changes the entire rest of the workflow.
Untracked Wide-Field Subs
For milky way arcs and wide constellations without a tracker, I dropped to 8 to 10 second subs at ISO 1600 to 3200, shot 40 to 60 of them, and let stacking software do the noise reduction that a single longer exposure would have handled if trailing weren't a concern. This is more images than I'd shoot on a lower-resolution body for the same scene, purely because each sub has to stay shorter.
Tracked Subs on a Star Tracker
With a compact tracker under the ballhead, I can push individual subs to 90 to 180 seconds at ISO 400 to 800, which is a much friendlier noise profile and needs far fewer subs to get a clean stack. This is the setup I actually recommend if you're going to invest real time into this camera for astro. The resolution advantage only pays off once you're not fighting trailing on every frame, and tracked subs are where that advantage becomes visible in the final file.
| Approach | Typical sub length | ISO range | Subs per stack | Best for |
|---|---|---|---|---|
| Untracked, wide XCD lens | 6-10 sec | 1600-3200 | 40-60 | Milky way with foreground, no tracker on hand |
| Untracked, standard lens | 4-6 sec | 2000-6400 | 50-80 | Tight framing, moderate focal lengths |
| Tracked, wide XCD lens | 60-90 sec | 400-800 | 10-16 | Clean wide fields, minimal noise |
| Tracked, longer XCD lens | 120-180 sec | 200-400 | 15-25 | Nebula and star cluster detail |
| Foreground blend (separate exposure) | 30-60 sec | 200-800 | 1 (single frame) | Combining a lit or long-exposure foreground with a stacked sky |
The RAW File Problem That Actually Slowed Me Down
Here's the friction point that cost me a frustrating evening the first time I tried this: Hasselblad's 3FR RAW format isn't natively supported by most of the popular stacking tools. DeepSkyStacker, Sequator, and Starry Landscape Stacker are all built around the RAW formats that come out of Canon, Nikon, and Sony bodies, and 3FR support is inconsistent across versions, sometimes reading color badly or refusing the file outright depending on the decoder they're using underneath. The workaround is straightforward but adds a step nobody mentions in the marketing copy: batch convert your subs to 16-bit TIFF or DNG through Phocus before they ever touch your stacking software. Phocus handles the 3FR decode properly since it's Hasselblad's own tool, and once you're in TIFF or DNG territory, every mainstream stacker reads the files without complaint. The tradeoff is file size and time. A 100MP 16-bit TIFF is a big file, and converting 60 of them before you can even start test-stacking adds a real chunk of time to a session, especially if you're doing it on a laptop in the field rather than back at a desk.
Culling Before You Ever Open a Stacking Tool
A single night out with a tracker easily produces 200 to 400 subs once you count test frames, focus checks, cloud-interrupted attempts, and the frames where a plane or satellite streaked through. At 100MP each, scrolling through that pile at 100% zoom looking for the ones with focus drift or residual trailing is genuinely miserable, and it's the step where I used to lose the most time. I run the raw folder through imagic before touching Phocus now. Its local sharpness and focus scoring flags the subs where focus crept during a long session (temperature drift on a cold night will do this even with a locked focus ring), and the duplicate and burst clustering groups near-identical test exposures together instead of making me click through forty almost-identical frames one at a time. Everything runs on the machine, which matters more than it sounds like at 2am on a ridge with no signal anyway. There's a decent overview of how the scoring actually works at how AI photo culling works if you want the mechanics.
Stacking at 100MP: What Changes on the Software Side
Once the subs are converted and culled, stacking itself is mostly business as usual, but the file sizes change what "usual" costs you. A stack of 60 TIFFs at 100MP each is easily 15 to 20GB of source material before the software writes out anything. Sequator and DeepSkyStacker both handled it on a machine with 32GB of RAM, but slower than they do on 24MP files, and I'd think twice about attempting a stack this size on anything with less memory. On a couple of occasions I built a quick proxy stack from downsized copies just to check star alignment and composition before committing to the full-resolution run, which saved a genuinely annoying amount of waiting around. PixInsight and Siril both handle 3FR-derived TIFFs without complaint and give you more control over rejection algorithms (sigma clipping caught a satellite trail that Sequator's default settings missed on one stack), but the learning curve is steeper if you haven't used either before. For a first attempt with this camera, Sequator's simplicity is the easier starting point even if the ceiling is lower.
Is the Resolution Actually Worth It for Star Fields?
Honestly, mixed. For a wide milky way shot destined for a 24x36 print or an Instagram crop, no, 100MP is overkill and you're throwing away most of that resolution in the downsample anyway. Where it earns its keep is star cluster and nebula detail on longer focal lengths with a tracker, where the extra pixels genuinely resolve finer structure that a 24MP sensor would blur together. If your interest is mostly wide-angle milky way arcs over a landscape, a smaller, faster full-frame body with a wider lens and better low-light ISO ceiling will get you there with less fuss and fewer subs. If you're chasing detail in specific deep sky targets with a telephoto XCD lens on a solid tracker, the resolution starts to matter in a way you can actually see in the final file. For a look at how a different night with this same body played out, see this earlier X2D 100C star stacking session. For the blended foreground shots, where I take a separate long exposure of the landscape and composite it against the stacked sky, I lean on imagic's apply_my_style preset once I've settled on how I want a season's worth of astro foregrounds to look. Training it on a handful of edits I was already happy with means new foreground frames land close to my usual color and contrast treatment before I do any fine adjustment by hand, which cuts a lot of repetitive slider work out of nights when I've got forty foreground frames to get through.
A Field Routine That Actually Works
What I settled on after enough cold nights of trial and error:
Frame the composition and lock focus using the EVF's magnification on the brightest star in the field, not autofocus, which hunts pointlessly in the dark. Take one test exposure at your planned settings and zoom to 100% on the rear screen to check for trailing before committing to a full sequence. If it's tracked, verify polar alignment with a second test frame after five minutes, since drift compounds badly over a 15 to 25 sub sequence and you won't notice it until you're back at the computer. Shoot the full sequence with an external intervalometer rather than relying on manual triggering, since even a light touch on the shutter button introduces enough vibration to soften a sub at these focal lengths. Grab a handful of dark frames at the same settings once you're done, before the sensor temperature has time to drift much from ambient. None of that is unique to this camera, but the shorter sub lengths the pixel density forces on you make discipline around the sequence matter more than it would on a lower-resolution body where you've got more margin for a slightly soft or misaligned frame here and there.
Frequently Asked Questions
Will DeepSkyStacker or Sequator open Hasselblad 3FR files directly?
Not reliably. Support is inconsistent across versions and I've had color decode incorrectly even when a file technically opened. Converting to 16-bit TIFF or DNG through Phocus first avoids the problem entirely and every mainstream stacking tool reads the converted files without issue.
How long can a single untracked exposure be before stars trail noticeably?
On a wide XCD lens I saw trailing start to show at full resolution around 15 seconds, shorter than the classic full-frame rules would suggest, because the pixel density means each star crosses more photosites per second. I keep untracked subs to 6 to 10 seconds and let the stack handle the noise a single longer exposure would have absorbed on a lower-resolution sensor.
Is 100 megapixels wasted on a stacked star field that ends up downsampled anyway?
For wide milky way shots headed to social media or a modest print, largely yes, you're discarding a lot of that resolution in the downsample. It matters more on tracked, longer-focal-length shots of specific deep sky targets, where the extra pixels resolve real structural detail rather than just adding file size.
Do I need a star tracker to get usable results with this camera?
Not strictly, but I'd call it close to necessary if you want the resolution to actually show up in the final image. Untracked shooting works for wide milky way arcs with a shorter sub length and more frames in the stack, but you're fighting trailing the entire time. A tracker lets you use longer subs at lower ISO, which is a much easier file to stack and where this sensor's dynamic range advantage actually becomes visible.