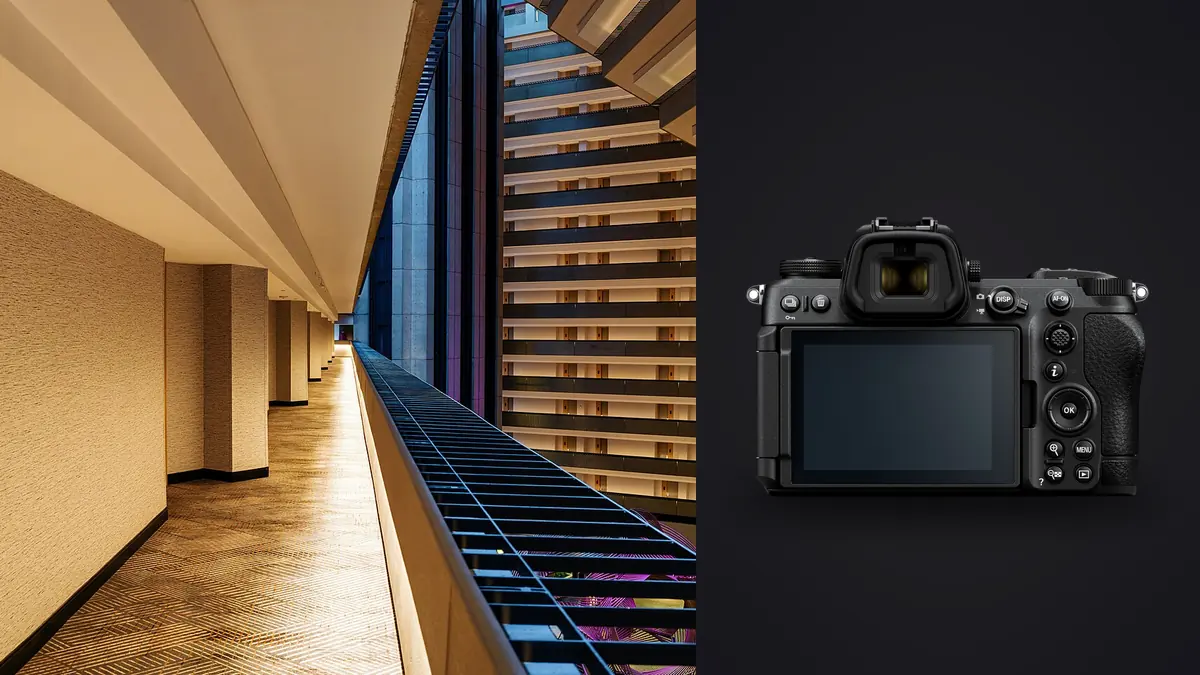
Architectural and interior work punishes gear in ways that portrait or street photography never does. You're fighting an eight-stop range between a window and a shadowed corner, you're on a ladder trying to keep a tripod head level to a fraction of a degree, and you're often shooting inside someone's finished, occupied space where you get one pass to get it right before the stylist moves the furniture back. Picture running a Nikon Z6 III through exactly that kind of work, on commercial interiors, a couple of small residential projects, and a multi-day shoot for a hospitality client. This is what actually matters about the camera for that specific job, not the general review you can find anywhere.
The Sensor Handles Windows Better Than the Old Z6 Line Did
The Z6 III moved to a partially-stacked 24.5MP sensor, and the practical effect for interior work shows up in two places: rolling shutter and readout speed for live view metering. When you're composing with a bright window in frame and a client walking through the room behind you, the older Z6 II's live view would occasionally show banding or lag under mixed LED and daylight. The Z6 III's viewfinder holds up cleaner, and blackout between frames during a bracket sequence is short enough that you can track a tripod-mounted composition through five or seven exposures without losing your place.
Dynamic range is the number everyone asks about, and in practice the single-exposure latitude is good but not magic. A well-exposed interior RAW pulls shadow detail cleanly to about 4 stops of lift before noise becomes a problem in the darkest corners, which is comparable to what I got out of a Z7 II on the same kind of scene, just with less resolution to crop into afterward. For a room with a single window and even ambient fill, one exposure is often enough. For anything with direct sun hitting a hard floor, I'm still bracketing, because no 24MP full-frame sensor on the market handles a 12+ stop range in one file without artifacts creeping into the highlight rolloff.
Perspective Control Is Still the Real Bottleneck, Not the Body
This is the part most camera reviews skip entirely because it has nothing to do with the body itself. Converging verticals are the single biggest giveaway of amateur architectural work, and the Z6 III doesn't fix that on its own. What it pairs well with is Nikon's two PC lenses for the Z mount, the 19mm f/4 PC and the 24mm f/3.5 PC. Both are shift lenses rather than true tilt-shift in the Canon TS-E sense, meaning you can shift the lens element up, down, or off-axis to correct convergence without tilting the camera back, but you don't get the tilt function for controlling the focus plane the way a view camera does. For straightening a building facade or keeping a kitchen's cabinet lines parallel to the frame edges, shift is the function you actually need 90% of the time anyway.
Where the body itself helps is the electronic level. The Z6 III's dual-axis level, visible in the EVF and on the rear screen simultaneously, made a bigger difference to my keeper rate than any spec sheet number. Getting a tripod head level by eye on an uneven hardwood floor is harder than it sounds, and I used to burn ten minutes per setup with a bubble level and a lot of squinting. With the electronic level overlaid, I get there in under a minute, and it stays accurate as I swap lenses or reposition for a different angle in the same room.
The Vari-Angle Screen Changes How You Compose Low
A lot of interior photography happens from low, awkward angles: shooting up at a vaulted ceiling detail, working from a low tripod position to include foreground furniture without distortion, or squeezing a composition between a doorway and a wall. The Z6 III's four-axis tilting touchscreen (a real upgrade from the tilt-only screen on the Z6 II) flips out and rotates in ways that let me see the frame from angles where I'd previously have been guessing or lying on the floor. It sounds like a small thing until you've spent a full day on interior work and realize you never once had to crouch down to check focus on a low-angle shot.
The EVF itself is genuinely bright, rated close to 4,000 nits, which matters more than people expect when you're composing against a bright window. On the old Z6 II, shooting toward a sunlit window would sometimes wash the viewfinder out enough that I couldn't judge exposure by eye and had to trust the histogram blind. The Z6 III's finder stays legible in that scenario, so I can actually see whether the highlight clipping warning is triggering on the window glass or the light fixture before I commit to a bracket.
Bracketing and Focus Stacking Are Where the Buffer Actually Matters
Most architectural photographers shoot far more exposure brackets than single frames, because blending a window pull with an ambient interior exposure is still the most reliable way to get a natural-looking result without heavy local dodging in post. The Z6 III's built-in bracketing goes up to 9 frames at up to 1 EV steps, which covers nearly every interior scenario I've run into, including a stairwell shot with a skylight that needed a 7-stop spread to hold both the sky and the understair storage.
Focus stacking (Nikon calls it focus-shift shooting) is the other feature that gets underused in interior work. For a shot with a foreground element like a chair or a table setting and a background window view that both need to be sharp, stacking a handful of frames at different focus distances beats stopping down to f/16 and losing image quality to diffraction. The Z6 III's focus-shift menu lets you set the number of shots and step width in advance, then it fires the sequence automatically, which is faster than doing it manually and more consistent frame to frame.
The catch with both techniques is what happens after the shutter fires. A single room can easily generate 40 to 60 RAW files once you've bracketed six angles at seven exposures each, and sorting through those to find the sharpest frame in each stack, plus catching the ones where the AC kicked on and blurred a curtain, eats real time. This is where I lean on imagic to do the first pass: its local sharpness scoring flags the technically sharpest frame in each bracket cluster, and because it groups near-duplicate bursts automatically, a seven-shot bracket sequence gets treated as one group instead of seven files I have to compare by eye. It runs entirely on the machine, which matters on shoots where the property isn't public yet and you don't want to upload raw interior photos of someone's unreleased build anywhere.
Perspective Correction Options Compared
For anyone deciding how to handle converging verticals on a Z-mount body, here's how the realistic options stack up against each other in the field, not on a spec sheet.
| Method | Shift range | Correction visible live | Resolution cost | Best use case |
|---|---|---|---|---|
| NIKKOR Z 19mm f/4 PC | ~12mm, any direction | Yes, in EVF | None | Tight interiors, wide facades, ultra-wide corrections |
| NIKKOR Z 24mm f/3.5 PC | ~12mm, any direction | Yes, in EVF | None | Standard room shots, exterior elevations |
| Standard zoom + software correction | Unlimited (crop-based) | No, post only | 10-20% crop typical | Fast-turnaround shoots, budget kit, real estate walkthroughs |
In practice I carry the 24mm PC for most interior work and fall back to a standard 14-30mm zoom with software correction when the schedule is too tight to swap lenses between rooms. The PC lens wins on final image quality every time since there's no resolution loss from cropping a corrected frame, but it's slower to work with and the shift mechanism takes a beat to get used to if you've never used one.
Culling and Color Consistency Across a Full Shoot Day
A single-property shoot for a hospitality or real estate client rarely stays in one room. By the end of a day you might have twelve spaces shot, each with its own bracket sequence and maybe a stacked focus set, and the color temperature swings from warm tungsten in a lobby to cool daylight in a sunroom. Keeping the grade consistent across all of that without every image looking hand-tweaked is genuinely tedious if you're doing it one file at a time.
This is the second place imagic earns its spot in the workflow. I built out a preset from a batch of interiors I'd already graded to a look I liked (warm but not orange, whites that stay white, shadows with some lift), and the apply_my_style feature applies that same treatment across the new batch as a starting point rather than a fixed filter, adjusting per image instead of stamping every frame identically. It's not a replacement for finishing individual hero shots by hand, but it cuts the baseline grading pass from what used to be most of an evening down to something I can do while packing up gear. If you're weighing culling tools generally, the comparison at imagic's culling software comparison is a fair starting point, and the mechanics of how sharpness scoring works are laid out in more depth at how AI photo culling works.
Cards, Battery, and the Stuff That Ruins a Shoot Day
Dual card slots (CFexpress Type B and UHS-II SD) mean I shoot RAW to both cards simultaneously on anything I cannot reshoot, which has saved me exactly once when an SD card started throwing write errors halfway through a shoot and I didn't notice until reviewing files that evening. The CFexpress slot also matters for bracket-heavy shooting since write speed keeps the buffer from filling during a fast sequence of 9-frame brackets.
Battery life on the EN-EL15c is solid for a mirrorless body, generally good for 400 to 500 exposures with regular EVF use and live view composing, which in real terms is one full room-by-room shoot day if you're not chimping excessively between every frame. I carry two spares regardless, because a battery dying on room eleven of twelve is nobody's problem but yours.
Where It Falls Short
Two honest complaints. First, at 24.5MP, resolution is fine for web, print up to roughly 20x30, and most commercial deliverables, but it's noticeably behind a 45MP body if a client wants to crop hard into a detail shot or print a lobby image at mural size. In that situation the Z6 III file held up to about 70% of what was wanted before quality visibly dropped. Second, the PC lenses are heavy and slow to shoot with compared to a standard zoom, and there's a real learning curve to using the shift mechanism confidently under time pressure, particularly figuring out how much shift you need before you've taken a test frame. Neither is a dealbreaker, but they're the two things I'd flag to anyone assuming this body plus a PC lens is a frictionless upgrade from a DSLR architectural kit.
Frequently Asked Questions
Is the Nikon Z6 III enough resolution for professional architectural photography?
For most commercial and residential deliverables (web galleries, brochures, prints up to roughly 20x30 inches) 24.5MP is plenty, and the improved dynamic range and level handling matter more day to day than a resolution bump would. If your client work regularly involves large-format prints or aggressive cropping into detail shots, a 45MP body like the Z7 II or Z8 will hold up better under those specific demands.
Do I need the Nikon PC lenses, or can I correct perspective in software?
Software correction from a standard zoom works fine for fast-turnaround work like real estate listings, where a 10-20% crop from correction doesn't matter much at typical output sizes. For work where final image quality matters, a magazine spread, a portfolio piece, a large print, the PC lenses avoid that resolution loss entirely and let you judge the correction live in the viewfinder instead of guessing until you're back at your computer.
How does the Z6 III's dynamic range compare to older bodies for interior work with windows?
Single-exposure latitude is a modest step up from the Z6 II, generally another half stop to a full stop of usable shadow recovery before noise becomes visible. It's a real improvement but not enough to eliminate bracketing for high-contrast scenes, a bright window against a shadowed interior still benefits from a proper exposure blend rather than relying on one RAW file to hold everything.
What's the most time-consuming part of an architectural shoot day, and does the camera help with it?
Sorting and grading, not shooting. A single property can generate several hundred RAW files once you account for brackets and stacks across every room, and the camera's job ends the moment the files hit your card. That's a software problem, and it's the reason I run everything through imagic before opening a single frame in an editor, letting the sharpness and duplicate-cluster scoring narrow a dozen brackets down to the handful worth grading by hand.