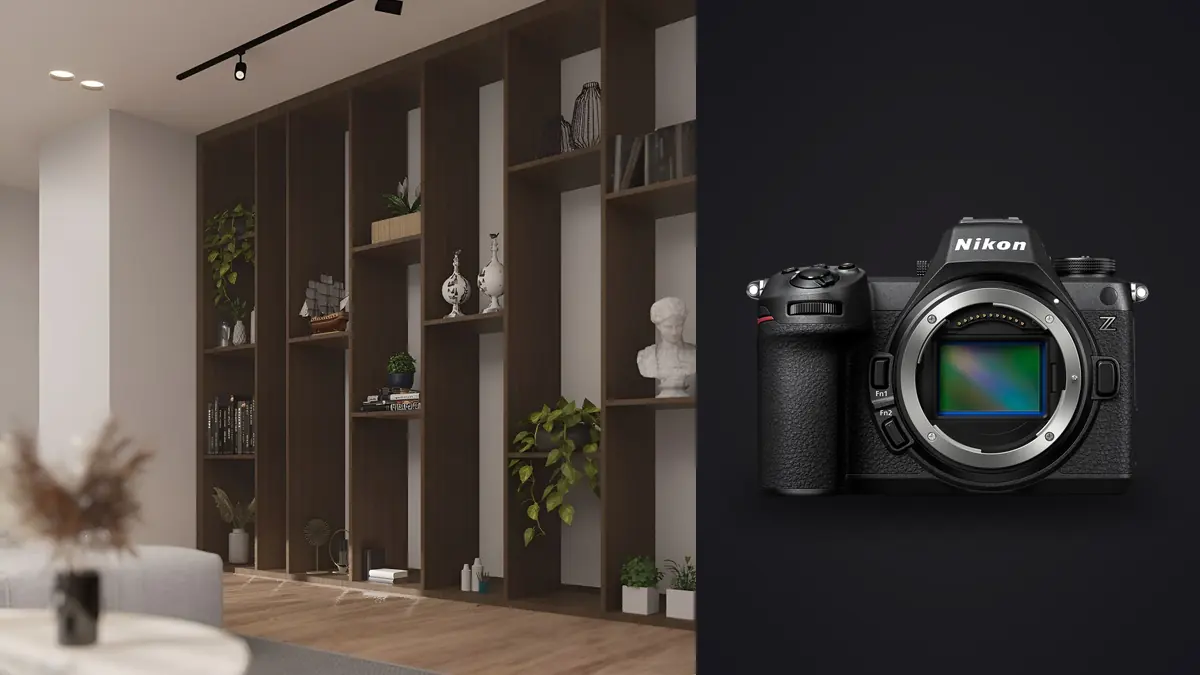
I shot a renovated brownstone in November with a Z6 III bolted to a tripod for six hours, and the thing that stuck with me wasn't the resolution or the autofocus. It was how little I had to think about the camera. Every room in that house had a different lighting problem: south-facing bay windows blowing out at noon, a kitchen lit by three different color temperatures at once, a stairwell with a single skylight forty feet up. The Z6 III didn't solve any of that for me, but it gave me enough dynamic range and enough control over exposure that I stopped fighting the gear and started actually looking at the rooms. That's the whole pitch for using this body on architectural and interior work, and it's worth unpacking why.
The sensor is the reason this camera fits the genre
Nikon put a partially stacked 24.5MP sensor in the Z6 III, and on paper that sounds like a spec bump aimed at sports shooters who need faster readout. For interiors, the readout speed matters less than what came with it: cleaner shadows and a genuinely wide dynamic range at base ISO. Pull a window-lit interior shot with the sky visible through glass, drop the highlights, and lift the shadows in the far corner of the room, and the file holds together without the blotchy noise you'd get pushing a smaller sensor that hard. I still bracket for tricky rooms (more on that below), but on a lot of straightforward daylight interiors I can now get away with a single RAW exposure and a strong recovery, which saves real time on a job where you're shooting fifteen to thirty rooms in a day.
Base ISO on the Z6 III is 100, and I rarely go past 800 indoors even in dim hallways, because the camera is on a tripod anyway. That's an important distinction for this genre versus, say, event or wildlife work. Architectural photography is one of the few disciplines where high ISO performance barely matters, because you're almost never handholding. What matters instead is how much abuse the file takes in post, and this sensor takes more than the Z6 II's did.
Tripod-first shooting and the parts of the body that actually help
The 4-axis tilting screen is the feature I use constantly and almost never see mentioned in reviews written by people who shoot people. On a low tripod angle, shooting up into a vaulted ceiling or a stairwell, the screen tilts out and up so I can check composition without lying on the floor. It also tilts sideways for vertical shots on a tripod, which real estate and interior work leans on heavily since a lot of listing photos and magazine spreads run in portrait orientation for stairwells, entryways, and tall windows.
The electronic level, both pitch and roll, gets used on every single frame. Converging verticals are the single most common flaw in amateur interior photography, and the fastest fix is not correcting them in Lightroom, it's not tilting the camera in the first place. I keep the level displayed in the viewfinder the whole shoot. Combined with a decent tripod head with a bubble level of its own, I can get walls dead straight in maybe eight out of ten frames before I've even opened the laptop.
In-body stabilization rated to 8 stops is nice for handheld detail shots (light fixtures, hardware, textures) but it's not doing the heavy lifting on the wide room shots. Those are all tripod work at 1/8s to several seconds, mirror-up equivalent via the electronic front curtain, and the stabilization is off or irrelevant at that point.
Lenses that actually make sense for this work
The NIKKOR Z 14-24mm f/2.8 S is the lens I reach for most on interior jobs, mostly because 14mm on a full-frame body lets me back a small room into frame without standing in a closet, and the corner sharpness holds up even when I'm shooting near the edge of the frame to keep a doorway in. The tradeoff is obvious: go too wide too often and every room looks like a fisheye funhouse, walls bowing outward, furniture stretched at the edges. I default to 20-24mm for most rooms and only drop to 14-16mm when the space genuinely won't fit otherwise.
For anyone doing enough architectural work to justify it, a tilt-shift lens changes the workflow entirely. I run an older PC-mount tilt-shift adapted through the FTZ II, and it's a manual, stop-down-metering process on the Z6 III: focus and shift, then meter with the lens stopped down since the shift mechanism doesn't preserve electronic aperture control. It's slower per frame, but it means I'm correcting verticals optically instead of stretching pixels in post, which keeps detail in the top of the frame that a digital correction would otherwise smear or crop away. Not every shoot needs it. A tight budget real estate walkthrough doesn't. A magazine feature on a renovated interior usually does.
The Z 24-70mm f/2.8 S covers detail shots, tighter room compositions, and anything where the 14-24 is simply too wide, like a close crop on a fireplace surround or a kitchen island. I keep it on a second body or swap it in once the wide establishing shots are done for a room.
Starting points by scene, not a generic settings chart
Every interior job I've shot breaks down into a handful of recurring lighting situations. Here's roughly where I start the exposure before adjusting to the actual room, based on shooting the Z6 III specifically (its highlight-recovery headroom is generous enough that I bias slightly toward protecting shadows rather than highlights, which is the opposite of how I used to shoot on older bodies).
| Scene | ISO | Aperture | Base shutter | Bracket spread |
|---|---|---|---|---|
| Bright window-lit room, midday | 100 | f/8 | 1/15s | 1 frame, or ±1 EV if window view matters |
| Kitchen with mixed LED and daylight | 100-200 | f/8 | 1/6s | 3 frames at ±1.3 EV |
| Twilight exterior, interior lights on | 400-800 | f/5.6 | 1-4s | 3 frames at ±1.7 EV |
| Windowless conference room, fluorescent | 200 | f/8 | 1/4s | 1 frame, gel or WB correction instead |
| Bathroom with vanity lighting only | 320 | f/7.1 | 1/8s | 2 frames at ±1 EV |
The twilight row is where the Z6 III earns its keep the most. Shooting a property at dusk with the interior lights glowing and the sky still holding some color is a bracket-and-blend job almost by definition, since no single exposure gets both the sky and the lit interior right. I'll run three to five frames there and blend manually or via HDR merge, and having a sensor that doesn't fall apart at ISO 800 makes the underexposed brackets more usable than they'd be on an older body.
Pixel shift and focus shift, when the shoot allows for them
Nikon added pixel-shift high-resolution shooting to the Z6 III through a firmware update, and it's a legitimately useful tool for architectural work specifically because the technique demands exactly the conditions architecture shoots already have: a locked-off tripod, a static scene, nothing moving in frame. The camera fires a burst of shifted exposures and merges them in NX Studio into a file with meaningfully more resolved detail than a single 24.5MP frame, which matters if a client wants a large print of a lobby or a hero shot for a print magazine spread rather than a web listing. I don't use it on every room (it's slow, and any curtain movement or a person walking through ruins the merge), but for the one or two hero shots per project that are going to be printed large, it's worth the extra few minutes.
Focus shift shooting, the automated focus-bracketing mode, gets less use on wide room shots but is genuinely handy for interior design detail work: a textured stone fireplace surround, a wood table with grain you want sharp front to back, a styled vignette with objects at different distances. Set the near and far points, let the camera step through the stack, and merge later.
The part that actually slows a shoot down: what happens after
Here's the thing nobody warns you about before you start shooting interiors professionally: a single property can leave you with six hundred to a thousand frames once you count every bracket set, every room, every safety duplicate you fired because the light shifted between frames. Culling that by eye, frame by frame, is where a full day of shooting turns into a full evening of squinting at near-identical thumbnails trying to tell which bracket in a five-frame HDR set is actually the sharpest.
This is where I lean on imagic instead of doing it manually. It runs its sharpness and focus scoring locally on the machine, no cloud upload, which matters on a laptop in a house with mediocre wifi, and it groups burst and bracket sequences so the five nearly-identical exposures from one HDR set get clustered together instead of forcing me to compare each one against the whole take. For a bracket-heavy workflow like architectural interiors, that clustering step alone probably saves me an hour a shoot, because the tool is doing the tedious pairwise comparison that used to be the worst part of the evening. If you haven't looked at how that kind of AI culling actually scores focus versus just guessing from thumbnails, it's worth reading through how AI photo culling works before assuming it's a black box.
The other piece that matters for this specific genre is consistency across a property. A client doesn't want the living room graded warm and the kitchen graded neutral just because the light shifted between frames. I built out a look in imagic's apply_my_style feature using my own past edits as the training set, so once I've dialed in the color and contrast I want for a given property's light, I can apply that same treatment across the whole set instead of manually matching thirty rooms one at a time. It's not doing anything magical, it's replicating decisions I've already made, but that's exactly what you want for a full-property shoot where visual consistency matters more than any individual frame being clever.
Where this all fits into a faster day
None of this replaces actually knowing how to light and compose a room, and no camera body fixes a bad angle or a cluttered space. But the combination of a wide dynamic range sensor, a genuinely useful electronic level and tilting screen, and a fast culling pass afterward changes how many properties you can realistically shoot and deliver in a week. If your current workflow is still built around reviewing every frame individually in a folder, it's worth reading through some general notes on speeding up a photo workflow, since a lot of the bottleneck in real estate and architectural work isn't the shoot itself, it's everything that happens between the memory card and the delivered gallery.
Frequently Asked Questions
Do I need a tilt-shift lens for the Z6 III, or can I fix verticals in Lightroom instead?
You can correct converging verticals digitally, and for most real estate and casual interior work that's exactly what people do. The tradeoff is that digital correction stretches the top of the frame and can soften or crop detail near the edges, which shows up when a client wants a large print or a magazine wants full-bleed. If you're delivering mostly for web listings, skip the tilt-shift lens. If you're shooting for print or architectural clients who scrutinize edge detail, it earns its cost.
Is autofocus on the Z6 III reliable in dim interiors lit only by lamps?
For handheld detail shots, yes, it locks on reasonably well down to low light thanks to the EXPEED 7 processing, though it can hunt on low-contrast surfaces like a plain painted wall. For the wide room shots on a tripod, I switch to manual focus with focus peaking anyway, since precision matters more than speed when the camera isn't moving and you have time to nail it exactly.
How many bracketed exposures should I shoot for a typical interior HDR blend?
Three frames covers most daylight rooms with moderate contrast between window and interior. Twilight exteriors with interior lights on usually need five, spaced wider, because you're bridging a much bigger range between the sky and the lit interior. Shooting more than five rarely adds anything and just adds culling time later.
Does the Z6 III's in-body stabilization mean I can skip the tripod for interiors?
No. Stabilization helps with handheld detail shots at moderate shutter speeds, but the wide room shots in architectural work are typically exposed at fractions of a second to several seconds at narrow apertures for depth of field, well beyond what any IBIS system can handle handheld. A tripod is still non-negotiable for the primary room shots.