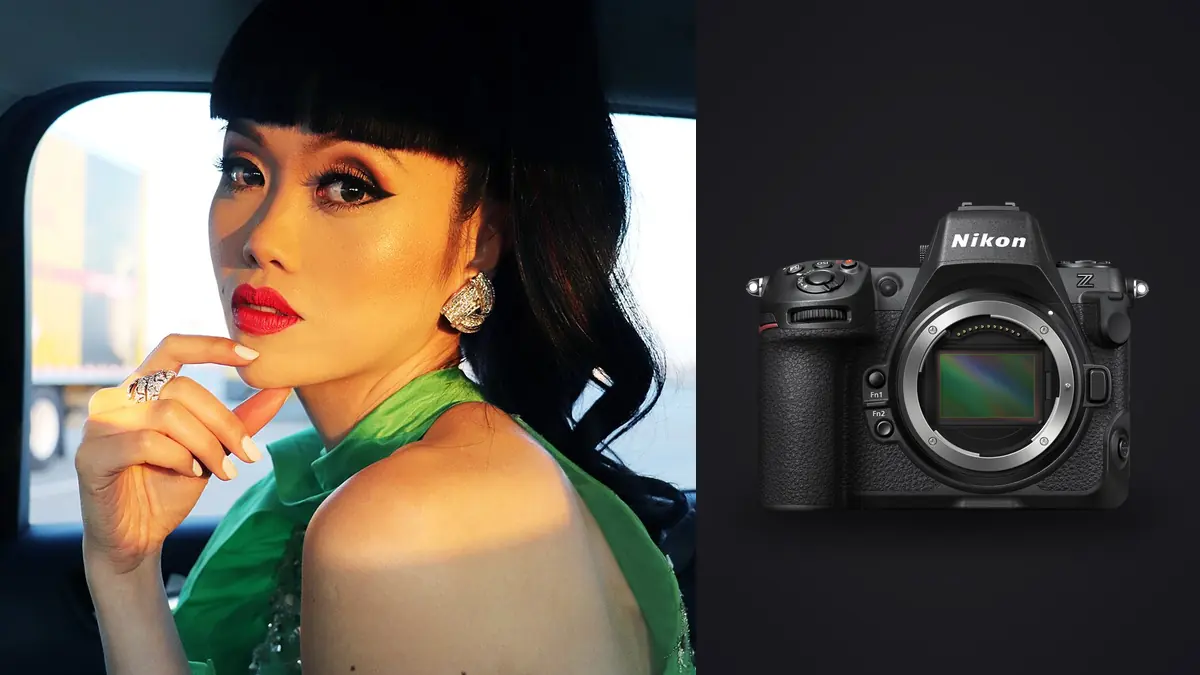
A commercial fashion lookbook day does not look like most other shoots you take a Nikon Z8 on. There is no waiting for light, no wandering for a composition. You have a rack of eighteen or twenty looks, a stylist steaming garments two feet behind you, an art director watching a tethered screen, and a model who needs to move through a sequence of poses fast enough to keep the whole thing on schedule. The camera you bring to that room has to keep up with people, not just with light, and that is where the Nikon Z8 earns its keep or exposes its limits.
Picture shooting a lookbook with a Z8 for a mid-size streetwear label and a smaller sustainable-fashion brand, each running roughly fifteen to twenty-five looks per day between a home studio setup and a rented space with north-facing windows. What follows is what actually matters on that kind of day, not a spec sheet recital.
Why the Buffer Matters More Than the Megapixels
The 45.7-megapixel stacked sensor gets most of the marketing attention, and it is genuinely useful when a client later wants a print campaign pulled from the same lookbook shoot. But the thing that actually changes how a lookbook day runs is the buffer. Shooting 14-bit lossless-compressed RAW at 20 fps, the Z8 will absorb a burst of a model turning through a full spin, hair moving, fabric settling, without stalling out mid-sequence on a fast CFexpress Type B card. On a full day of looks shot in the "give me five variations of that pose" style most stylists want, that buffer depth is the difference between catching the exact frame where the coat falls right and missing it because the camera was still writing the last burst.
The electronic-only shutter is the other piece of this. No mechanical shutter means no shutter shock at high burst rates and, more usefully on a lookbook day, no audible clack every time you fire a ten-frame burst. Models notice a loud shutter, and a quiet one keeps the energy of a shoot from feeling like a rapid-fire interrogation. The tradeoff is that you need to actually test your continuous lighting for banding under the electronic shutter before the shoot day, not during it. LED panels that flicker at certain frequencies will band at high shutter speeds even with anti-flicker shooting enabled, and finding that out mid-shoot with a client's art director watching the tether feed is not a good moment to discover it.
Autofocus on Moving Garments, Not Just Moving Faces
Nikon's subject detection is tuned for eyes and faces, which works fine for two-thirds of a lookbook shoot: the model faces camera, eye AF locks, done. The problems show up in the editorial poses that make a lookbook worth looking at. Face turned three-quarters away, hand up near the jaw, sunglasses on, a hat brim casting a shadow across the eyes, the tracking will occasionally jump to a hand or hunt between the face and a piece of jewelry. I have had it lock onto a large pendant necklace instead of the model's eye more than once.
For straightforward front-facing catalog frames, leave subject detection on and let it work, it is genuinely fast and sticky. For the more stylized poses, I switch to a single-point or small dynamic-area AF and place the point manually, usually on the collarbone or the visible eye if there is one. It costs a half-second of setup per pose change, but it is more reliable than trusting the tracking to guess correctly on a frame where the client's art director is going to zoom in on the garment fit anyway, not the eyes.
Color Rendering Against Physical Swatches
This is the part that trips up photographers coming from other systems onto the Z8 for commercial work. Lookbook clients frequently hold a physical garment swatch up to the monitor and ask why the on-screen color does not match. Nikon's color science renders skin tones warmly and pleasantly by default, which is great for portraiture and not automatically great for a brand that needs their signature teal to read as teal and not as a slightly greener blue. Custom white balance off a gray card at the start of every look, not once at the start of the day, is non-negotiable when you are mixing daylight from a window with a couple of continuous LED panels, because the color temperature drifts as the sun moves and the client will absolutely notice if look 4 and look 14 do not match on the delivered contact sheet.
I shoot a color checker frame at the top of every new lighting setup and again any time a cloud bank changes the window light meaningfully. It adds maybe ninety seconds an hour. Skipping it is how you end up doing per-image white balance corrections on four hundred frames in Capture One at midnight instead.
Z8 vs. the Alternatives, Specifically for a Lookbook Day
The Z9 gets recommended reflexively for anything commercial, and the Z7II still comes up because plenty of studios already own one. Here is how they actually compare for the specific demands of a full lookbook day, not for sports or landscape work. The Z9 for the same kind of shoot has a buffer story that tracks closely with what follows here.
| Factor | Nikon Z8 | Nikon Z9 | Nikon Z7II |
|---|---|---|---|
| Body weight (no grip) | ~910g | ~1,340g | ~705g |
| Max RAW burst (full 14-bit) | 20 fps | 20 fps | 10 fps (12-bit) |
| Buffer depth on fast CFexpress | 1,000+ frames | 1,000+ frames | ~77 frames (14-bit) |
| Card slots | CFexpress B + SD UHS-II | Dual CFexpress B | CFexpress B + SD UHS-II |
| Fatigue over an 8-hour handheld day | Manageable | Noticeably heavier by hour 5 | Lightest, but buffer stalls hurt on bursts |
| Approx. body-only price (new) | $3,999 | $5,499 | $2,997 |
The practical read: the Z9's grip and battery life are genuinely nice for a multi-day location job where you are not swapping batteries constantly, but for a studio lookbook day where you are handheld for eight or nine hours straight, the Z8's smaller body is easier on your shoulder and wrist by the afternoon. The Z7II is a reasonable budget option if your looks are mostly static catalog poses, but its shallower buffer becomes a real problem the moment a stylist wants five burst variations of a walking pose, and you do not want to be the photographer explaining to a client why the camera "locked up for a second" during their brand's hero shot.
The Volume Problem Nobody Warns You About
Here is the math that actually determines how your evening goes. Twenty looks, ten poses per look, six to ten frames per burst on the poses that matter, and you are looking at somewhere between 2,500 and 4,500 frames by the time the last look wraps. Multiply that across a two-day shoot for a bigger seasonal drop and you can clear 8,000 frames before you have opened a single one in an editor.
Most of those frames are near-duplicates of each other: the same pose shot six times because the model blinked twice, the fabric was still settling on frame two, and frame five is the one where everything actually lined up. Manually scrubbing through that volume to find the six or seven usable frames per look is the part of a lookbook job that eats an entire evening, and it is the part that has the least to do with your actual photography skill.
This is where I stopped doing the first pass by hand. I run the day's cards through imagic before I open anything in Capture One. The burst and duplicate clustering groups those six-frame bursts together automatically instead of making me click through them one at a time, and the local sharpness scoring flags the frames where the model blinked or the fabric was mid-motion, so the obviously unusable ones get sorted out before I ever look at them. A 4,000-frame day typically comes down to a review set of a few hundred candidates in under twenty minutes, which is the part that used to take most of an evening.
The other piece that matters for lookbook work specifically: garments that have not launched yet. Brands are understandably tense about pre-release product photography sitting on a third-party server before their own PR date, and a lot of cloud-based culling tools require an upload before they will do anything. imagic processes everything on the machine you shoot on, nothing leaves the laptop, which has made it an easier sell to clients who ask where their unreleased collection photos are actually going during the edit.
Getting a Consistent Grade Across a Full Catalog
Once you have selects, the next problem is consistency. A twenty-look lookbook shot across a shifting window light needs every image to land on the same contrast curve and the same skin tone rendering, or the finished catalog page looks stitched together from different shoots. Grade the first three or four looks by hand in Capture One to nail down what the client actually wants (brands are often not precise about this until they see options), then train imagic's apply_my_style feature on those graded images and run it across the rest of the day's selects in one batch. It is not a substitute for actually deciding what the look should be, someone still has to make that call on the first few frames, but it removes the repetitive part of matching contrast and white balance across hundreds of images by hand, look by look, at 11pm before a deadline.
If you have not used AI-assisted culling on a high-volume commercial shoot before, the mechanics are worth understanding before you rely on it for a paying job; this breakdown of how AI photo culling actually works covers what the scoring is doing under the hood, which matters if you want to trust it on a shoot with real client stakes.
Practical Notes From an Actual Shoot Day
A few things that are not obvious until you have run a full day on this body:
Battery life is fine for a single studio day on one EN-EL15c if you are not chimping constantly on the rear screen, but I still bring two spares because a dead battery mid-look is not a moment to be searching a bag. The tilting screen (four-axis, not a full vari-angle) is enough for low-angle catalog shots but awkward for the occasional overhead flat-lay shot of accessories, where I end up tethered anyway and looking at a laptop instead of the camera screen.
Tethering through NX Tether or Capture One over USB-C is stable and the buffer clears fast enough between bursts that the art director sitting behind the tether laptop is not waiting long for frames to populate. That live review loop, shoot a burst, art director calls out a note, adjust, shoot again, is honestly more valuable to how a lookbook day runs smoothly than any single camera spec. It catches wardrobe issues (a tag showing, a wrinkle) before you have moved three looks past the mistake.
CFexpress Type B cards are not cheap, and buying a slow one defeats the point of the buffer depth entirely. A card rated for genuinely fast sustained write speeds is worth the extra cost the first time it saves you from a mid-burst stall on the one pose the client actually wanted.
Frequently Asked Questions
Is the Nikon Z8 actually fast enough for lookbook bursts, or do I need the Z9?
For studio lookbook work, the Z8 matches the Z9's 20 fps RAW burst rate and buffer depth, the two things that matter most when a stylist wants multiple pose variations back to back. The Z9's advantages are mostly battery life and grip comfort on multi-day shoots, not raw speed. Unless you are also shooting sports or need the integrated vertical grip daily, the Z8 covers lookbook work without the extra weight or cost.
What card should I actually run for a full day of lookbook shooting?
A fast CFexpress Type B card in the primary slot, something rated well above the 20 fps write requirement, not a budget-tier card that technically meets the minimum spec. The SD UHS-II second slot is fine for an overflow or backup copy but should not be your primary card if you are shooting long bursts, since it will bottleneck the buffer clearing rate.
Is 45.7 megapixels overkill when most lookbook images end up as small web crops?
For the ecommerce thumbnail and social crop use case alone, yes, you are capturing far more resolution than gets used. The reason it is still worth it: lookbook shoots regularly get repurposed for print lookbooks, trade show banners, or a future campaign pull, and having the full-resolution RAW file means you are not going back to reshoot when that request comes in six months later.
Does the fully electronic shutter cause banding problems with studio lighting?
It can, but only with certain continuous LED sources at certain shutter speeds, not with studio strobes, which fire fast enough that this is not an issue. If you are mixing continuous LED panels with window light on a lookbook set, test your specific panels at your intended shutter speed before the shoot day. Anti-flicker shooting helps but is not guaranteed to catch every panel's frequency, and finding out about banding after a full day of shooting is a much worse conversation than a five-minute test the day before.