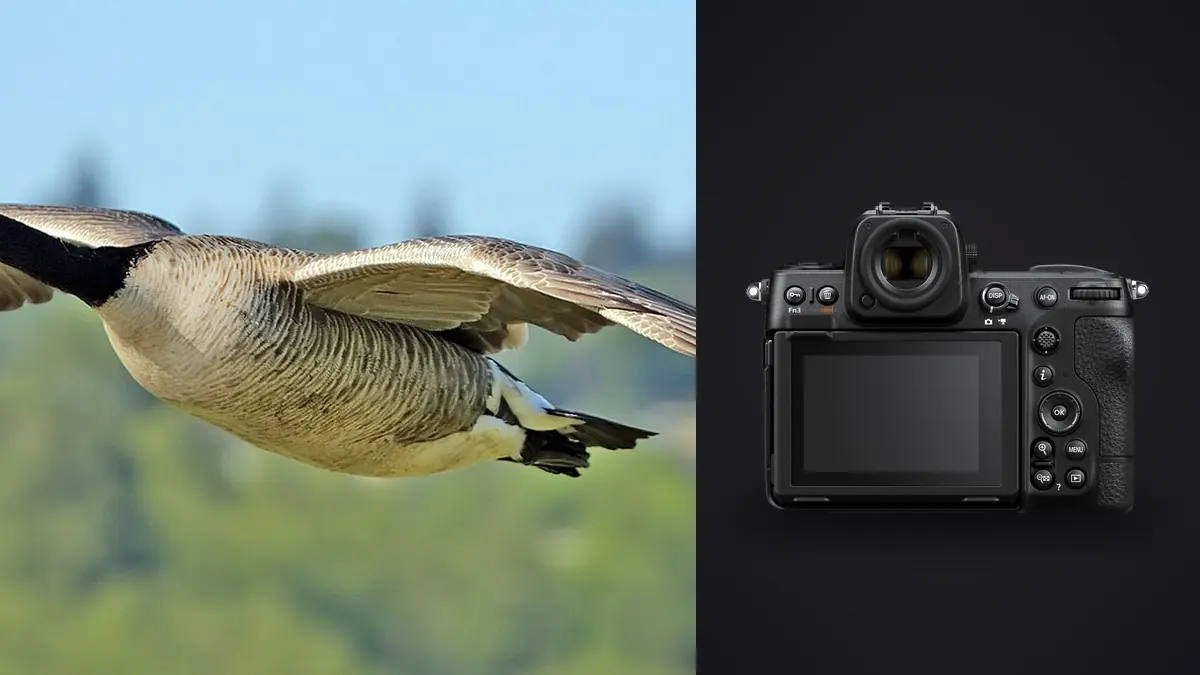
I spent most of April chasing ospreys pulling fish out of a reservoir near my place, and burned through something like six thousand frames over eleven mornings with a Nikon Z8 and the 180-600mm. That kind of shooting tells you fast whether a camera's autofocus claims hold up outside a controlled demo. The Z8 isn't a new body anymore, but most of what gets written about it for birds in flight is either lifted from Z9 reviews or written by someone who photographed a flock of gulls once at a harbor and called it a field test. This is what actually changed my hit rate with this camera, and where it still makes you work for the shot.
What the Stacked Sensor Actually Buys You
The single biggest difference between the Z8 and anything I shot before it isn't the autofocus algorithm, it's the blackout-free viewfinder during a burst. With a DSLR, or even the D850 I used for years before switching, every frame in a fast sequence meant a split second of mirror slap and a blank finder. When a tern folds its wings and drops on a baitball, that blank moment is exactly when you lose the bird. On the Z8 the viewfinder stays live through the whole 20fps burst, so you can actually follow erratic movement in real time instead of guessing where the subject went between frames. The stacked sensor also cuts down rolling shutter distortion on wingtips, which matters more than people think. Older mirrorless bodies with slower sensor readout would skew a gull's wingtip into a banana shape at the top of a downstroke, especially panning against a bright sky. It's not fully gone on the Z8, you can still catch it on something moving as fast as a peregrine in a stoop, but for the vast majority of flapping flight (herons, raptors, waterfowl) it's a non-issue now.
Getting Autofocus to Track the Bird, Not the Sky Behind It
Bird detection in Subject Detection is good, but it isn't magic, and treating every flight shot the same way is the fastest way to come home with a card full of sharp branches. What changed my results was picking the AF-area mode to match what the bird is actually doing, not defaulting to Auto-area AF for everything.
| Flight scenario | AF-area mode I use | Subject detection | Why, and the common mistake |
|---|---|---|---|
| Raptor soaring against clean sky (hawks, eagles, vultures on a thermal) | Wide-area AF (C1, small) | Animal, on | Uniform background means nothing to snag on. People leave Auto-area AF on here and it works fine too, but the smaller box locks faster the moment the bird banks. |
| Swallows or swifts hawking insects, constant direction reversals | 3D-tracking | Animal, on | Follows the subject as it crosses the frame, but a hard direction change can lose it. I keep a thumb on the back-button focus to re-acquire rather than trusting it to recover on its own. |
| Shorebird flock lifting off water (sanderlings, dunlin, peeps) | Auto-area AF | Animal, on | Camera grabs whichever bird is largest or nearest, which is fine for a "flock explosion" shot but gives you zero control over which individual gets tack sharp. |
| Heron or egret flying low over reeds, branches, or riprap | Wide-area AF (C2, large) | Off, or animal with caution | Full auto detection latches onto the cluttered background as often as the bird here. Turning detection off and steering the box yourself is more reliable than fighting the algorithm. |
| Backlit bird at golden hour, silhouette against the sun | Single-point or narrow wide-area | Off | Low contrast on a backlit edge trips up bird detection more than you'd expect. Manual point plus manual exposure gets a cleaner silhouette than letting the camera guess. |
The pattern underneath all of this: detection works best when there's contrast and clean separation between subject and background, and it gets shakier the closer the scene gets to clutter or low contrast. Knowing when to turn it off is as useful as knowing when to trust it.
Custom AF-area sizing is worth the menu dive
The Z8 lets you resize the Wide-area AF box across five steps rather than the two DSLRs offered. For a bird crossing open sky I run it small (roughly C1), which locks fast and doesn't wander onto foreground branches. For anything flying through a busier scene, like a kingfisher weaving between reeds, I go up to C2 or C3 so the box has enough room to keep hold of the subject through small repositioning without the camera hunting.
Frame Rate, Buffer Depth, and When 20fps Is Overkill
The Z8 gives you a genuine menu of frame rate choices, and most of them go unused because 20fps sounds like the obvious answer. In practice I run three different settings depending on the bird:
For raptors and larger waterfowl with a slower wingbeat, I stay at the extended-high electronic shutter rate around 20fps, full-resolution raw. That's plenty of frames to catch the wing at the position I want without turning every editing session into an archaeology dig through near-duplicates. For small, fast fliers like swallows or terns diving, I'll bump into the pre-release capture modes (the roughly 30fps and 15fps options that buffer up to a second before your shutter press), because those birds change wing position fast enough that even 20fps can land you between the frames you actually want. For anything slow and predictable, like a heron in steady flap across open water, I'll drop down toward 10fps mechanical shutter and save myself the culling time later, since there's no rolling shutter risk on a slow-moving subject anyway.
Buffer depth is where card choice actually bites. With a fast CFexpress Type B card in the primary slot, I can run a 20fps burst for several seconds before the buffer starts to choke, and it clears back to full readiness within a few seconds of letting off the shutter. Drop to the UHS-II SD slot as your primary and that same burst empties the buffer noticeably sooner, and worse, the write-out lag after a long sequence can genuinely cost you the next flyby while the camera is still catching up. If you're serious about flight sequences, the SD slot should be backup or stills-only, not your working card for bursts.
Glass and Balance: What's Actually Worth Carrying
The camera is only half the story. I've shot birds in flight with the Z 100-400mm, the 180-600mm, and rented the 600mm f/6.3 PF for a shorebird trip, and the honest answer is that the 100-400 covers most songbird and mid-size bird work fine, especially with the 1.4x teleconverter when the light holds. Where it runs out of reach is distant raptors and open-water waterfowl, where you genuinely need the extra length and the 180-600 or 600 PF earns its keep.
Balance matters more than raw reach once you're tracking a moving subject for twenty or thirty seconds at a stretch. The 600mm PF is dramatically lighter than anything with that focal length used to be, and it's the difference between comfortably hand-holding through a whole morning at a heronry versus your arms giving out by 9am. In-body stabilization on the Z8 does a genuinely good job with camera shake, but it does nothing for subject motion blur from a fast wingbeat, so don't expect IBIS to bail you out of a shutter speed that's too slow for the bird itself.
Teleconverters change the AF math too. A 2x converter on the 600mm PF pushes you to f/13 effective aperture, and while the Z8 will still hunt for focus there, it's noticeably slower to lock and far more prone to false starts against anything but a clean sky. I keep the 2x in the bag for perched, stationary shots and leave it off entirely for flight work unless the light is excellent.
Exposure Settings That Hold Up When the Light Changes
I shoot manual mode with Auto ISO for anything moving, full stop. Aperture stays wide open or one stop down depending on the lens, and I set a minimum shutter speed tied to focal length rather than a flat number: roughly 1/2000s for something at 400mm and up around 1/3200s to 1/4000s when I'm reaching to 600mm or beyond, since a longer lens amplifies motion at the sensor even if the bird's actual flight speed hasn't changed.
Metering mode matters more for birds against sky than almost any other subject. Matrix metering routinely underexposes a dark bird against a bright sky, because the camera is trying to balance a scene that's mostly blown-out highlight. Switching to highlight-weighted metering keeps the sky from clipping and, counterintuitively, tends to give a cleaner exposure on the bird itself once you push shadows back in post. For backlit or silhouette work I'll go fully manual on exposure and ignore the meter altogether, since I want the underexposure.
Back-button focus isn't optional for this kind of shooting. Separating focus from the shutter button means a badly timed refocus doesn't cost you the shot, and it lets you hold focus on a perched bird, recompose, and fire without the camera trying to refocus on the branch in front of it.
After the Flight: Turning a Bloated Card Into an Edit
A good morning on a flight path leaves you with somewhere between two and five thousand frames, most of them near-duplicates of the same three or four seconds of a bird crossing the frame. This is the part of BIF photography nobody enjoys and almost everyone underestimates when they're shopping for a body based on frame rate alone.
This is where I stopped trying to eyeball a full card and started running everything through imagic before I touch Lightroom. It scores sharpness and focus locally on the machine, so instead of scrubbing through six hundred nearly identical frames of a tern mid-dive by eye, it surfaces the sharpest one or two from each burst and groups the rest as duplicates I can dismiss in bulk. For anyone weighing how that kind of automated pass actually works under the hood, this breakdown of how AI photo culling works covers the mechanics better than I can in a paragraph here.
Because everything runs locally with no upload step, I can do this cull in the truck in a parking lot with no signal, which matters more than it sounds like at a remote wetland or a coastal spot with no cell service. Once the keepers are picked, I run imagic's apply_my_style preset, which is trained on my own past edits rather than a generic wildlife preset, so a first pass on a hundred flight shots lands close to how I'd have graded them by hand instead of needing a full rebuild in post. If your workflow after a big shoot day is currently the bottleneck rather than the camera, these workflow tips are a decent place to tighten the rest of the pipeline.
Frequently Asked Questions
Do I need the 600mm PF, or will a 100-400 keep up with birds in flight on the Z8?
For songbirds, mid-size waders, and anything within thirty or forty meters, the 100-400 with the 1.4x teleconverter is genuinely enough, and it's far easier to hand-hold and pan quickly with erratic fliers. The 600mm PF earns its cost on distant raptors, open-water waterfowl, and anything where you need reach more than you need speed of movement.
Is the electronic shutter safe for fast wingbeats, or should I stick to mechanical?
For the vast majority of flight subjects, herons, raptors, gulls, waterfowl, the stacked sensor's readout speed keeps rolling shutter distortion low enough that electronic shutter at 20fps is my default. I only drop back to mechanical for genuinely fast wing motion like hummingbirds or a stooping falcon, where even the Z8's readout can start to skew a wingtip.
How much does Bird detection actually help compared to plain 3D-tracking?
Against a clean background it's a real advantage, the camera finds and holds the bird's eye with less input from me than 3D-tracking needs. Against clutter, branches, water texture, or a busy flock, it gets less reliable and I end up switching it off in favor of a manually placed AF box more often than the marketing around this camera suggests.
What card setup avoids buffer stalls during long flight bursts?
A fast CFexpress Type B card in the primary slot is the real answer. Relying on the UHS-II SD slot for burst work will cost you buffer depth and recovery time, and on a body capable of 20fps that bottleneck shows up exactly when you least want it, mid-sequence on a bird you won't get a second pass at.