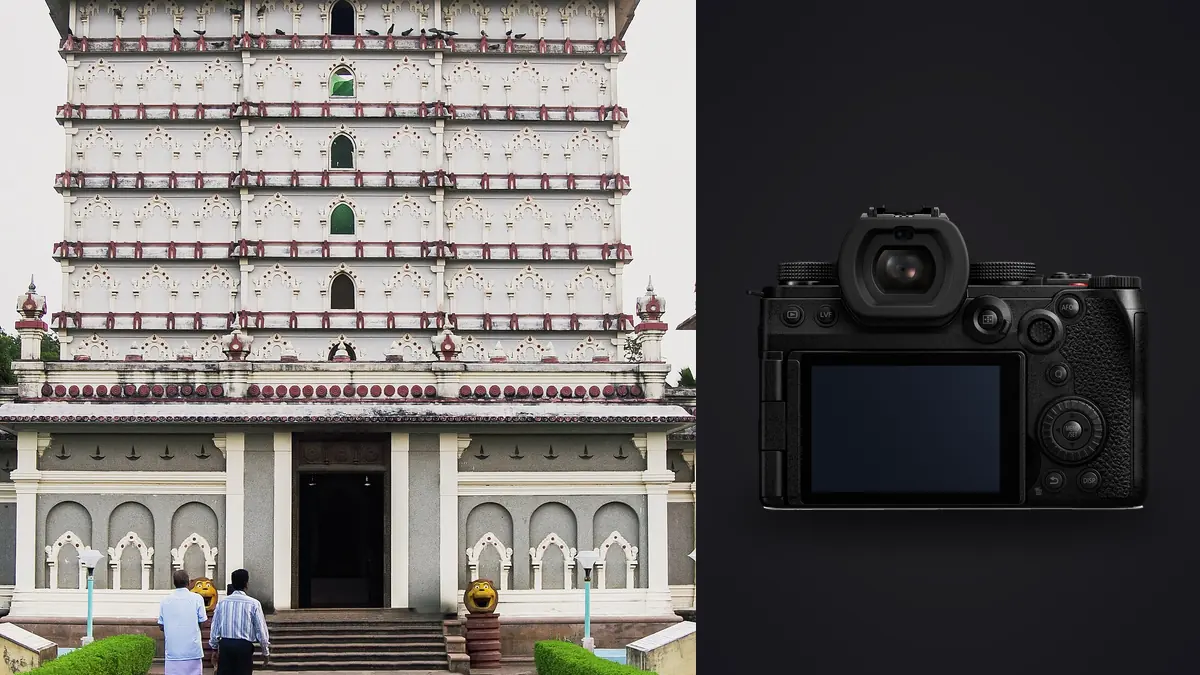
The Panasonic Lumix S5IIX can make strong architectural and interior photographs when lens choice and room geometry are planned together. Its 24.2 megapixel full-frame sensor, phase hybrid autofocus, in-body stabilization, dual UHS-II SD slots, exposure bracketing, and L-mount access form a flexible base. The decisive variables are usually working distance, vertical control, window direction, and the corrected dimensions the client needs.
This Lens and Location Guide maps those variables before the tripod is opened. It covers compact residential rooms, designed commercial interiors, hybrid stills and video work, and locations where access or shifting daylight limits the viewpoint. The aim is to arrive with a lens path and shot order that fit the actual space.
Begin with the final output and room map
List the largest required file, the tightest crop, the expected print size, and whether the client needs perspective-corrected layered masters. A 24.2 megapixel file is ample for many property listings, editorial pages, social campaigns, and moderate prints when framing and technique are sound. It leaves less room than a higher-resolution body for severe vertical correction, large crops, or detailed wall-size output.
Architecture frequently loses pixels during correction. Pointing the camera upward creates converging verticals; straightening them later stretches and trims the image. A wider-than-needed composition can preserve the edges, but it also records more floor and ceiling and may reduce subject scale. If extensive correction is routine, calculate the final pixel dimensions from representative files rather than assuming the camera's nominal resolution reaches delivery unchanged.
Draw the final crop on the scout frame and note where corrected corners will fall. That simple overlay reveals whether a doorway, light fixture, or furniture edge needs more capture margin before the production day.
| Assignment | Likely fit | Question to resolve |
|---|---|---|
| Residential listing | Strong | Does the lens cover small rooms without excessive stretching? |
| Interior design editorial | Strong with careful technique | Are detail crops and print dimensions defined? |
| Hotel stills plus video | Especially practical | Can one lens and support plan serve both media? |
| Large architectural campaign | Project dependent | Will correction and cropping leave enough resolution? |
| Technical facade record | Lens dependent | Is shift control or a specialized camera required? |
Build the L-mount lens path before arrival
A camera for interiors is only as useful as the lens that can frame a room without creating unacceptable distortion. Review the L-mount options at the focal lengths you actually need. Look beyond the widest number: compare corner behavior, flare resistance around windows, filter use, focus consistency, and the amount of profile correction applied by the RAW converter.
For straightforward rooms, a well-corrected wide zoom can cover establishing views and tighter compositions efficiently. A moderate prime can produce cleaner detail views and a more natural perspective. Specialized shift movements are a separate requirement. If your work depends on moving the lens relative to the sensor, confirm a native or adapted solution, its mechanical clearance, and its metadata or correction workflow before buying the body.
Adapted lenses may be entirely workable for static interiors because rapid autofocus is not central. They can also add operational friction: manual aperture behavior, no profile, uncertain corner quality, or a less convenient tripod setup. Test the complete path from capture through RAW conversion and correction. A body bargain disappears quickly if the lens solution cannot meet the brief.
Plan correction margin for 24.2 megapixel files
Moderate resolution keeps files manageable during bracketing, masking, and panorama preparation. That matters when one room produces several exposures from multiple viewpoints. It can shorten transfers and reduce storage pressure without sacrificing ordinary web and editorial delivery. The tradeoff is smaller reserves for aggressive keystone correction and client-requested crops after the shoot.
Resolution does not fix poor focus, vibration, or soft lens corners. Use a stable tripod, electronic delay or remote release, and an aperture that balances depth with diffraction. Focus deliberately on the plane that matters. For deep rooms, a single frame at a small aperture may still leave foreground and distant details uneven, in which case a controlled focus sequence is more rational than simply closing down further.
High-resolution composite modes can be useful only when the scene remains sufficiently still and the workflow supports them. Curtains, foliage, people, water, screens, and changing daylight can create artifacts between component frames. Treat any composite option as a special capture with a conventional RAW backup, not as a free replacement for a higher-resolution single exposure.
Scout changing light inside static architecture
Interiors appear stationary, but their light changes. Clouds move across windows, LEDs flicker, televisions refresh, and people pass through reflective surfaces. The S5IIX's phase hybrid autofocus is more benefit than necessity for an empty room, yet it becomes useful for lifestyle frames or a designer moving through the space. In-body stabilization can support handheld scouting and details, though a tripod remains the reliable reference for aligned brackets.
Exposure bracketing is valuable when window and interior brightness cannot fit the intended rendering in one capture. More brackets are not automatically better. Choose the smallest sequence that records clean window detail and usable shadows, and avoid moving the camera between frames. If furniture, plants, or people move, decide whether to blend selectively, accept motion, add light, or wait for a stable moment.
Electronic shutter operation should be tested under installed lighting. Banded walls or ceilings can result from pulsed fixtures. A mechanical or electronic-first-curtain mode and a different shutter speed may behave better. Photograph a neutral wall at the planned settings and inspect it before committing an entire property.
Coordinate still and video viewpoints
The S5IIX becomes a more compelling fit when one operator must deliver stills and serious video. Full-size HDMI, cooling provisions, recording options, stabilization, and video-oriented interface features can reduce the need for a separate body. That value is real only if the assignment pays for both media and the production schedule allows each to be done well.
A hybrid body does not eliminate the need for different capture discipline. Stills may favor a tripod, bracketed exposure, and later perspective correction. Video needs controlled camera movement, shutter settings related to frame rate, sound planning, and continuity. Build separate shot lists and identify which lighting arrangements work for both. Switching casually between modes can leave both sets incomplete.
If you never deliver video, compare the S5IIX with the S5II and stills-oriented alternatives using current manufacturer specifications. Do not pay attention to a feature merely because it is advanced. Give weight to the controls, lenses, reliability, service, and file characteristics that appear in your own assignments.
Check access, power, and tripod positions
Dual UHS-II SD slots can provide an in-camera duplicate or an overflow arrangement. For paid property work, simultaneous recording offers immediate protection against a single card failure, though it is not a substitute for an off-camera backup. Use matched, approved cards and verify that both receive the intended file types. A card left in overflow mode by accident can defeat the expected redundancy.
Set up a leveling display, grid, manual white balance access, bracket controls, and a delayed release before arriving. Confirm that the screen remains visible at the tripod height you use. Pack a remote or use a self-timer, spare batteries, lens cloth, small flag for reflections, color reference, and a way to shade the lens around bright windows.
Tethering can speed art direction, but support varies by software, connection, and operating system version. Verify the current combination with the exact camera firmware and computer before promising a live client view. A robust card-based fallback should remain available if the cable or application fails.
Color management deserves its own buying check. Ask whether the RAW converter you already use renders S5IIX files consistently, supports the lens profiles you need, and fits the client's profile requirements. Photograph a color target and difficult interior materials, then carry that sample through your normal display and export path. A body that fits on location can still create needless work if its files do not integrate cleanly with the established delivery process.
Also examine support logistics: local service access, spare-body compatibility, battery sharing, rental availability, and whether collaborators already understand the menus. These factors do not appear in image specifications, but they determine how quickly a production recovers from a fault.
Keep the RAW workflow tied to each viewpoint
After capture, copy both cards to a structured project folder and verify the files before formatting. Keep brackets grouped and label compositing candidates. The imagic desktop application can scan supported RW2 files, then analyze and organize selections locally. Its culling changes status without deleting originals, and its editing decisions remain non-destructive until export.
Automated quality scores need context. A deliberately dark ambient frame, an exposure intended only for a window blend, or a focus-bracket component may look weak alone while remaining necessary. Review those groups manually. If selection targets change, reselecting re-ranks stored scores; it does not reanalyze the pixels. Check freshness when old scores seem inconsistent.
Perspective correction, exposure blending, detailed retouching, panorama merge, and layers require tools suited to those tasks; imagic does not claim those functions. Use it for the local culling and editing behavior it actually provides, then move the selected files through the rest of your architecture workflow. Related equipment analysis is available in Camera Hardware.
Finish the lens and location decision
For a residential listing, the plan may be one wide zoom, a tripod, and a route that follows the best window light through the property. An interior-design editorial may add a moderate prime for material details and more time for styling. A hospitality assignment that requires stills and video should reserve separate viewpoints, movement paths, and lighting states for each medium.
If the corrected output requires more pixels than a representative S5IIX file can retain, reduce the planned correction with a better camera position, use an appropriate shift solution, or select another body. Test the complete camera and lens combination on a room with similar dimensions. Correct the sample through the normal workflow and inspect the final file size before confirming the production plan.
Frequently Asked Questions
Is 24.2 megapixels enough for professional interior photography?
It is enough for many web, editorial, listing, and moderate print uses when capture is careful. Large output, severe correction, and repeated crops may justify more resolution, so evaluate final corrected files against the actual brief.
Does the S5IIX replace a shift lens?
No. In-camera levels and software correction help control geometry, but they do not reproduce optical lens movement. If shift is central to your work, confirm a compatible lens or adapted solution before choosing the body.
Is the S5IIX worth choosing for stills alone?
It can be, but many of its distinguishing features concern video. Compare it with current alternatives based on lens fit, controls, redundancy, file requirements, and service rather than assuming the X version automatically benefits still photography.